We’ve just completed our most anticipated project in our RV! It was our RV slide renovation, and it came out better than we had expected!
First RV Slide Renovation Idea
The ideas for the layout of our slide have changed several times throughout our RV slide renovation.
Slide Renovation Idea Take 2
Our next idea for our RV slide renovation was to build a daybed across the slide. Crush and Tidbit had been sleeping on the futons, so the daybed seemed like a good idea. While it was a pretty good idea, there was another problem that was not being addressed in our RV. That was a dedicated office area.
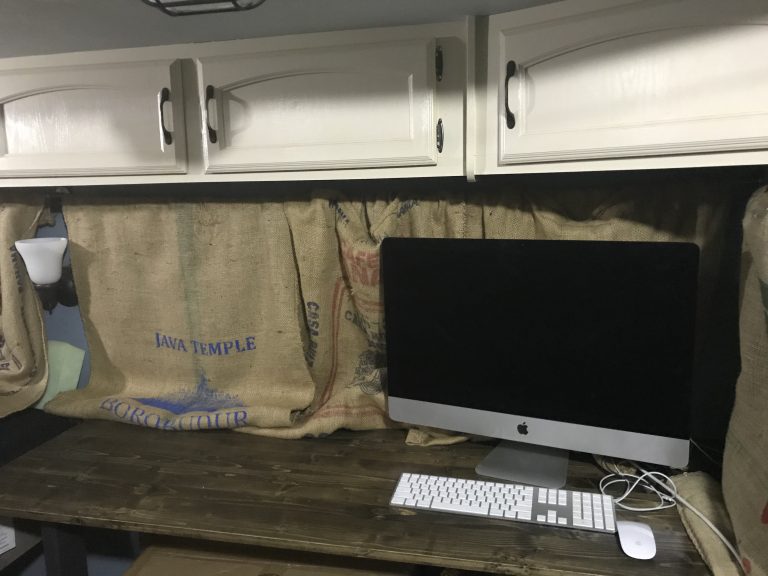
Angelica does almost all of her work on her iMac computer. The only place we had been able to find in The Tin Can to put it, was a shelf I built at the foot of our bed. This meant that Angelica was stuck sitting on the bed to do her work, which is not comfortable at all! A true desk was needed and needed badly!
Our Final RV Slide Renovation Idea
This brought us to our final idea for our RV slide renovation and I think our favorite idea so far in our entire RV. Instead of building a daybed across the entire slide for both the girls. Tidbit agreed to move her bed to the last original bunk left in The Tin Can and a single twin size day bed and a desk were built instead. It solved both of our problems. Angelica got a desk and, with the addition of a good mattress topper for the old bunk mattress, both the girls ended up with more comfortable beds.
Beginning The Build
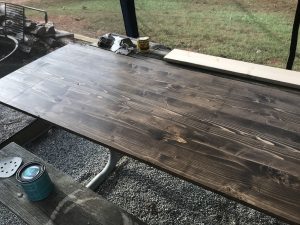
With our idea finalized, I went about making the RV slide renovation happen. I started by first cutting and finishing the desktop. A ¾ inch x 24inch x 6-foot-long edge glued pine board, like the ones used in our DIY Countertop article, was used. The board was cut to 65 inches long, sanded smooth and finished with Minwax Jacobean wood stain and topped off with Minwax Polycrylic.
Constructing The Daybed
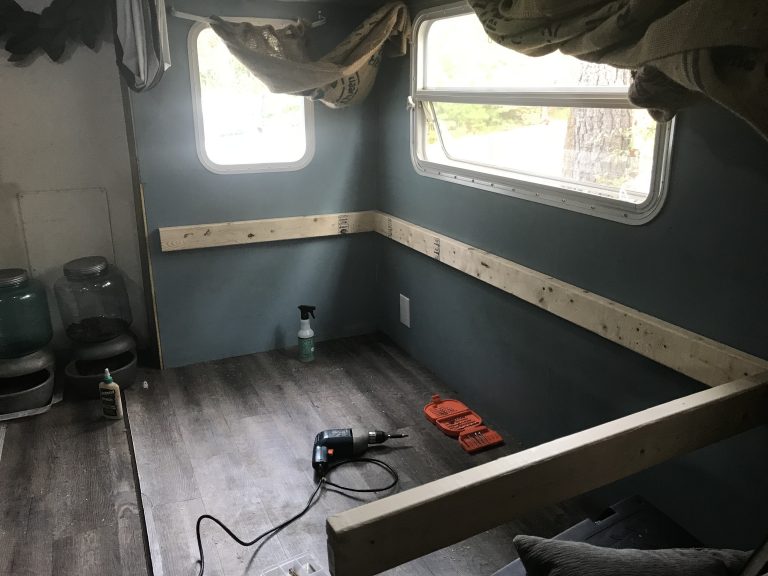
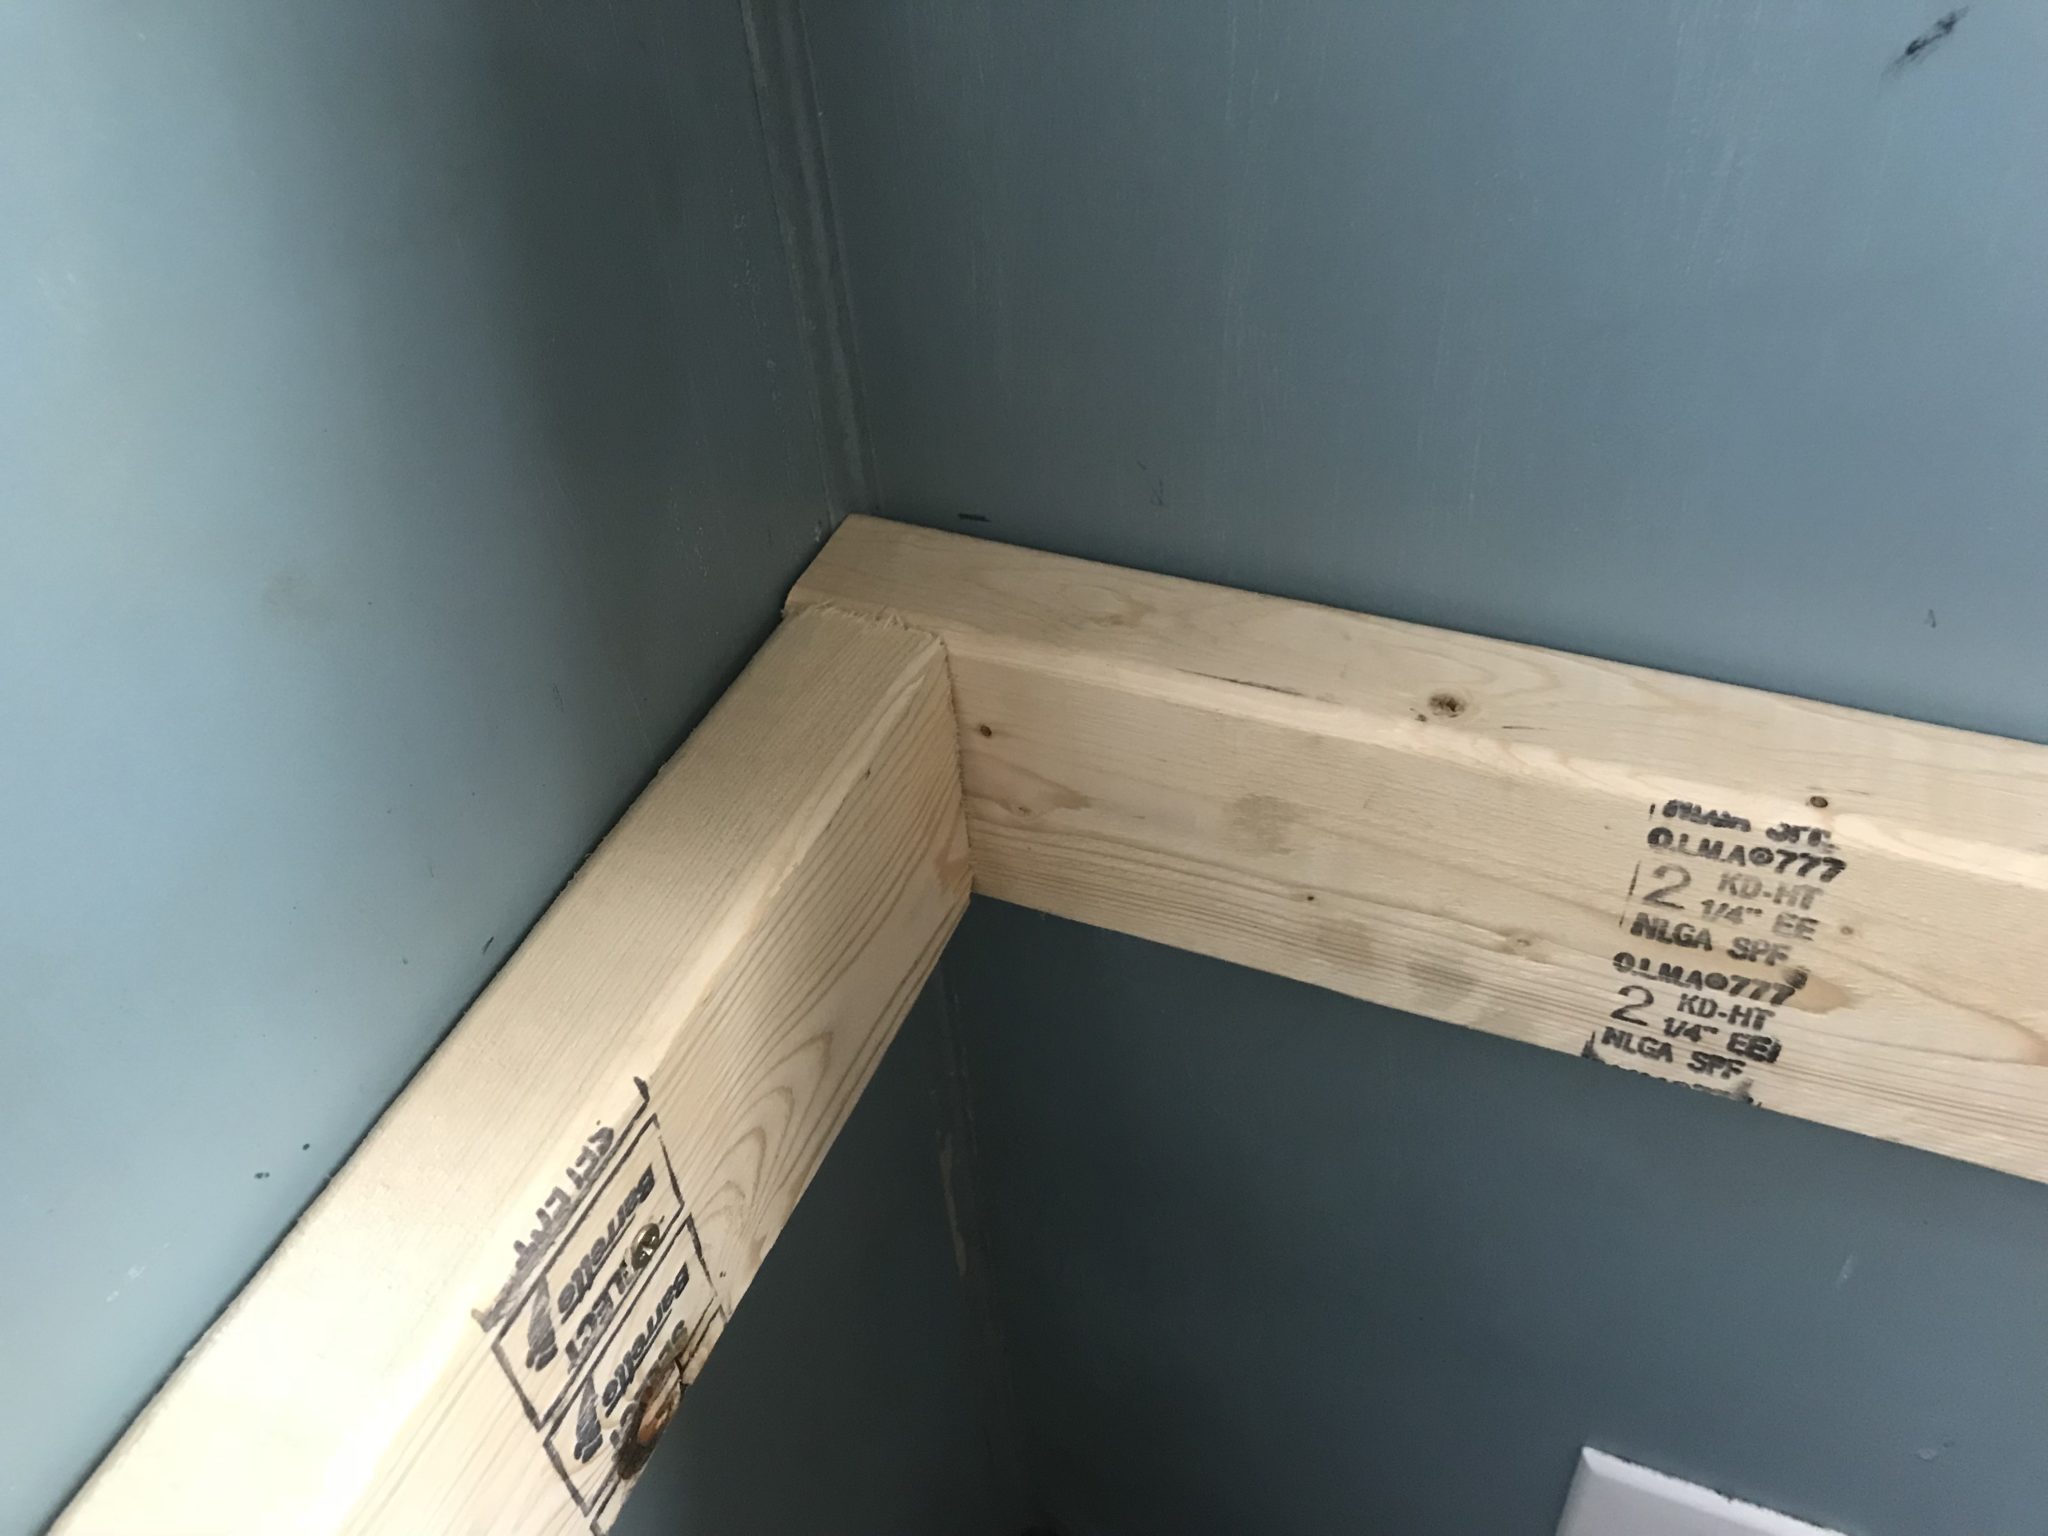
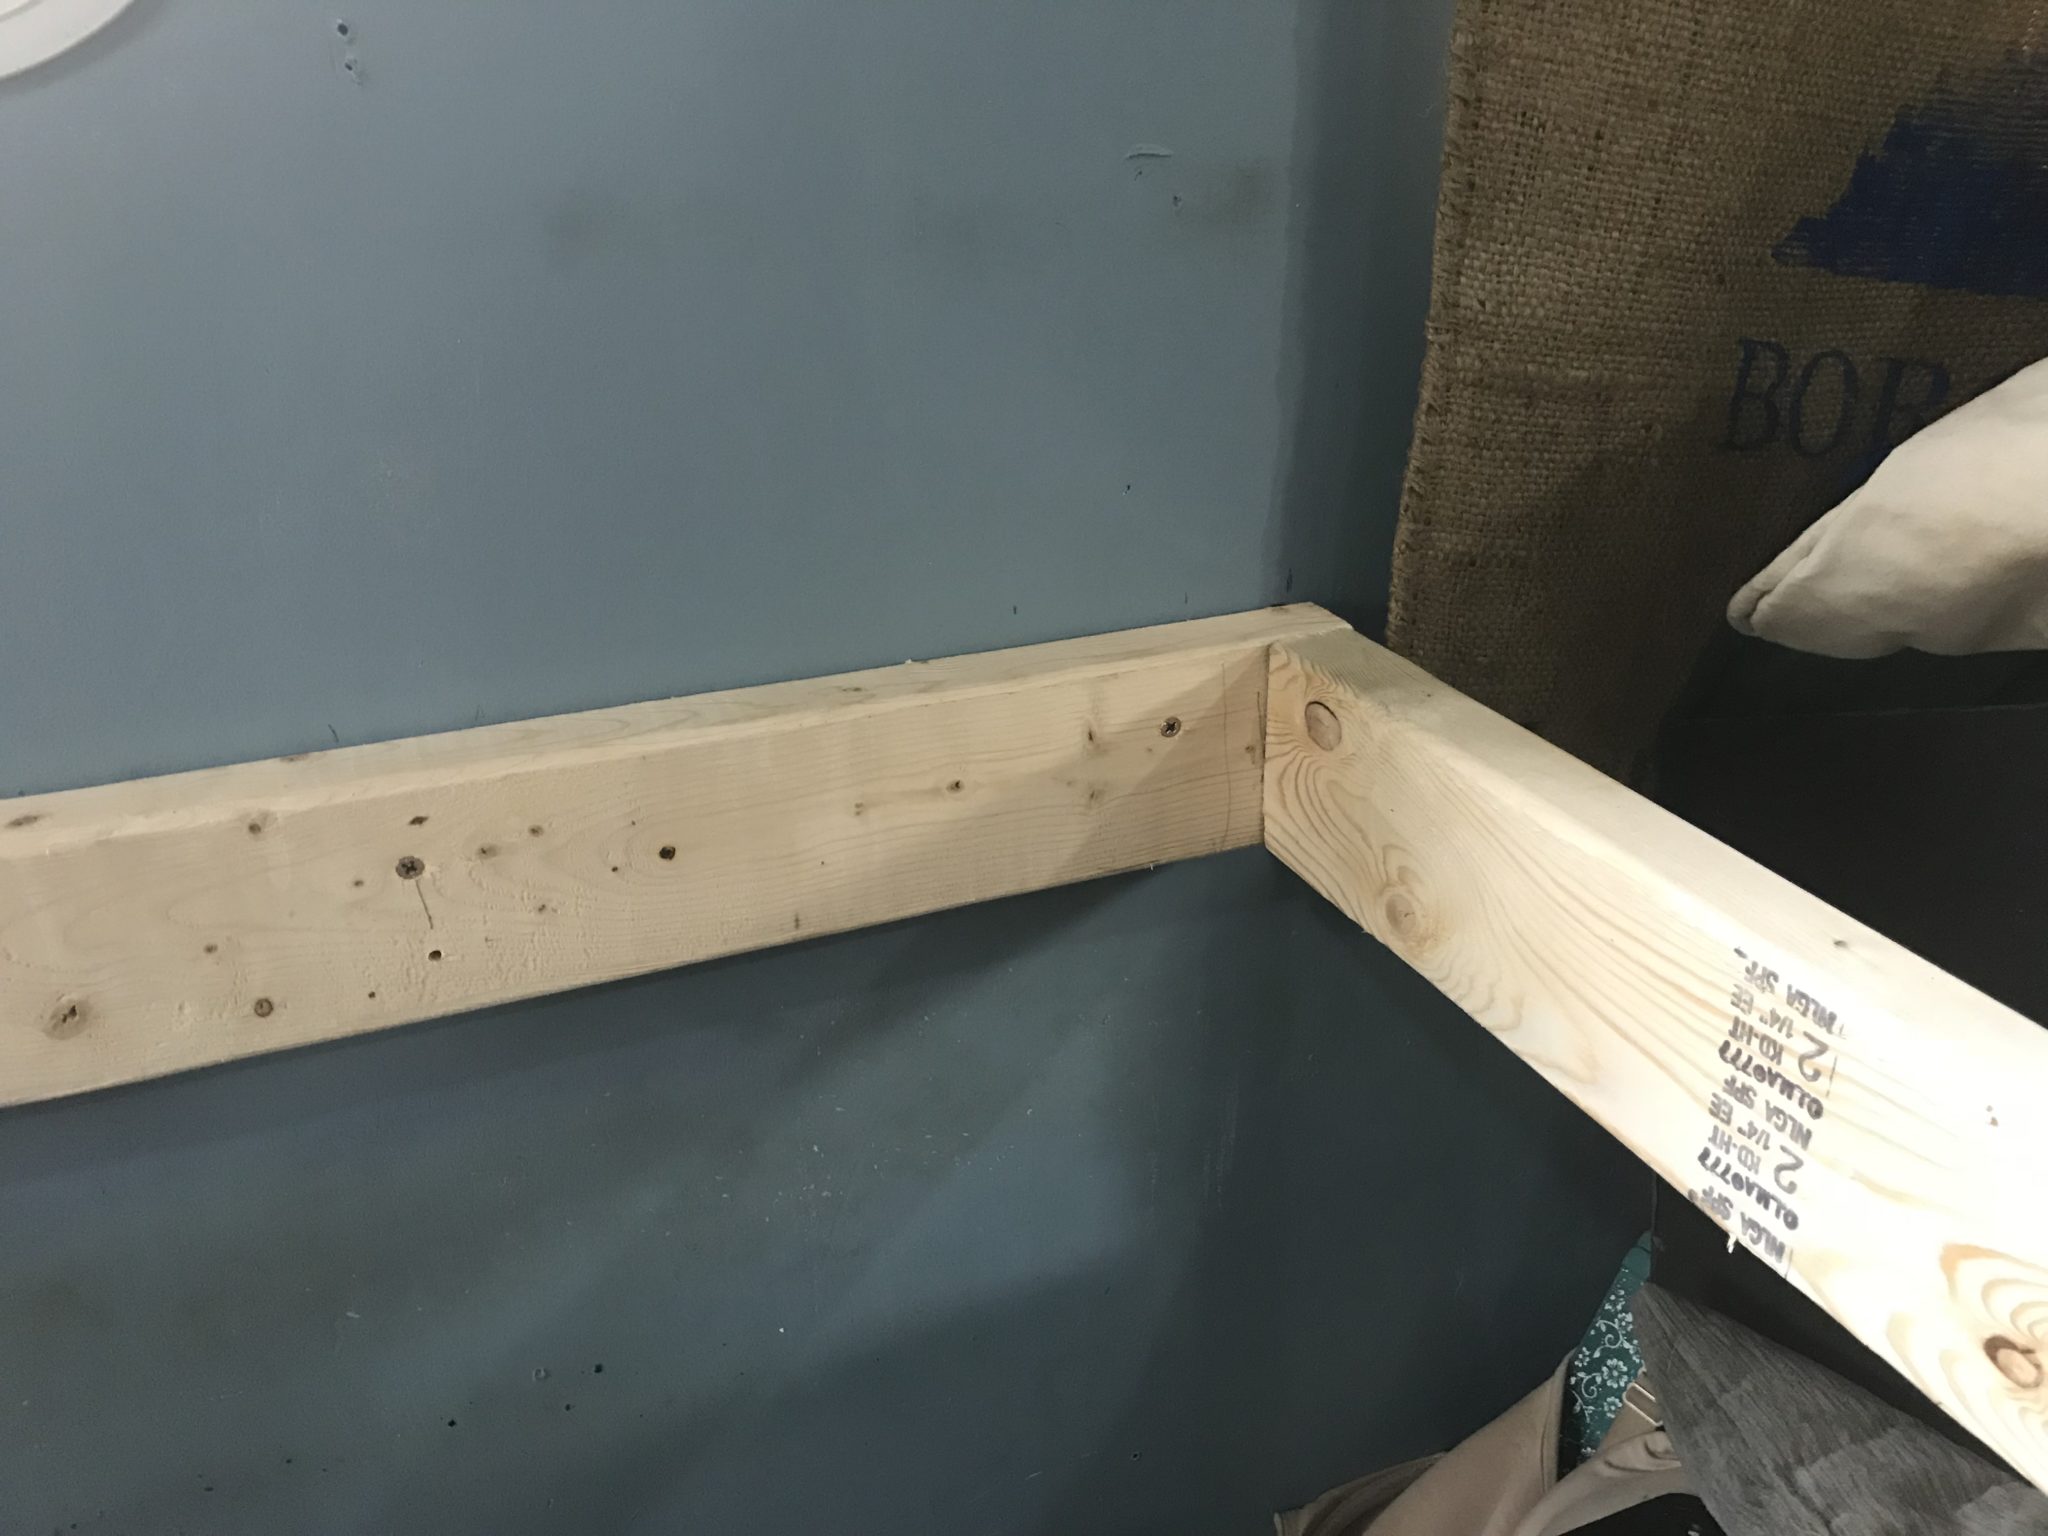
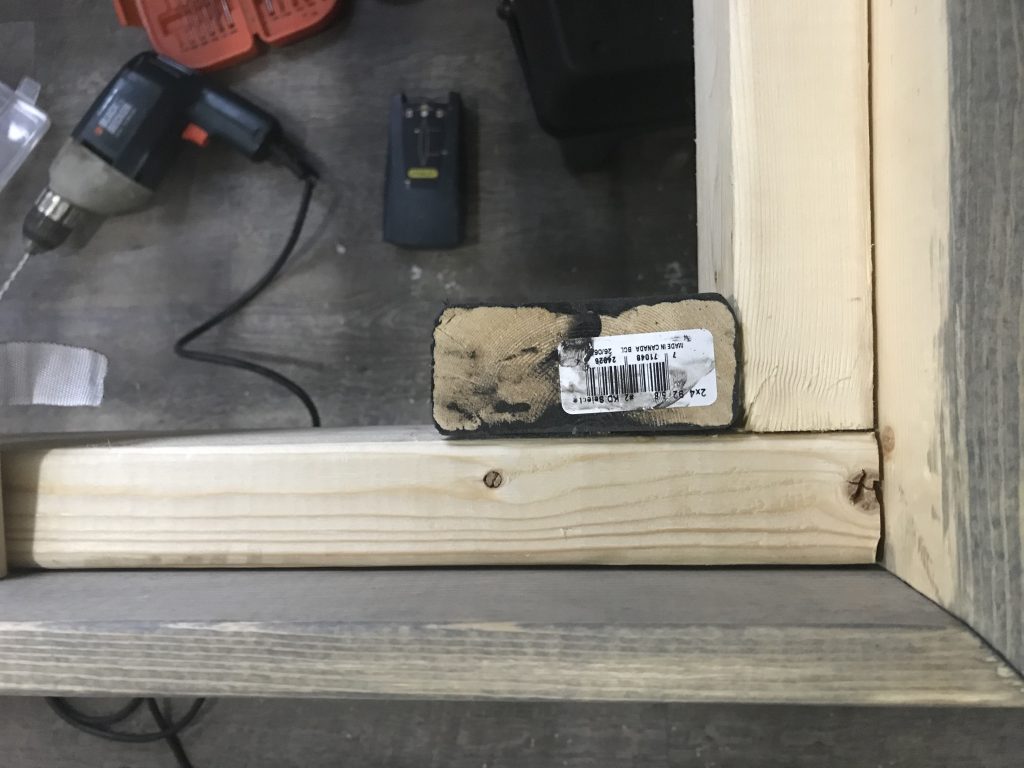
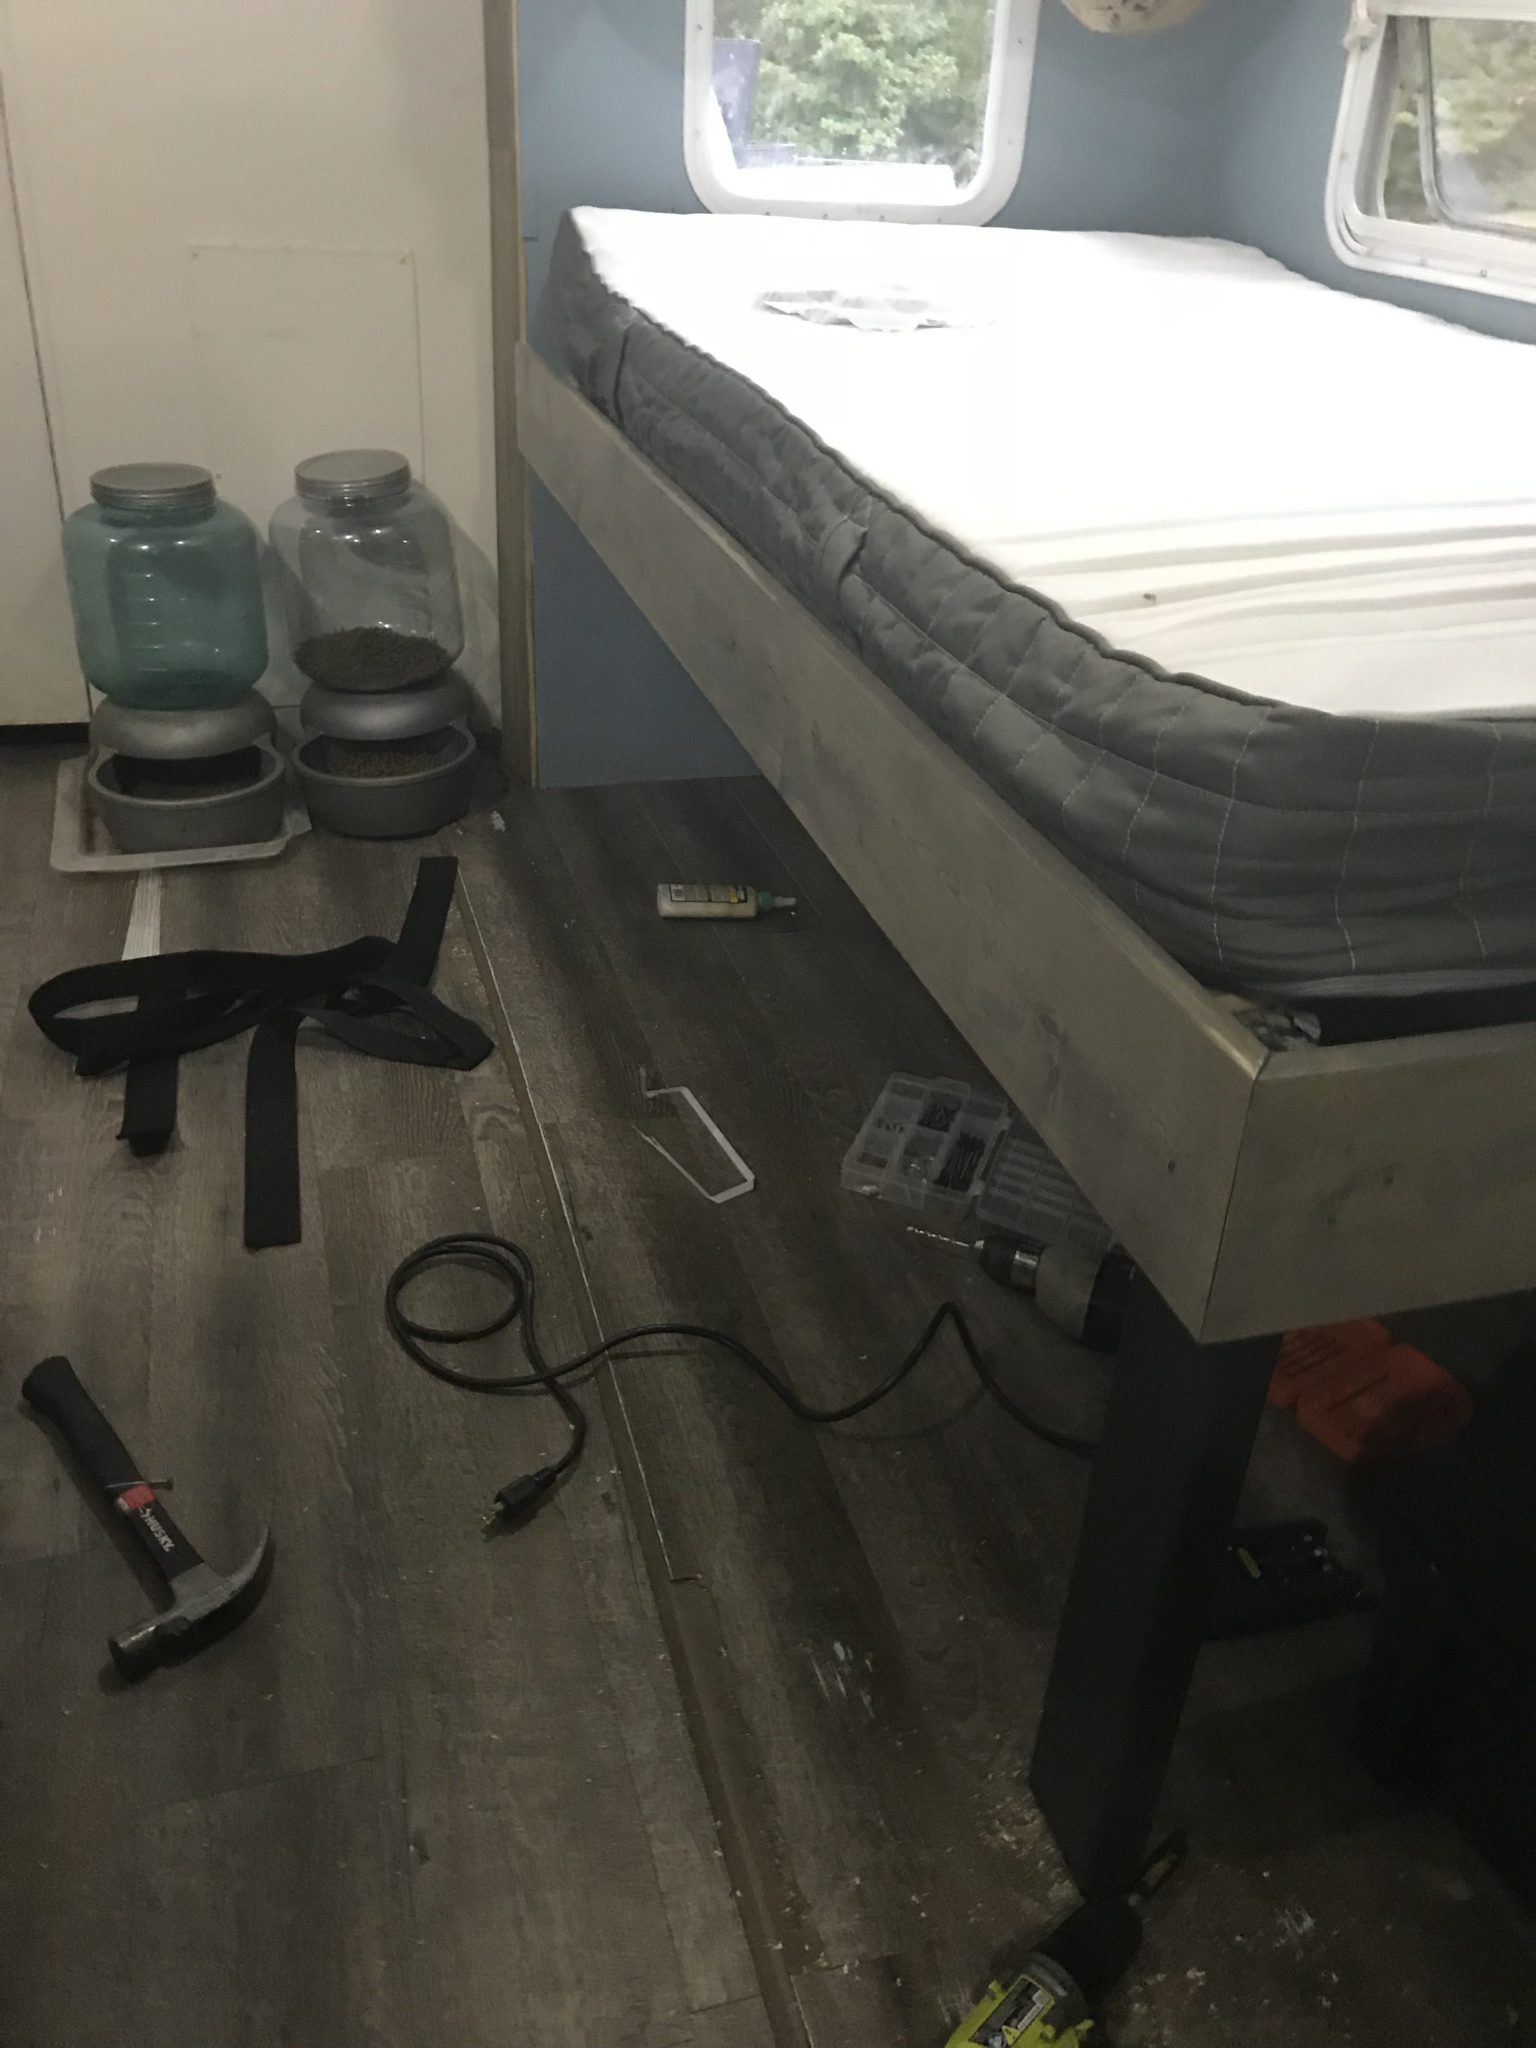
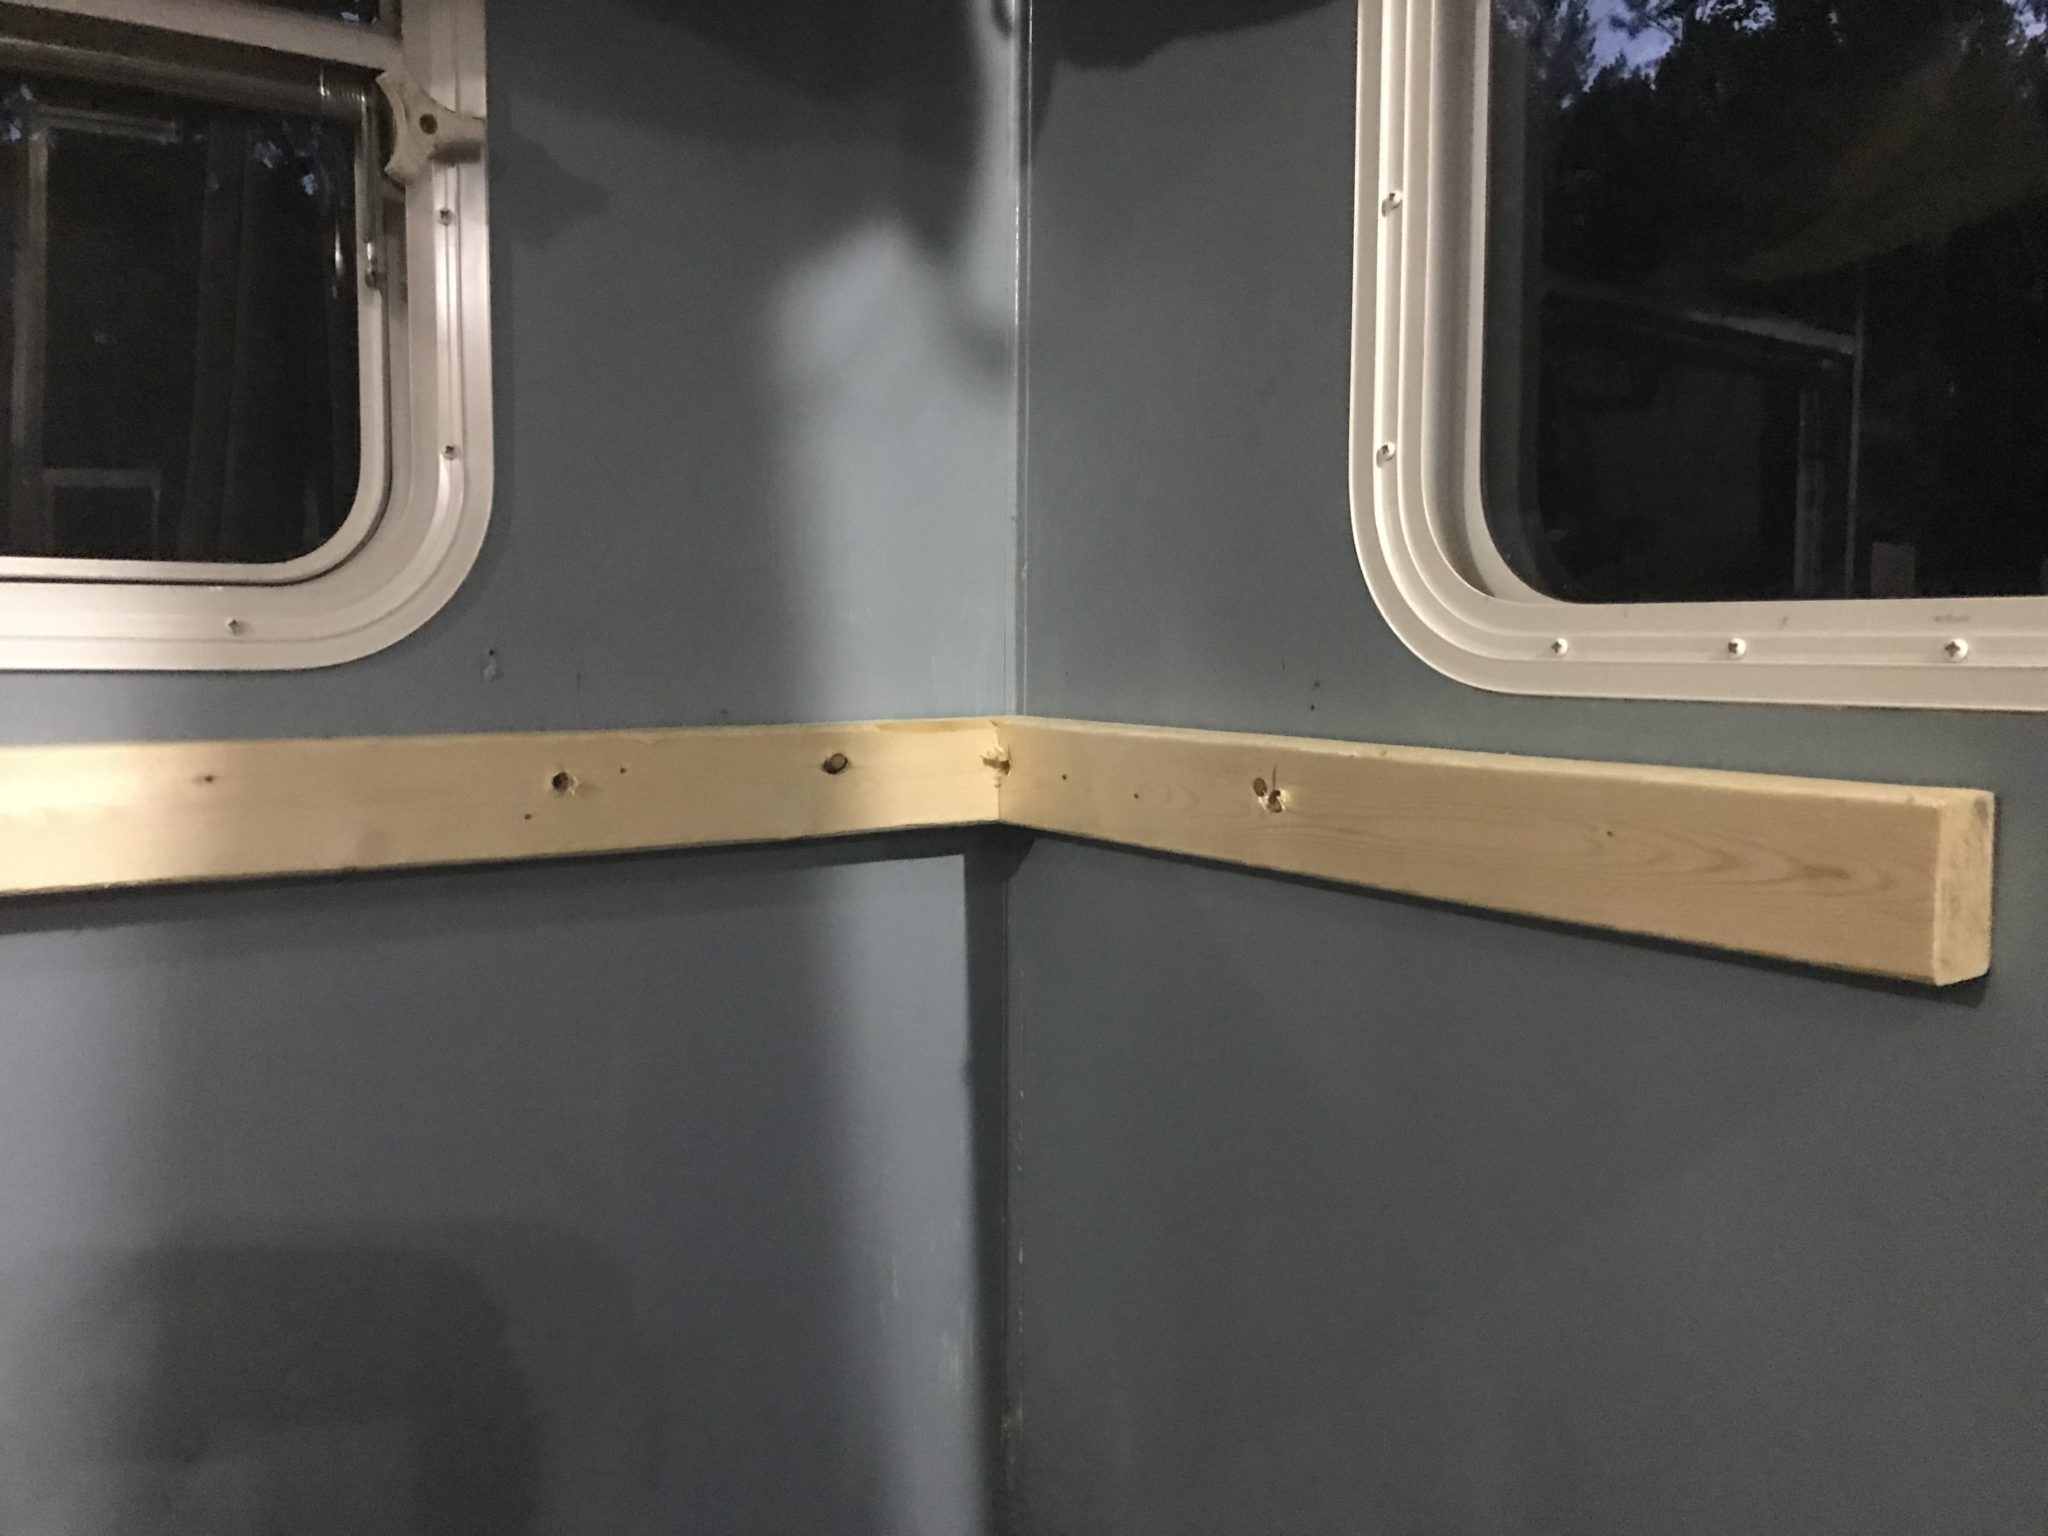
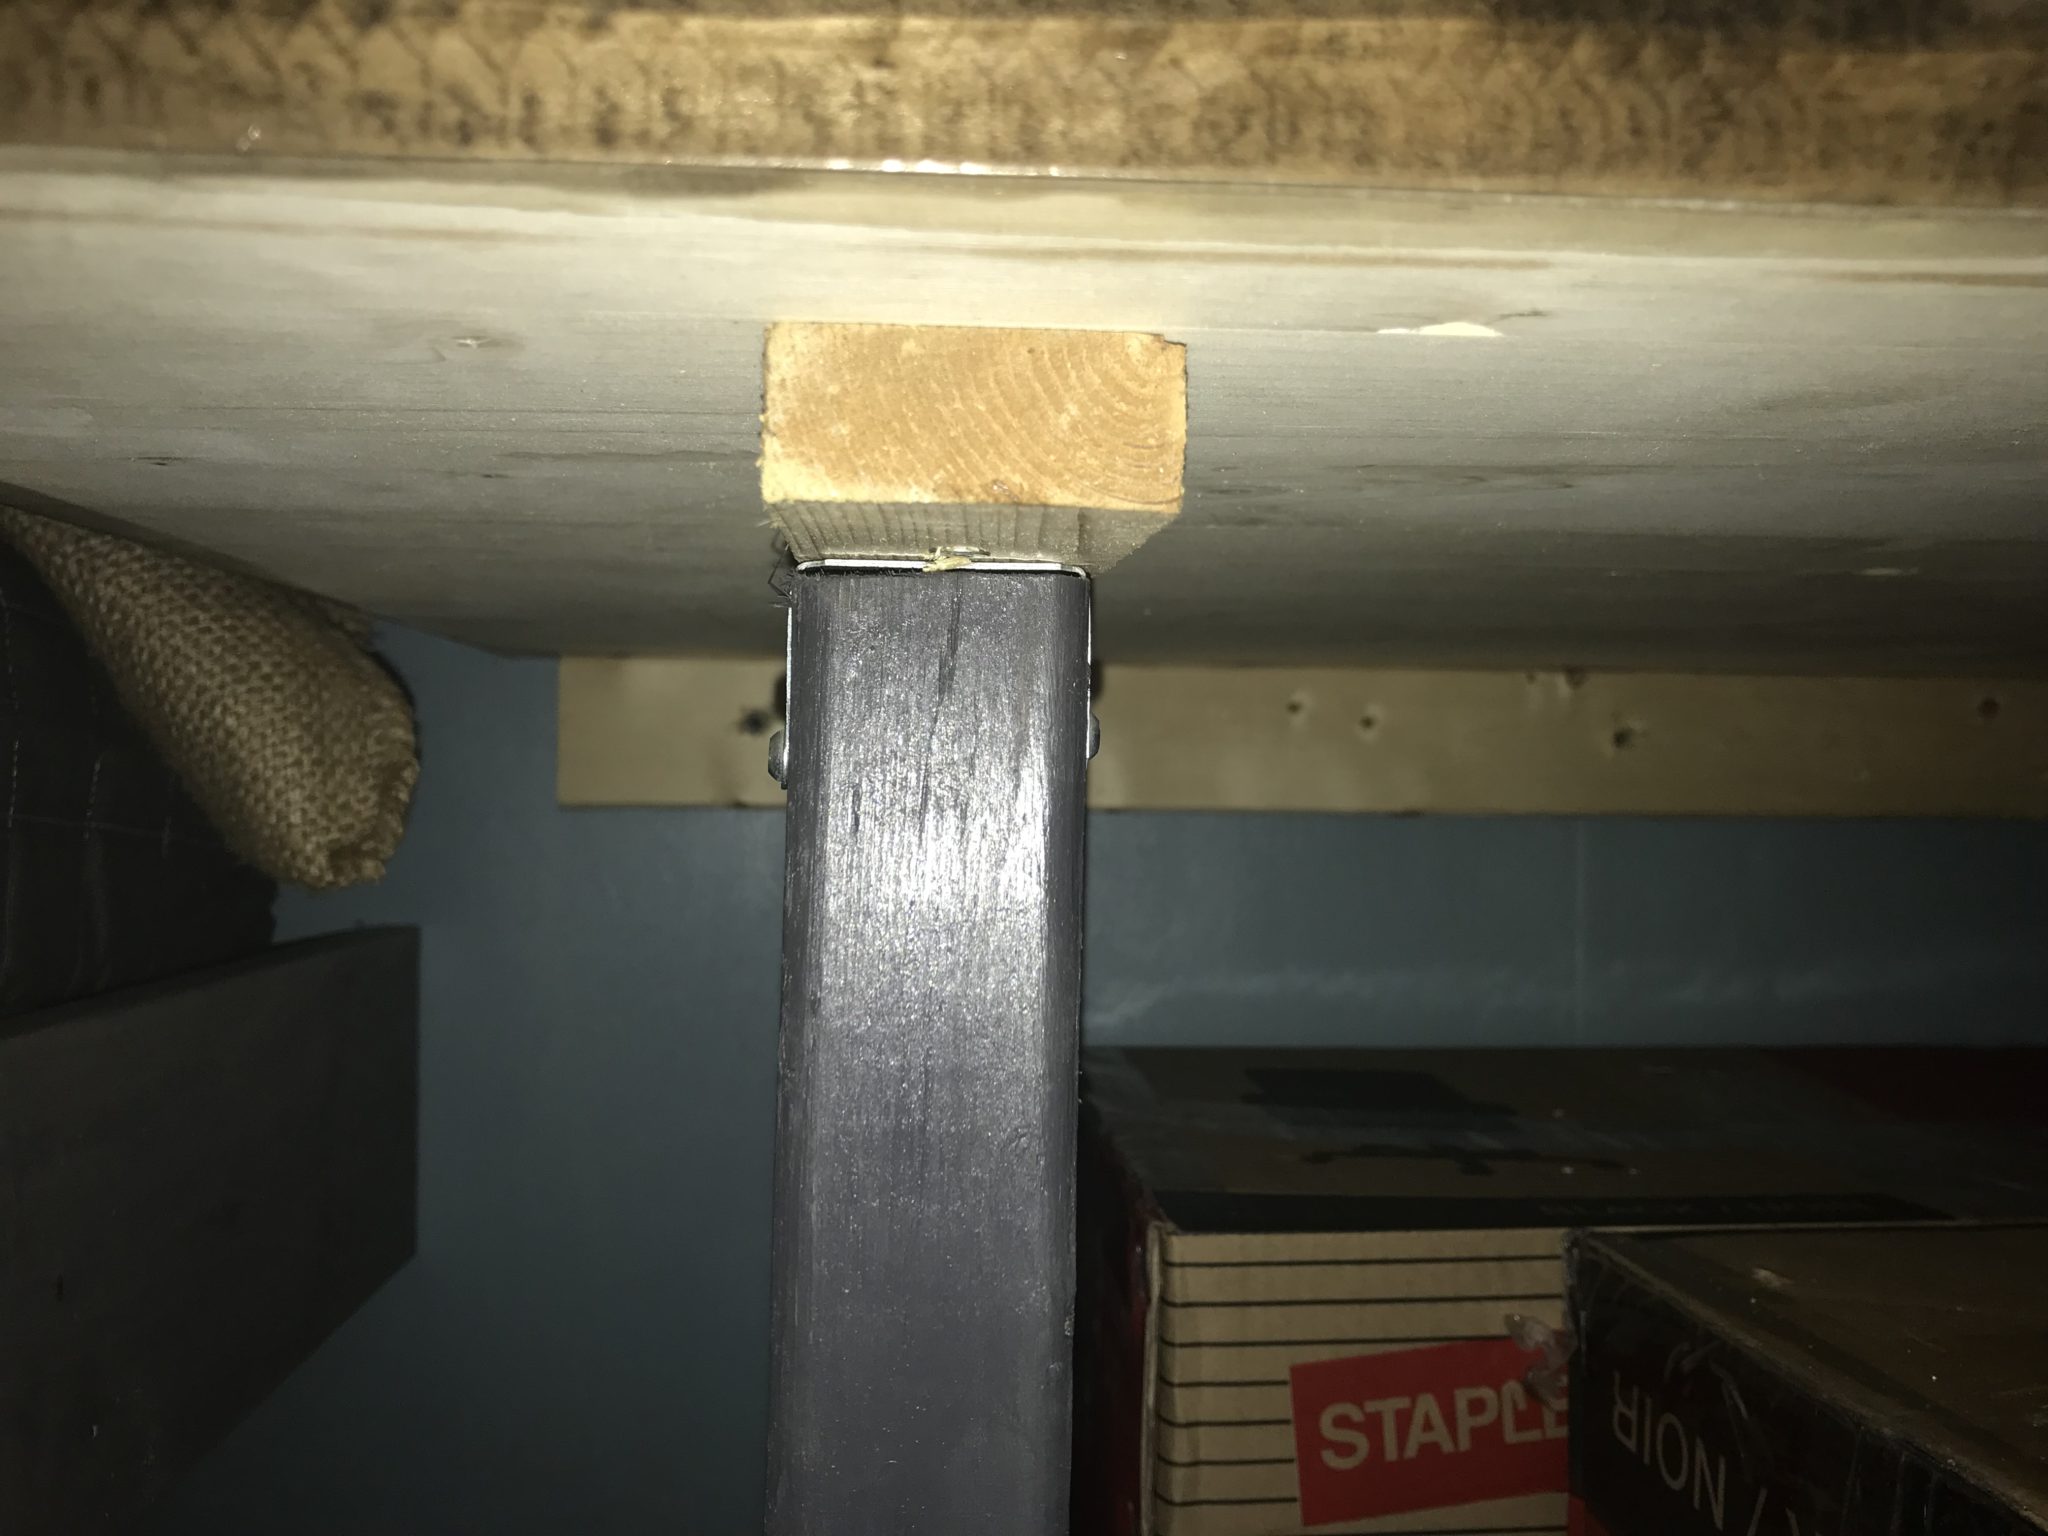
With the desktop drying, I moved on the constructing the daybed. The 2×4 inch rails were the first thing I cut, the outside rails were cut to 75 ½ inches long and the end rails were cut to 35 inches. I screwed one of the side rails to the ends of the 2 end rails and fastened them to the left side of the slide by screwing them into wall studs. A single 2x4inch leg was then cut for the right side of the daybed. The other side rail and the leg were then screwed to the opposite side of the 2 end rails. With the rails all fastened together, I finished them off with some 1×6 inch pine stained with Minwax Classic Grey wood stain. The 1×6 served 2 purposes it gave the frame a nice finished look and it also prevents the mattress from sliding off the rails.
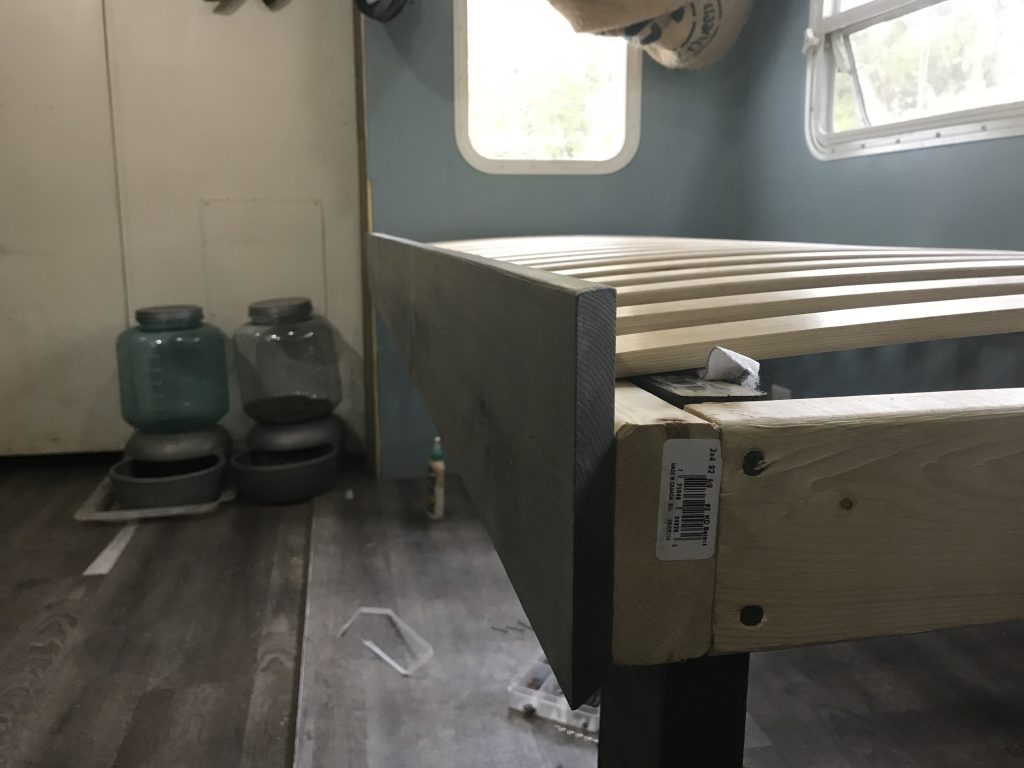
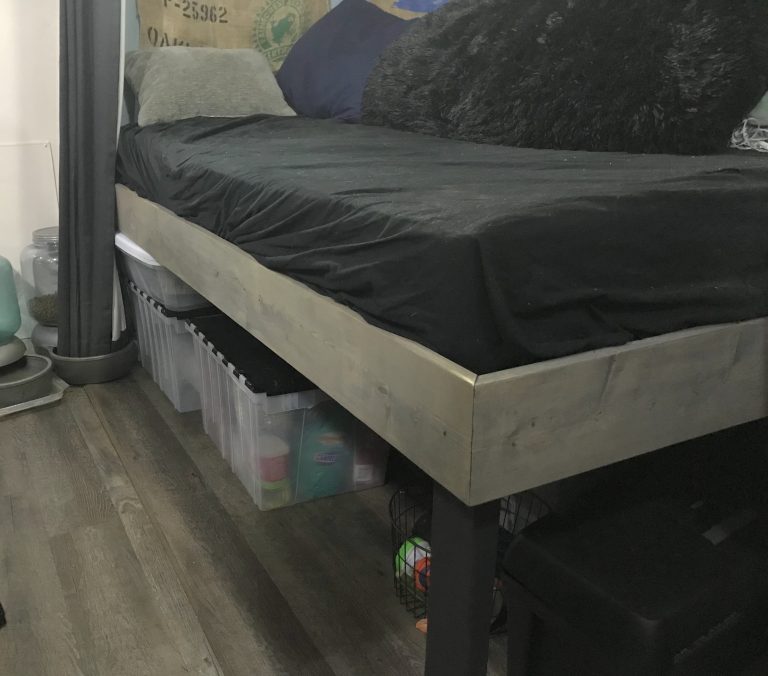
The mattress we bought was a twin-size IKEA medium firm Morgedal foam mattress. For the base of the mattress, we bought a twin-size IKEA Luroy slatted bed base which sat directly on top of the rails I built. The bed was built pretty high off the floor, the top of the mattress is just below the windows, about 30 inches high. This gives us a ton of room to store totes under.

Completing The Desk
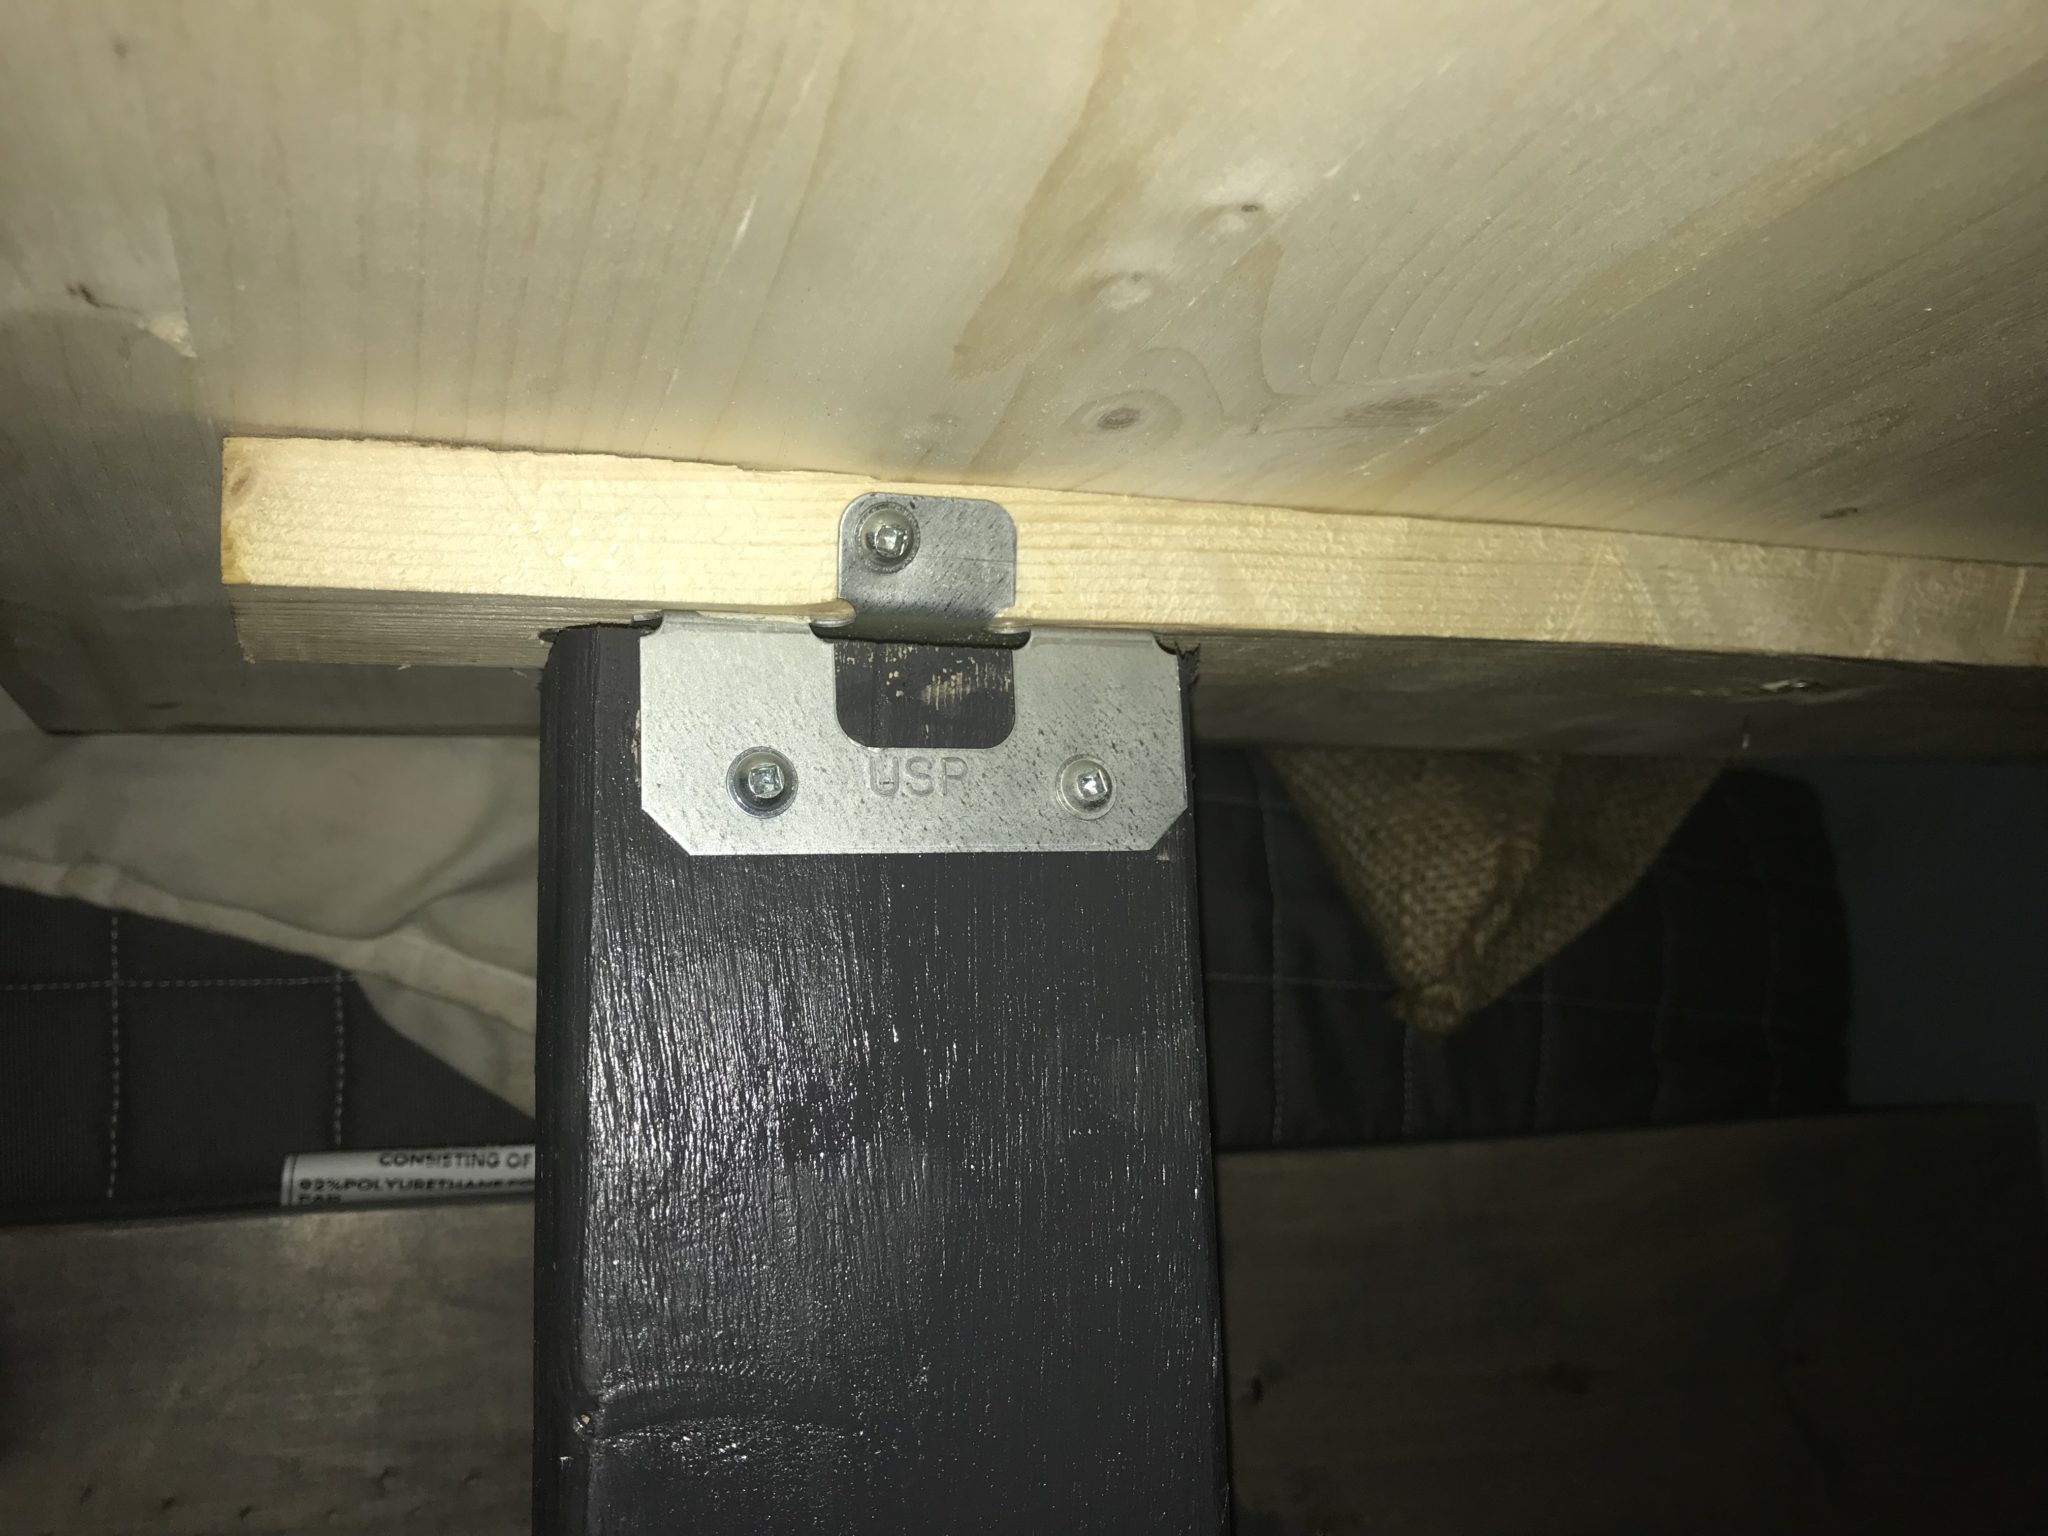
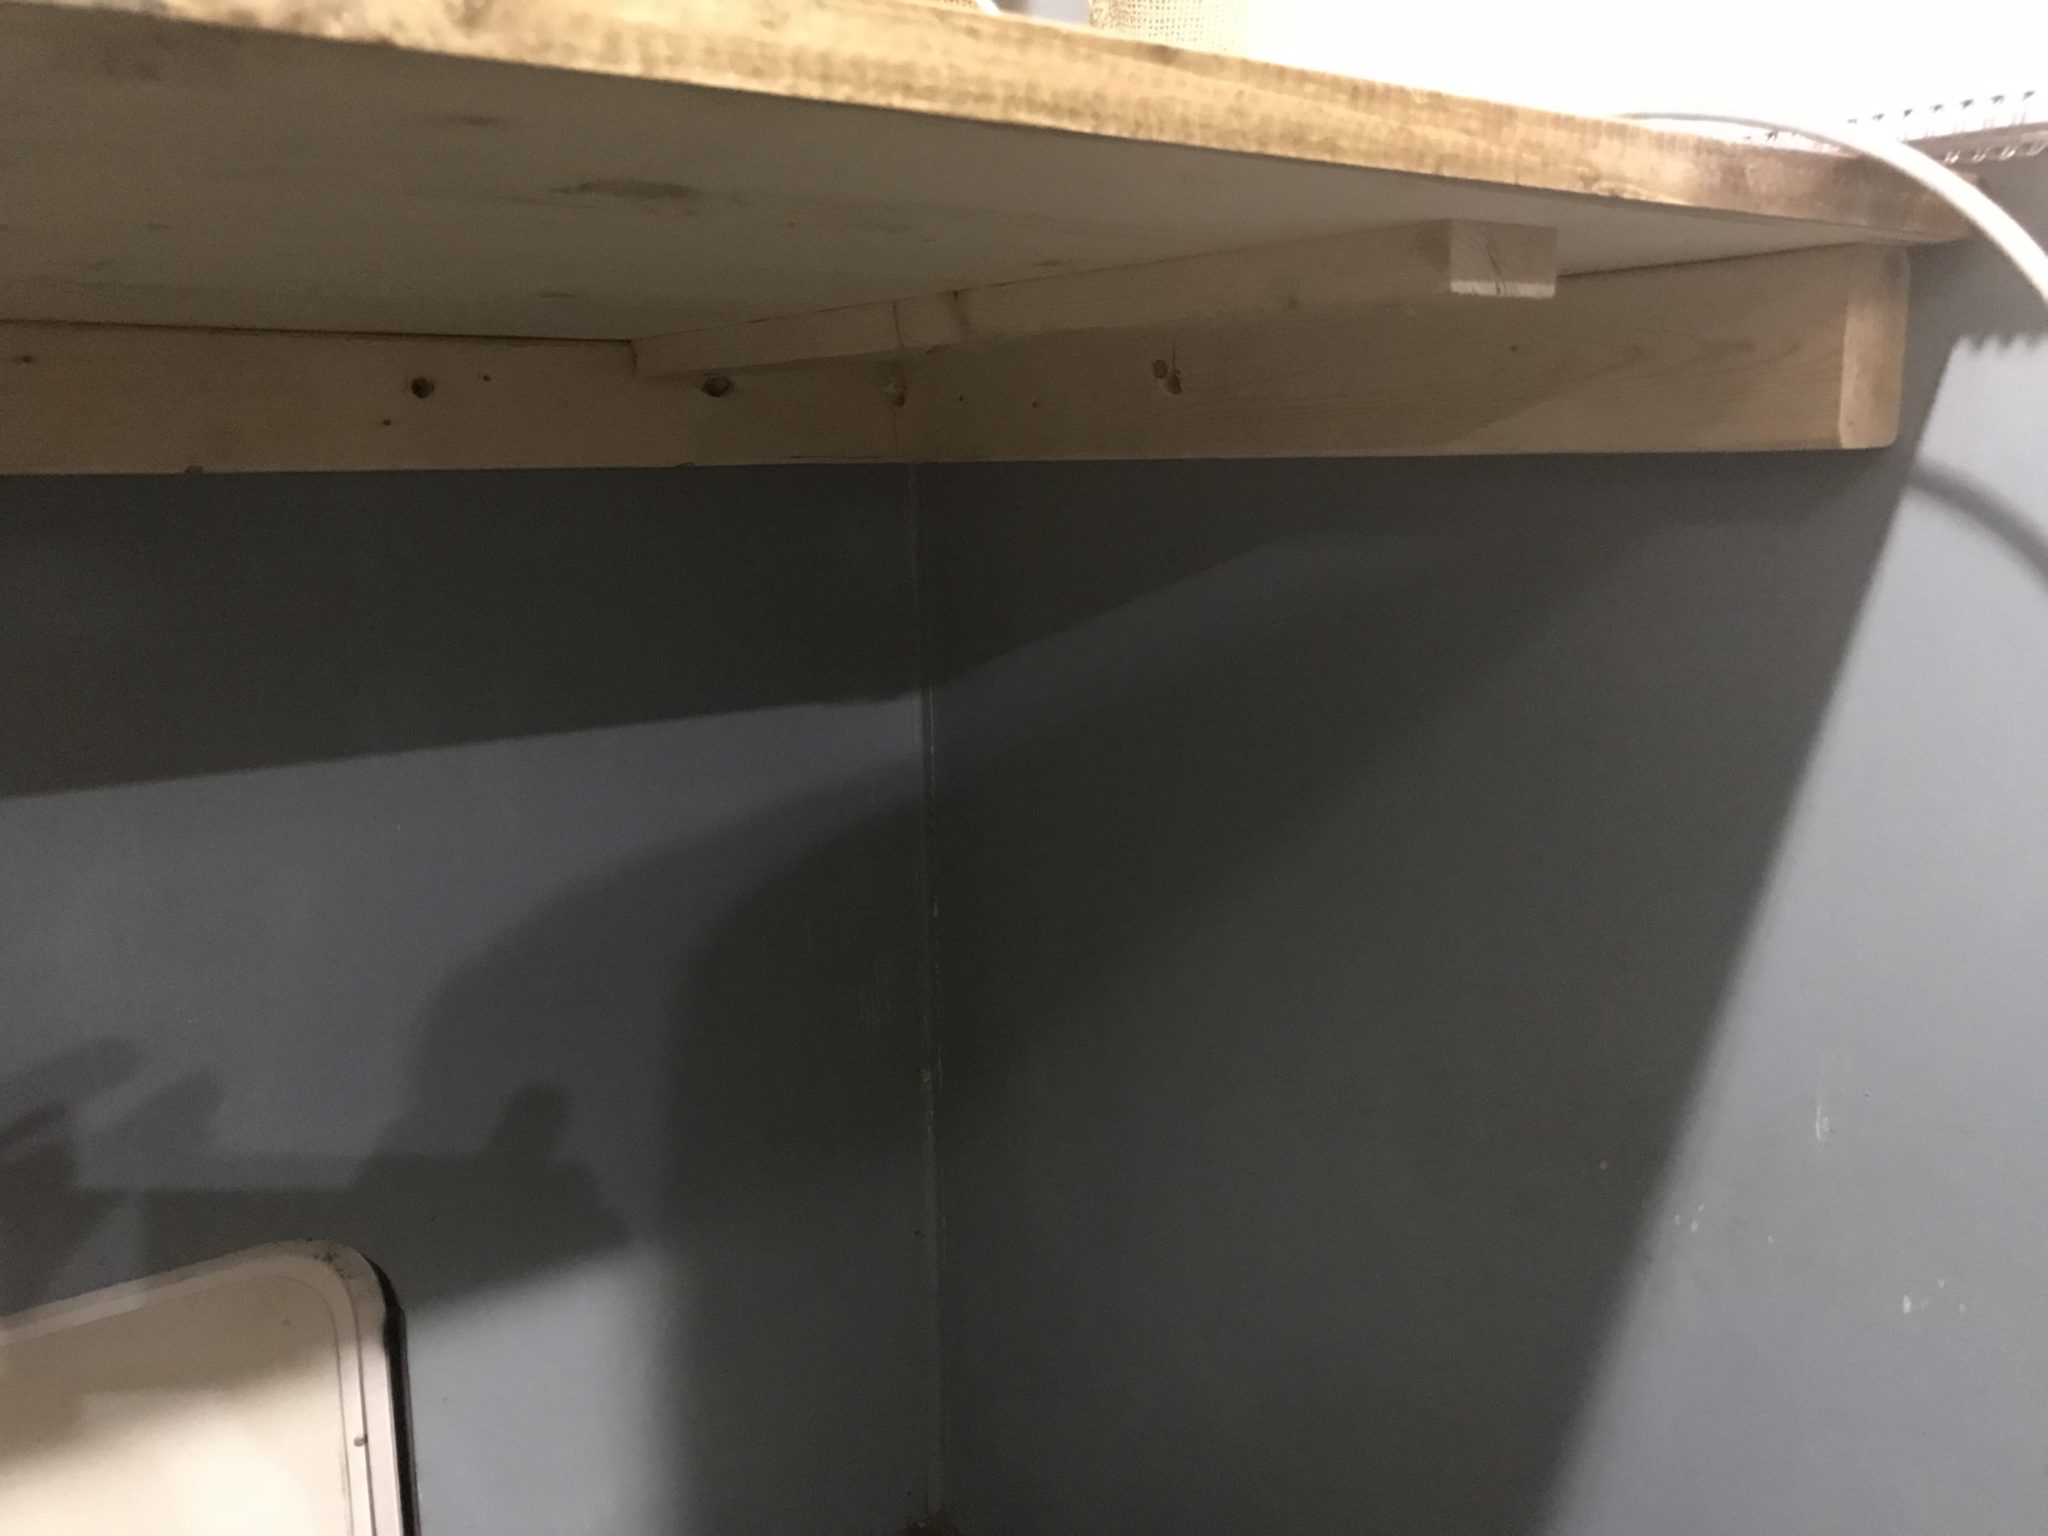
After completing the daybed, I finished building the desk. I ripped a 1×4 inch board into 2 pieces and cut them a few inches shorter than the width of the desktop. Then I fastened the boards to the bottom of the desktop. This is to prevent the desktop from warping, which the edge glued boards tend to want to do. A 2×4 inch double clip was then screwed to one of the ripped 1x4s for the leg to attach to. To attach the desk on the right side of the slide, I cut 2 2×3 inch rails. The rails were screwed into the wall studs like was done with the bed rails. The desktop was then screwed to the two rails and a 2×4 inch leg was cut to length and attached to the clip I mounted to the bottom of the desktop.
Everything Comes Together
With the addition of 2 desk
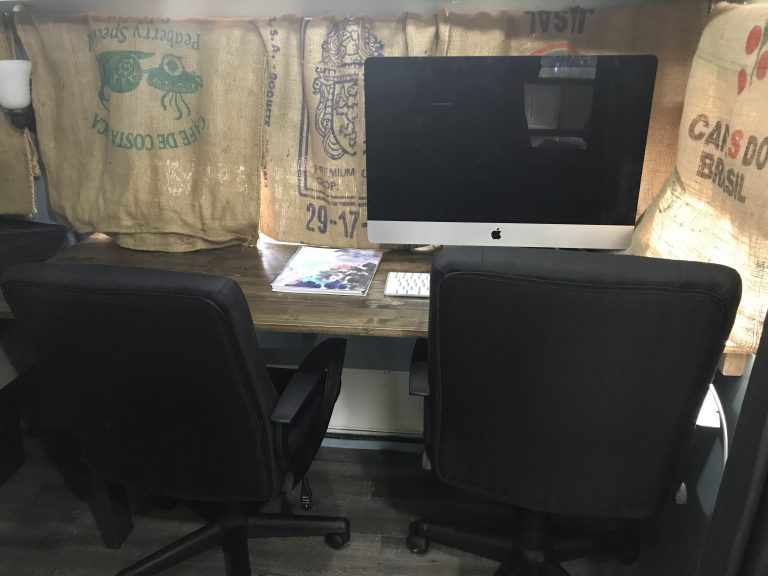
The entire job was completed in one afternoon, much quicker than I anticipated. And we think everything turned out fantastic looking!
Please Like and Share us on social media! Also, subscribe to our email list to stay up to date on new posts! Please leave a comment telling us what you think.

The finished product looks excellent. And I’m amazed you got that all done in an afternoon!
Thank you, Doug! It surprised me to.