Is the lighting in your RV got you feeling gloomy? Well, you can brighten things up with these RV LED lighting upgrades. Upgrades like changing out the incandescent bulbs for LEDs or you can you could install household lighting fixtures in RVs. Thankfully both of these things are possible and easily accomplished. A wide range of LED options
LED Light Bulbs
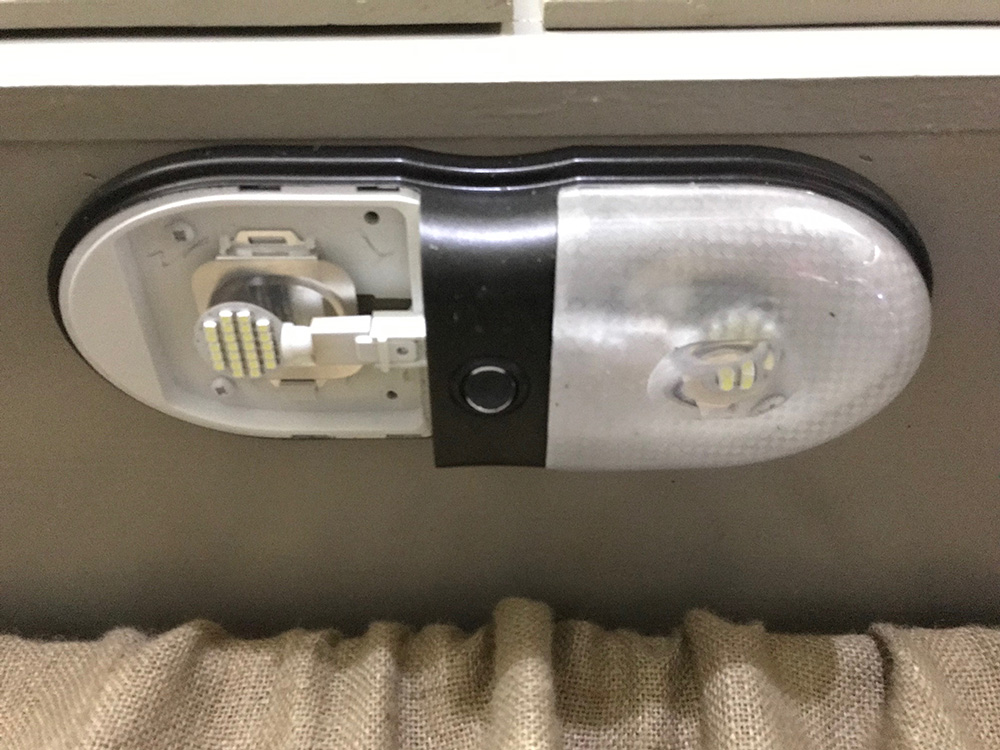
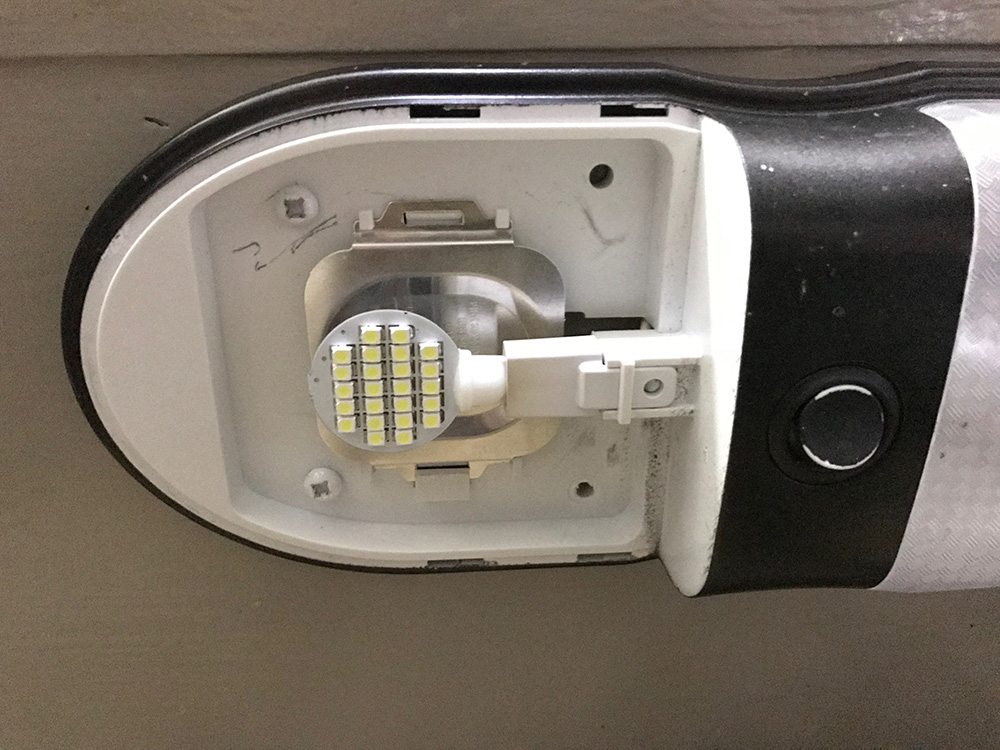
The simplest upgrade in RV LED lighting is direct replacement LED bulbs. There is a large selection of these bubs that simply replace the old incandessent ones. Two of the common types of bulbs found in RVs are the T10 194 921, push in, style bulbs and 1156, twist in, style. Both of these are automotive bulbs and are readably available in Warm White(3000-3500K) and Pure White(6000-6500K) color temperatures. I tend to like the Pure White bulbs, but many people complain that at least some of them are too blue. These bulbs are a quick and easy upgrade from the old incandescent bulbs and make a big difference in your lighting.
New RV LED Lighting
The next easiest upgrade is to replace the old light fixtures with ones that come with LED bulbs already installed. This is a good option if the lights that are in your RV are ugly or just not the right size. Several choices, including low profile and recessed LED lights can be found. Some of these have replaceable bulbs like the ones mentioned above while others have the LEDs built into them. When looking for fixtures like this, make sure they are made to run on 12volt DC power.
Installing New RV LED Light Fixtures
The process for installing a new light fixture is usually quite simple. First thing is to find the fuse or circuit breaker to the light you are replacing and pull the fuse/turn off the breaker. Remove the screws, nuts or whatever is holding the old fixture in place. Next, pull fixture out and gently pull the wires out from the wall or ceiling to find the connections. Note which wires are connected together, many times the wires in the walls and ceiling are different colors than are on the light fixture. If the wires are connected by wire nut, unscrew the wire nut and remove the fixture. In the case the wires are held together with crimp connectors, you will have to cut the wire leaving enough to strip the insulation and reconnect to the new fixture.
Testing Your RV Wires
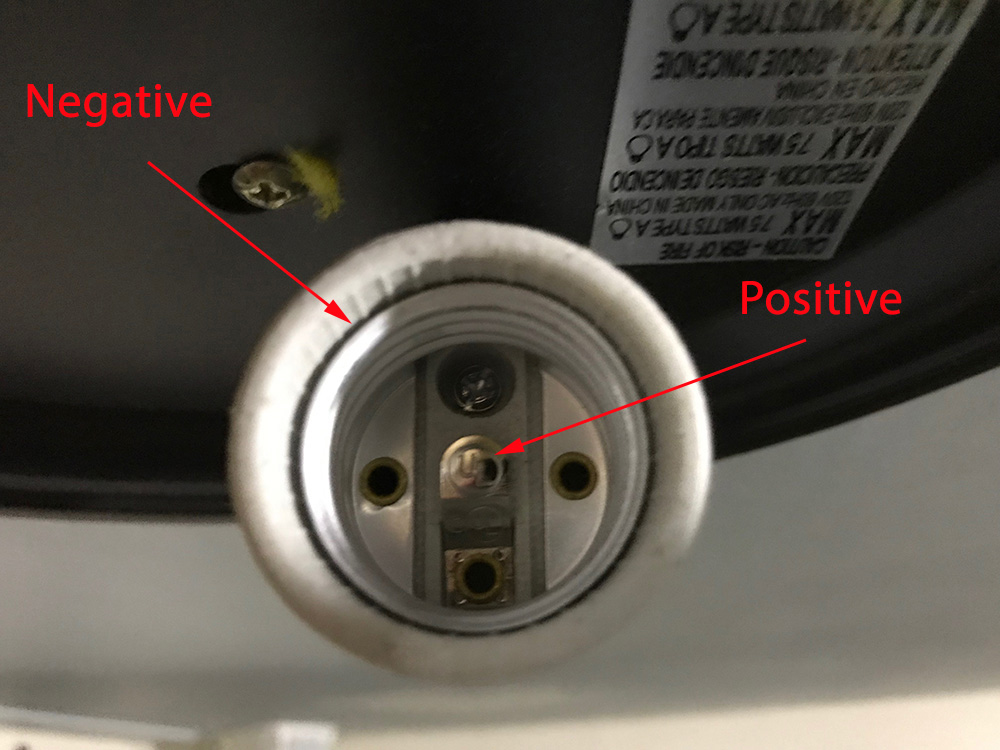
It’s a good idea to verify the positive and negative wires with a voltmeter before connecting the new light. To do this you need to first make sure the wires you just disconnected are not touching each other or anything metal. Now reinsert the fuse/turn on the breaker. Then with a voltmeter set to DC voltage, touch the black and red probes to both the wires. If the needle moves to 12 volts or digital readout shows 12 volts, that means you have the black probe in on the negative and the red probe is on the positive. But if the needle moves backward or digital readout show -12volts, you have the black probe on positive and the red one on negative.
Connecting The Wires
Now disconnect the power again and connect the wires on the new LED light. Many times, if the light fixture has white and black wires on it, the white wire is the negative and the black wire is positive. If the wires are black and red, it is then usually black negative and red positive. Check the fixture or the instructions for your fixture to be sure, though sometimes it doesn’t matter. The easiest way to connect the wires is with wires nuts. It’s also what many light fixtures come with.
Installing Wire Nuts
To connect the wires with a wire nut, first strip ½ to ¾ inch of insulation of the end of the wires with wire strippers. Now evenly align the ends of the wires and while holding them together twist on the appropriately sized wire nut in a clockwise direction. Tighten the wire nut good and snug, but not too tightly or you may strip the nut out or break the wires. Now that the wire nut is installed gently pull on the wires to make sure they are secure. If any bare wire is exposed wrap the wires and nut with some electrical tape to protect them for shorting out. With the new LED light wired up, turn the power back on to make sure it works. If all is well. Secure your new fixture in place.
Installing Residential Lights
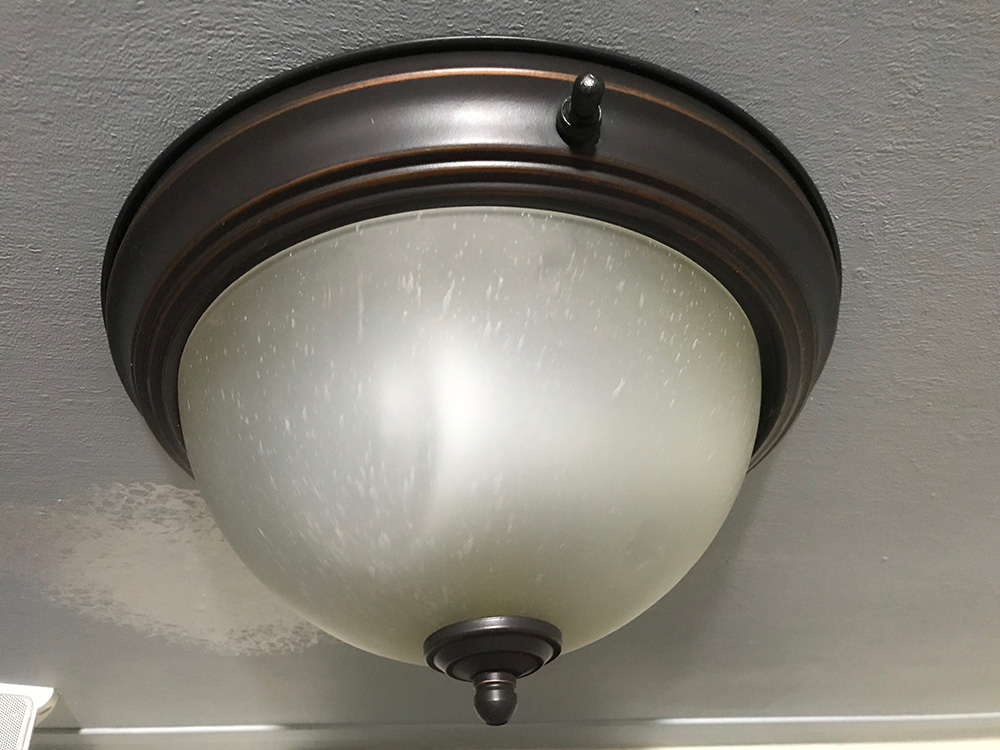
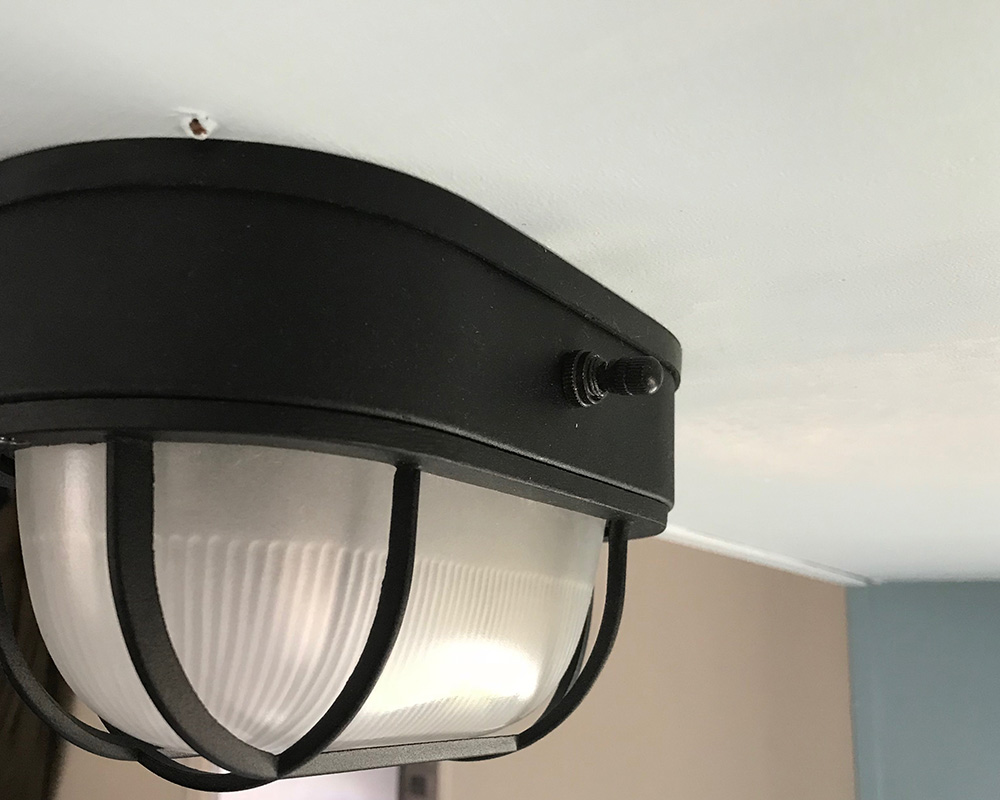
The final option in RV LED lighting is using residential light fixtures. This may sound confusing since residential lights run on 110-volt AC. But there is a secret, you can purchase LED bulbs that fit residential light fixtures that run on 12-volt DC. You can get these bulbs in
Note that residential fixtures that come with LED bulbs already installed or built-in may not work. Unless they come with an external transformer that reduces the 110-volt AC to 12-volt DC, that can be cut off and wired into your RV.
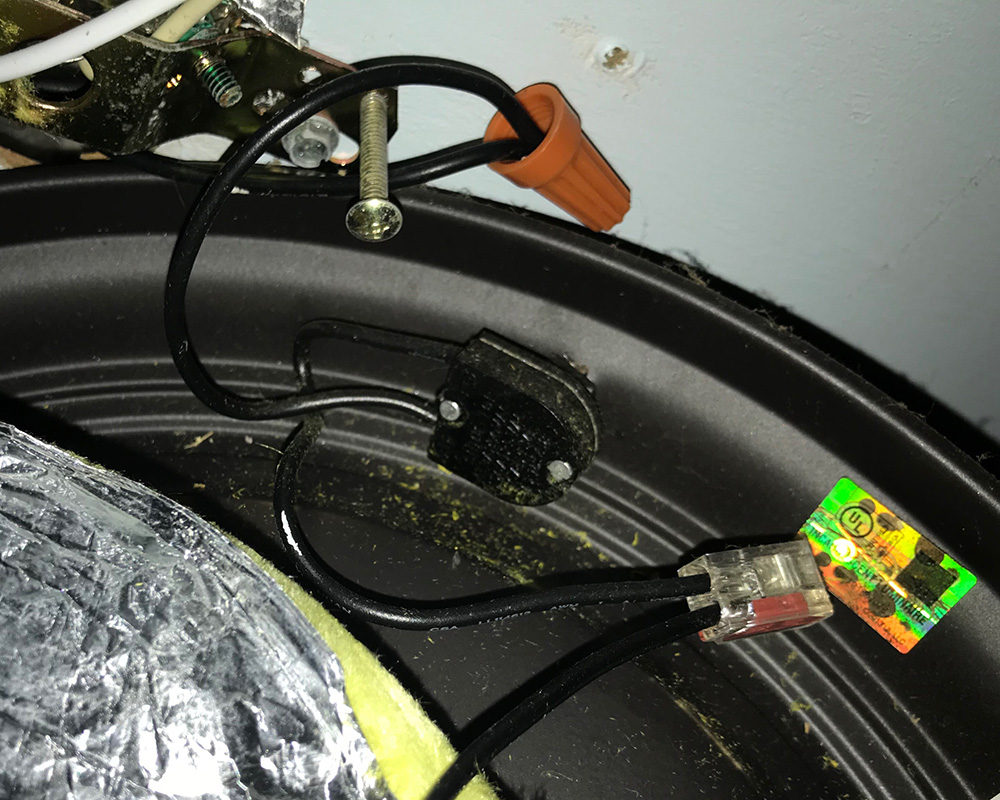
Hacking The Residential Lights
I have installed 2 different types of residential light fixtures in The Tin Can. I installed some of these lights on circuits in our RV that were not switched. These fixtures were also not equipped with built-in switches. To use these fixtures, I bought some small lamp switches and wired them into the fixtures on the positive side. I then mounted the switches in the light fixtures by drilling a hole in the side of them.
Conclusion
I hope this article will help you in your search for RV LED lighting. It is a great and easy upgrade for any RV. The most difficult part of the upgrade, with all the many choices out there, is choosing the lighting options you like the best. We wish you the best of luck in your RV LED lighting install, you will not regret it!
Please Like and Share us on social media! Also, subscribe to our email list to stay up to date on new posts! Please leave a comment telling us what you think.

A crimp connection or solder is better for the vibrations in a traveling RV. A wire nut can come loose. If you’re not familiar with this type of connection just look it up on YouTube. The tools are low cost for the basic ones
Be careful…older RV’s (mine is a 2002) have power supplies that have half wave rectifiers that you assume have 12 volt outputs for the original resistive heaters in the fridge, and lighting.
They damage LED lights because of the heat generated with the 6 volt ripple back voltage.
I tried some in my RV and started to smell smoke-like aromas, and found the LED lamps melted…
Not good…
Newer RV’s have linear power supplies like your computer, so likely not a problem.
But I’m not spending $300+ to save a few lights in my rig… 🙂
jmp
Recreational lights I installed on my enclosed 30ft trailer to supply more light than my previous upgrade to LED bulbs. The LED lights were easy to put in and provided the brightness I needed to figure on my vehicles in the dark while driving. They were packaged well and worked great. They’re designed to show on one or either side or put off completely, which could be a nice feature once you must conserve power. Very pleased with the acquisition.
We put LED bulbs in our pop-up this spring and they are so much nicer!