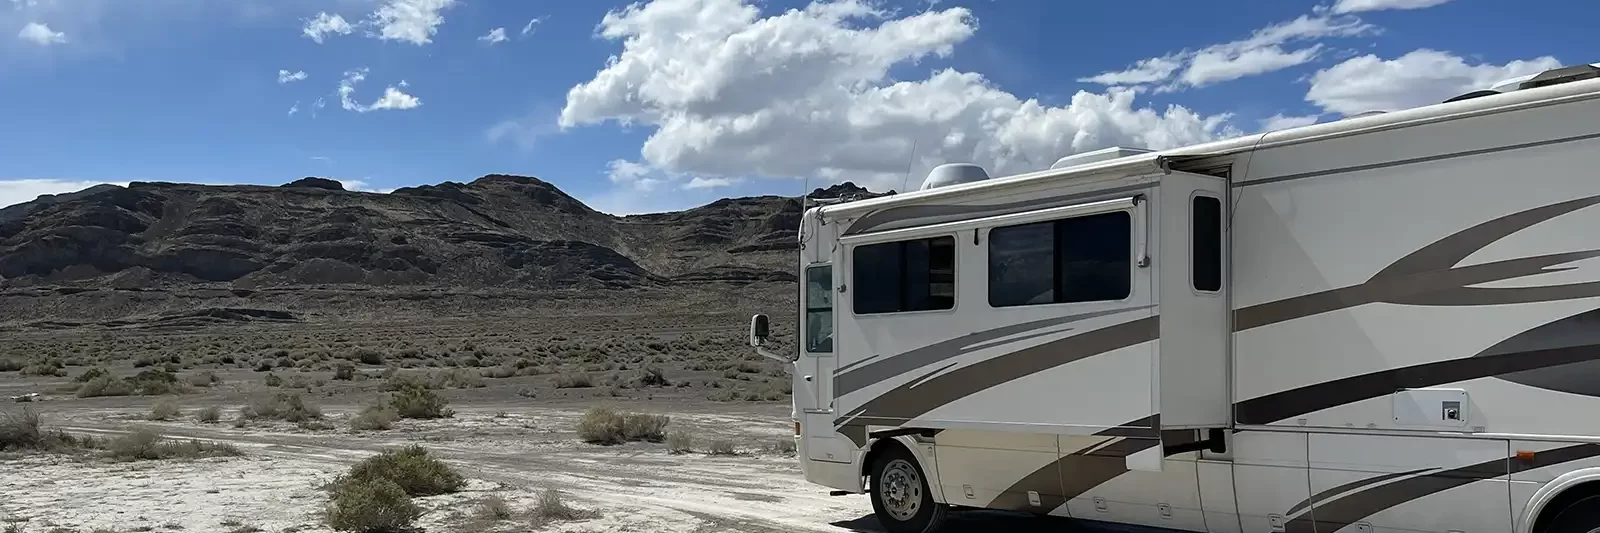
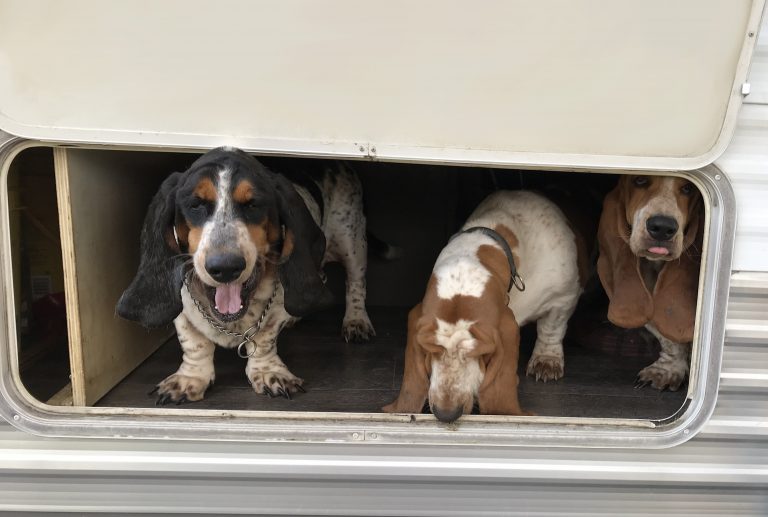
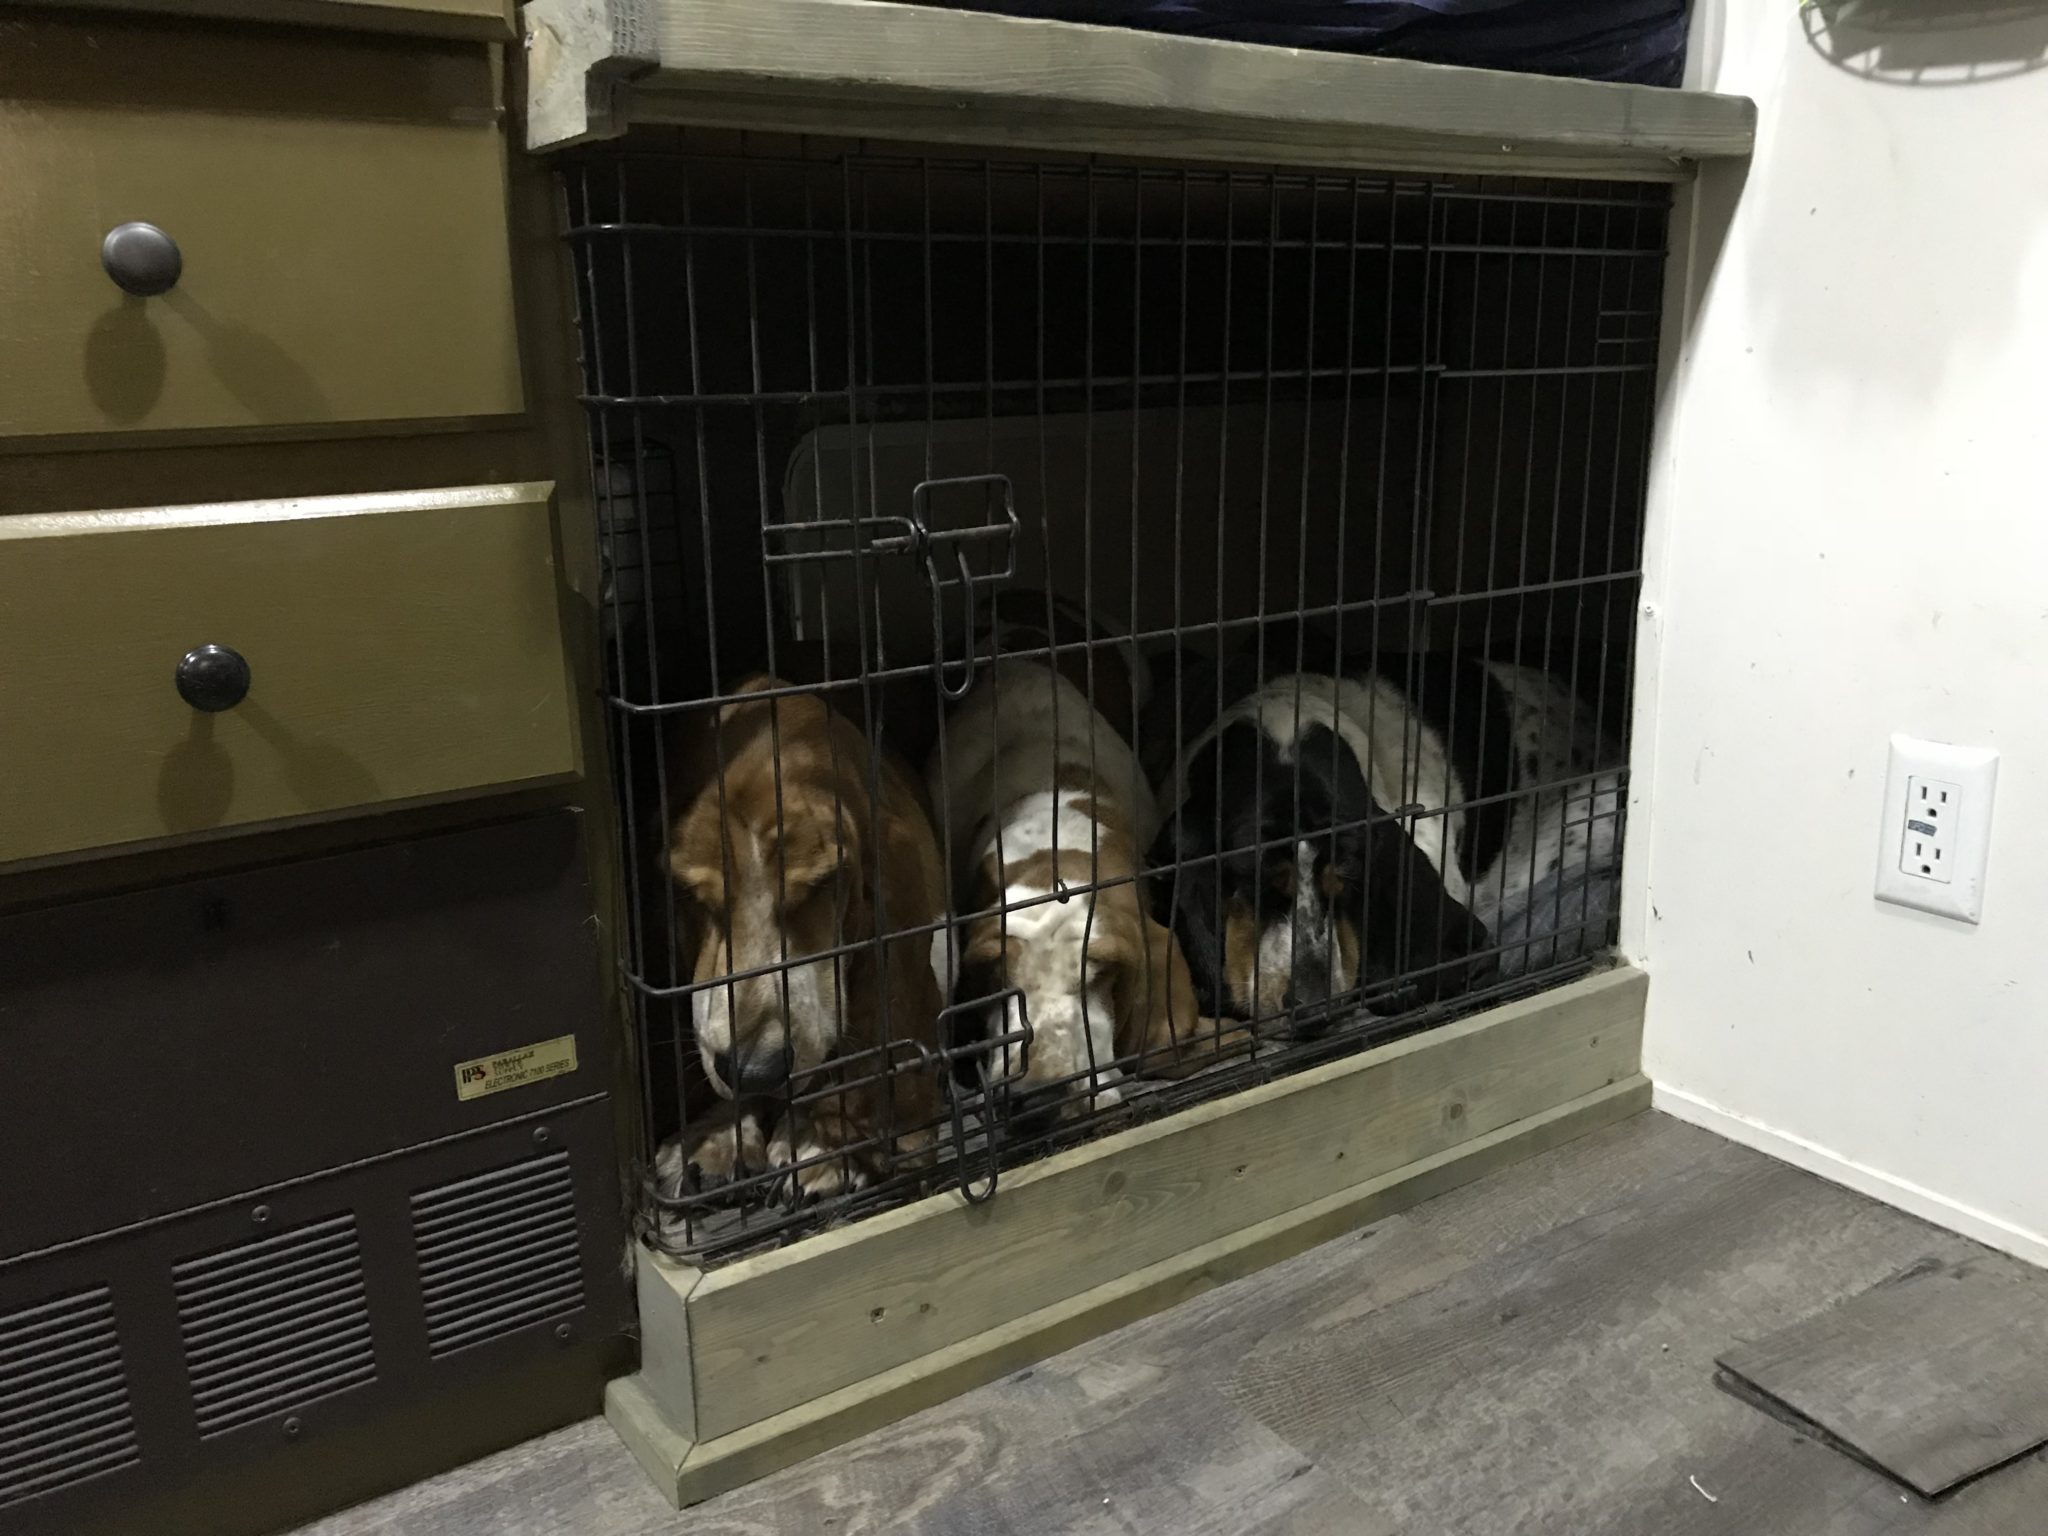
We are a full-time family of 4 humans, 2 cats, and 4 dogs. Three of our dogs are, not-so-well-behaved, bassets. Therefore we have to lock them up at night and when we are away and not able to take them with us. In this post, I will describe how I made a dog cage for them that is out of the way in our small space we call, The Tin Can.
Before setting out full time we use to carry around one of those steel fold up cages with us. We would put in the trailer at night for the dogs to sleep in. Then in the morning when we took the dogs out, we would have to take it outside and slide it under the trailer for the day. It was always in the way, a hassle to move, and just plain inconvenient.
Location, Location, Location
During our remodel of The Tin Can in preparation to full-time, we knew this situation had to change. Being that the trailer is a bunkhouse and since we were no longer were going to be using our bottom bunk, it proved to be the perfect place for the dogs. The bottom bunk also has an outside access door in it, which made it even more perfect.
First Things First
To start off the conversion I pulled out the old bunk mattress and removed all the trim from the bunks. The trim was just some fabric cover plywood, which would neither hold up in this application nor look good. Doing away with that was an easy decision. With all that removed, Angelica and the kids painted the area a dark coffee brown and installed some of the driftwood flooring planks, leftover from We Are Down With This Flooring post, in the bunk.
Putting It All Together
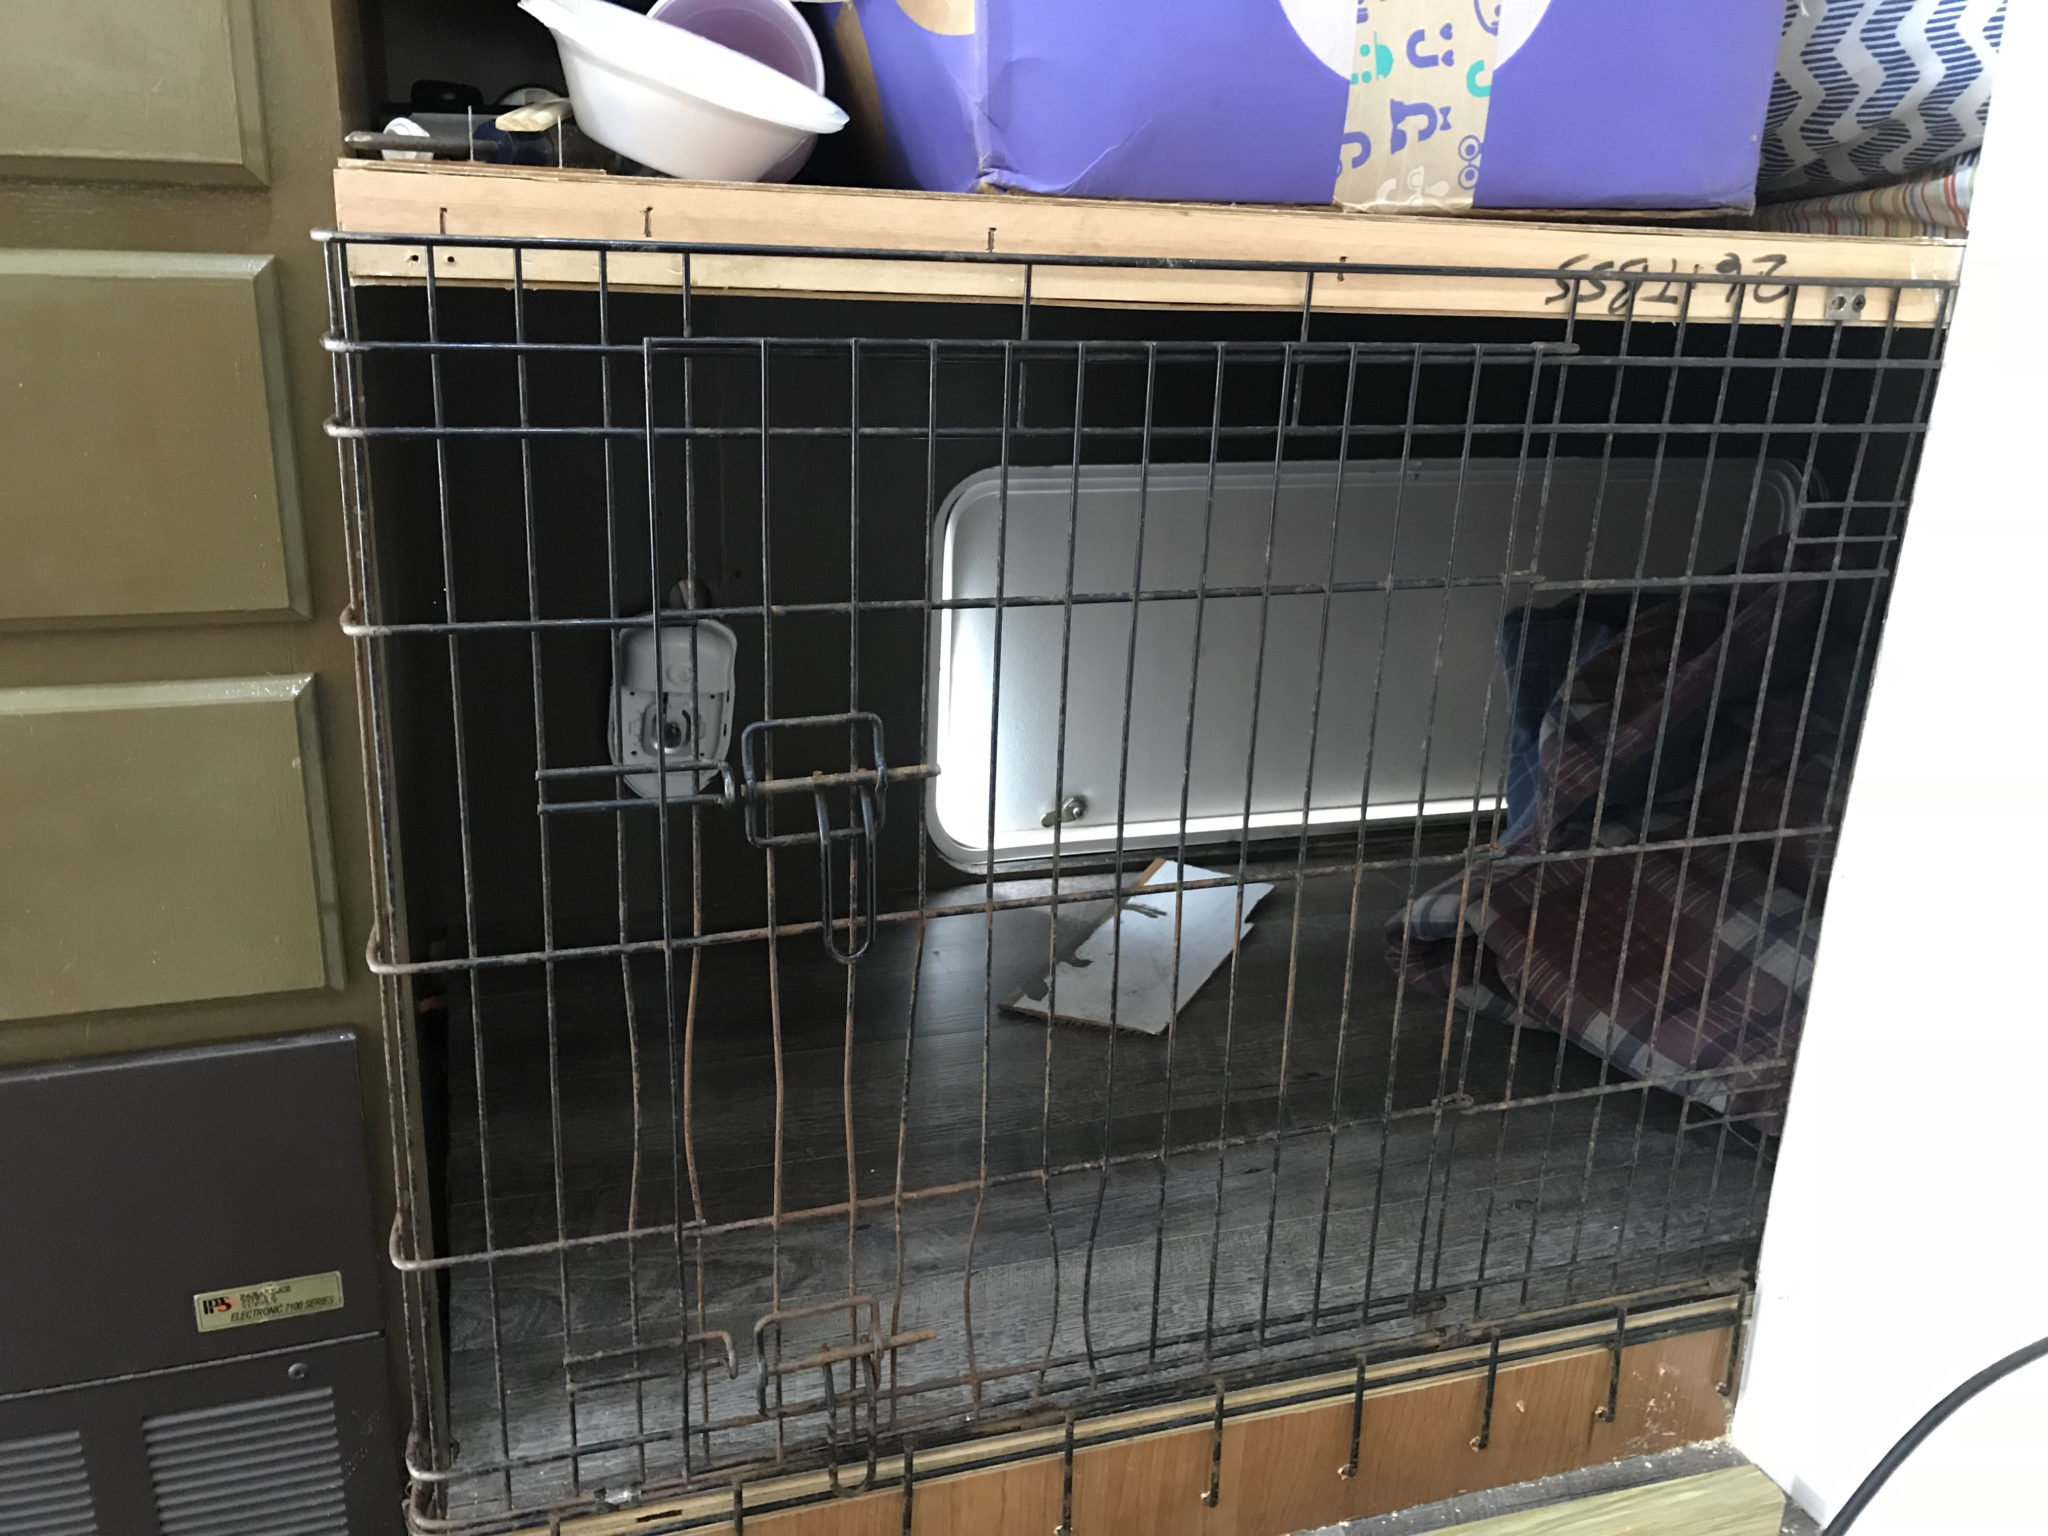
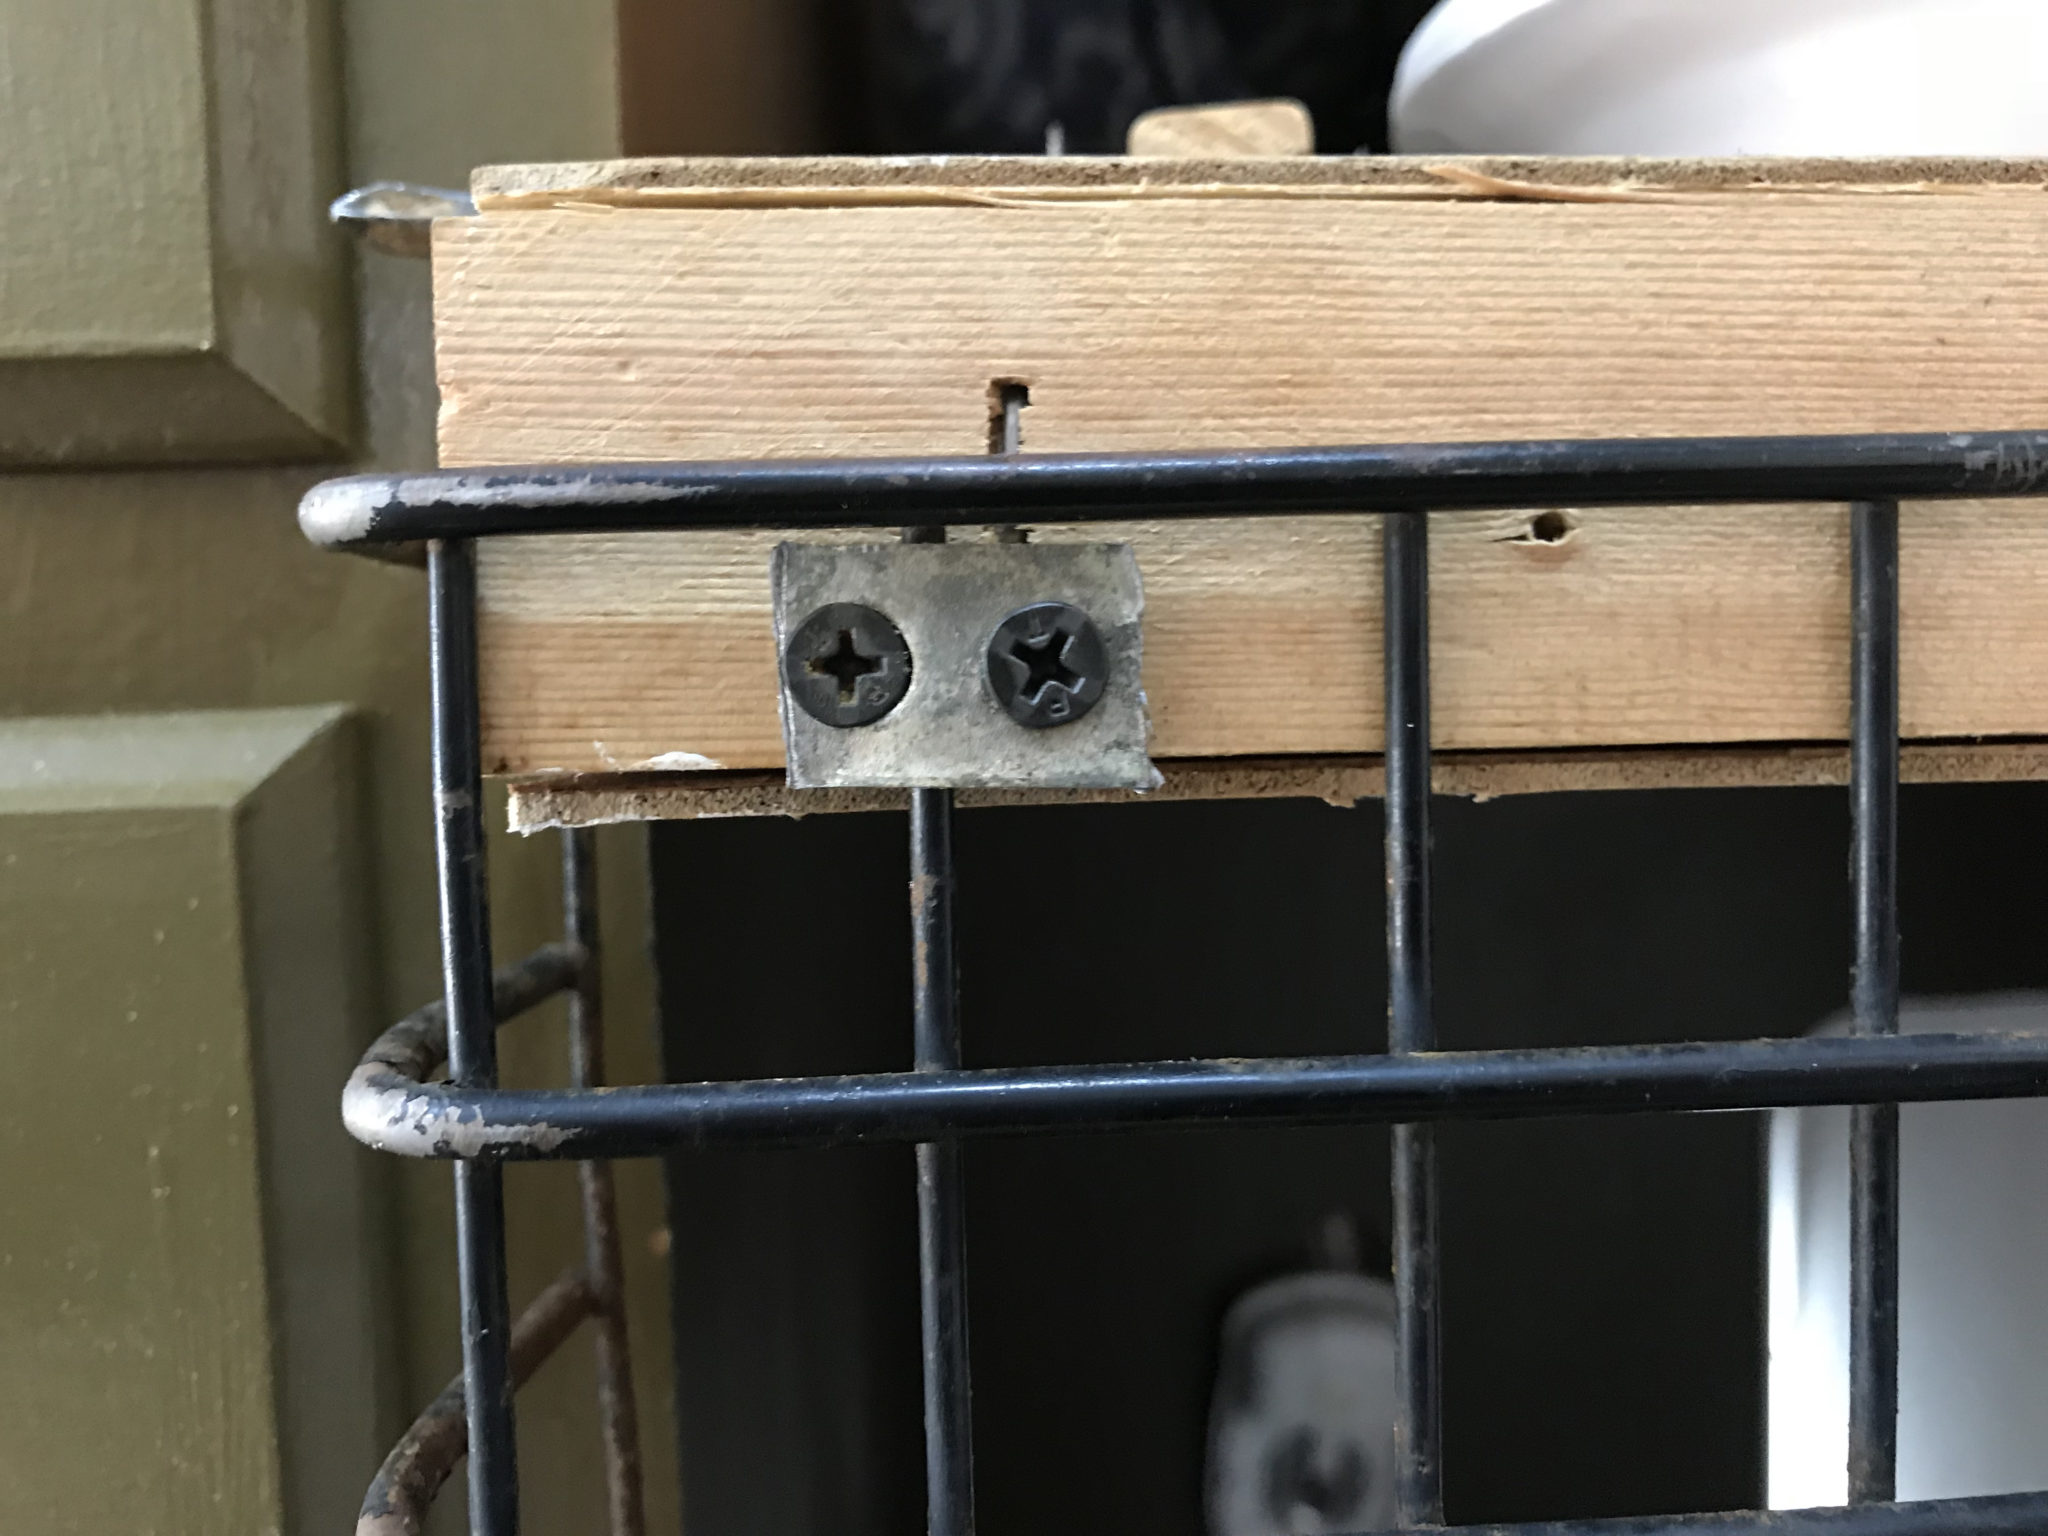
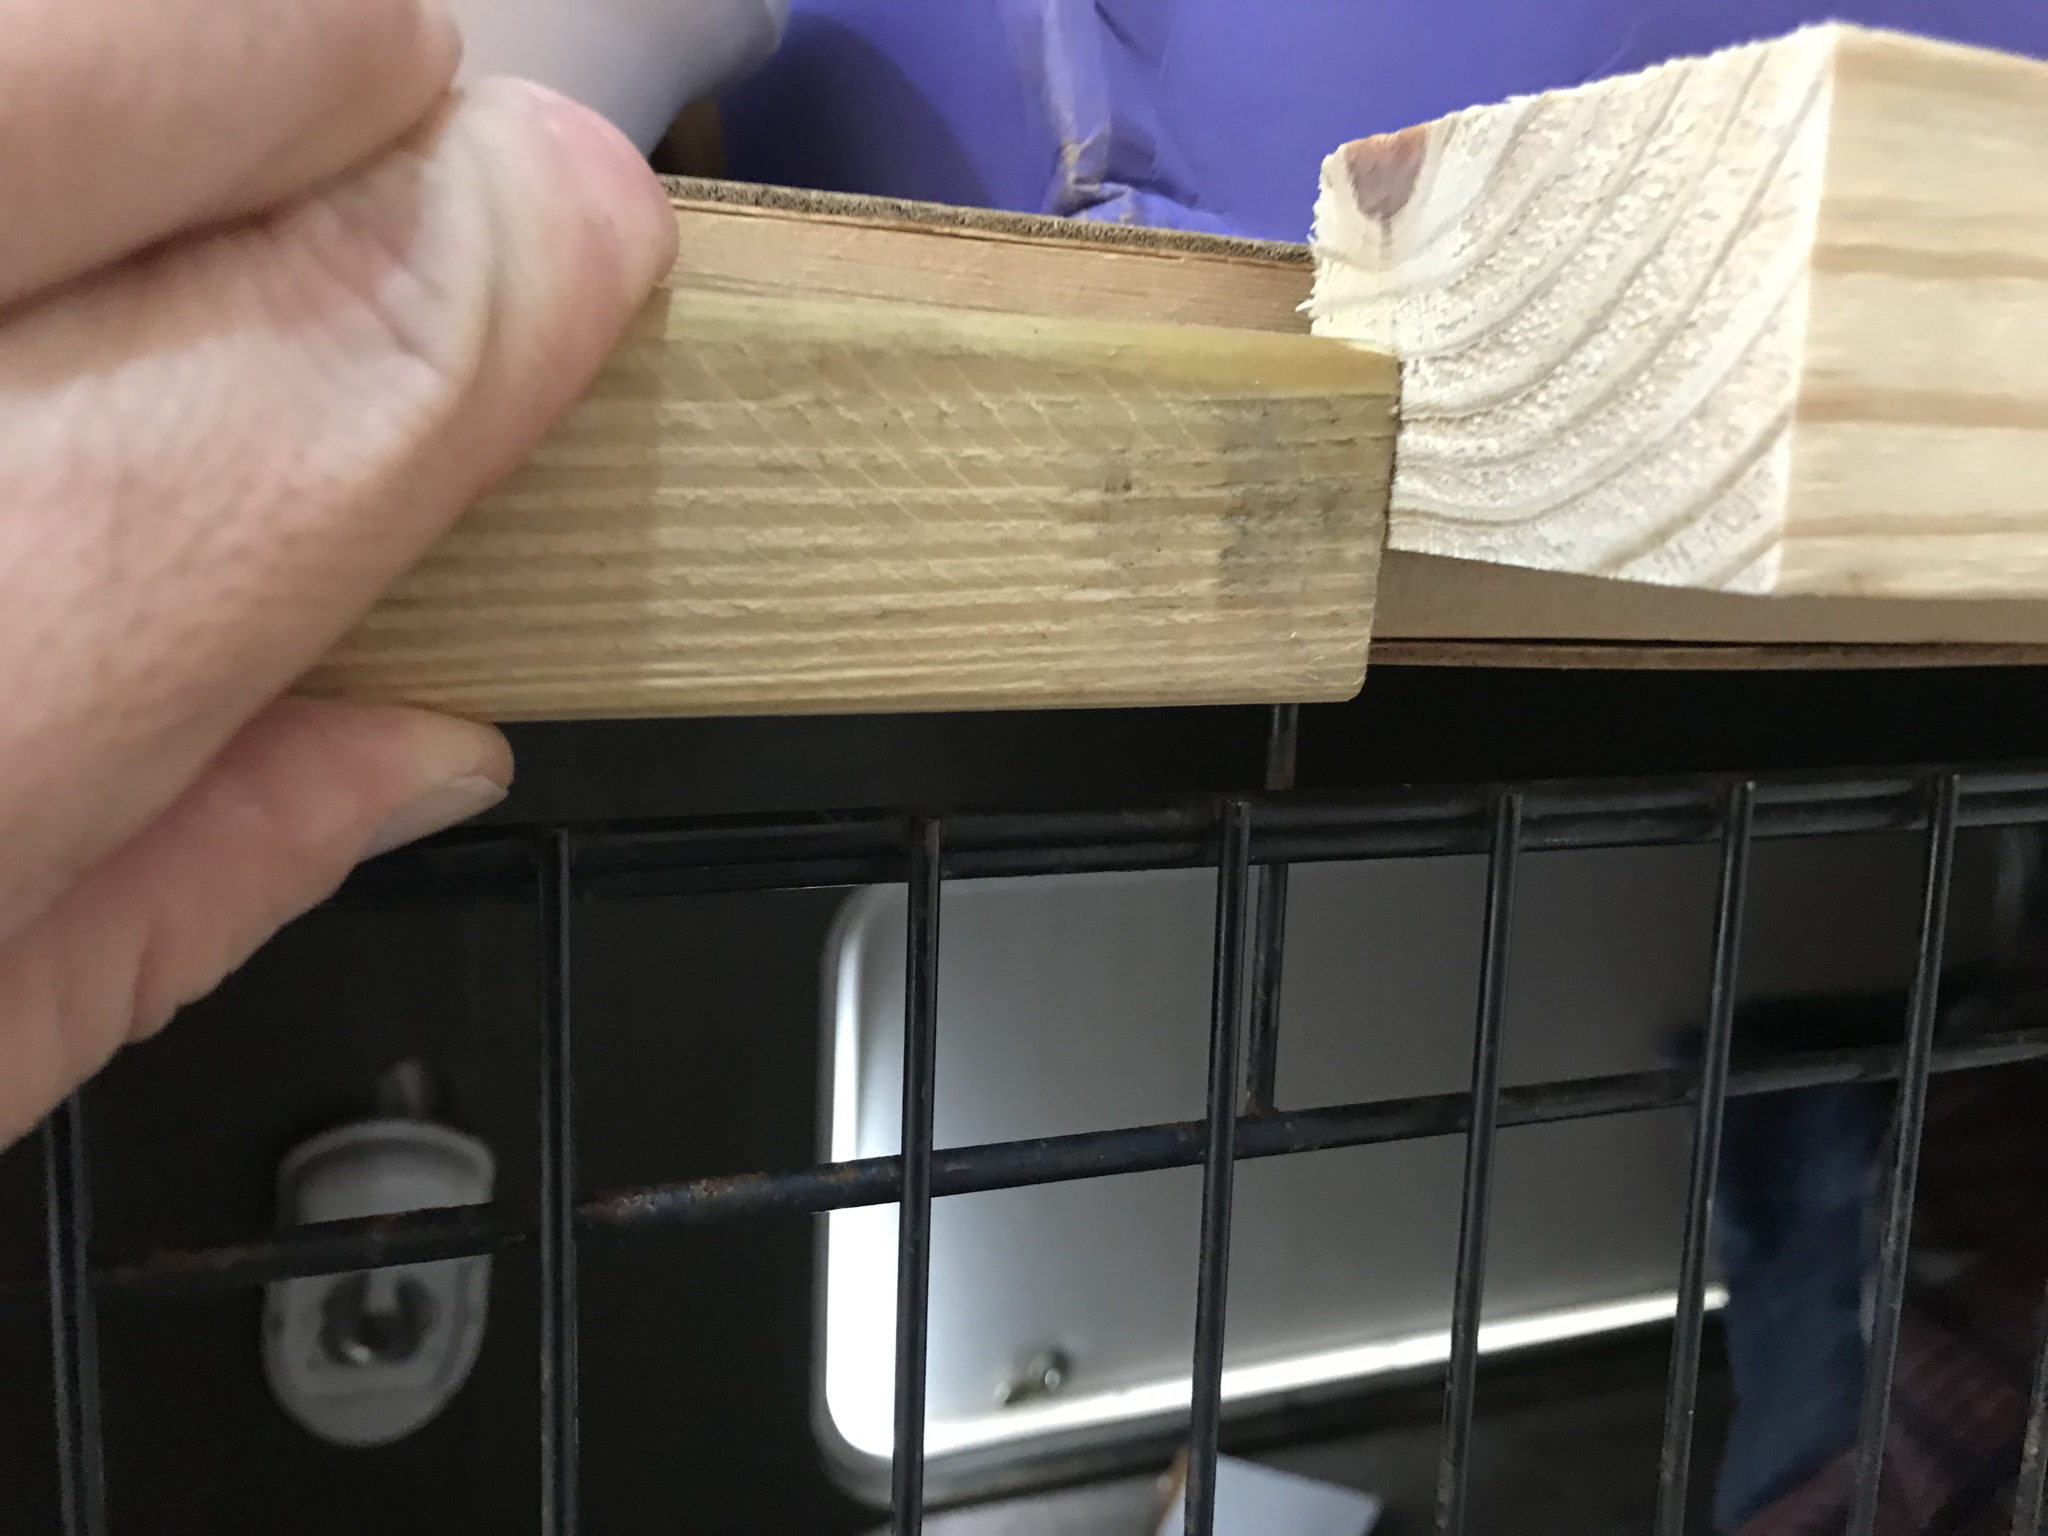
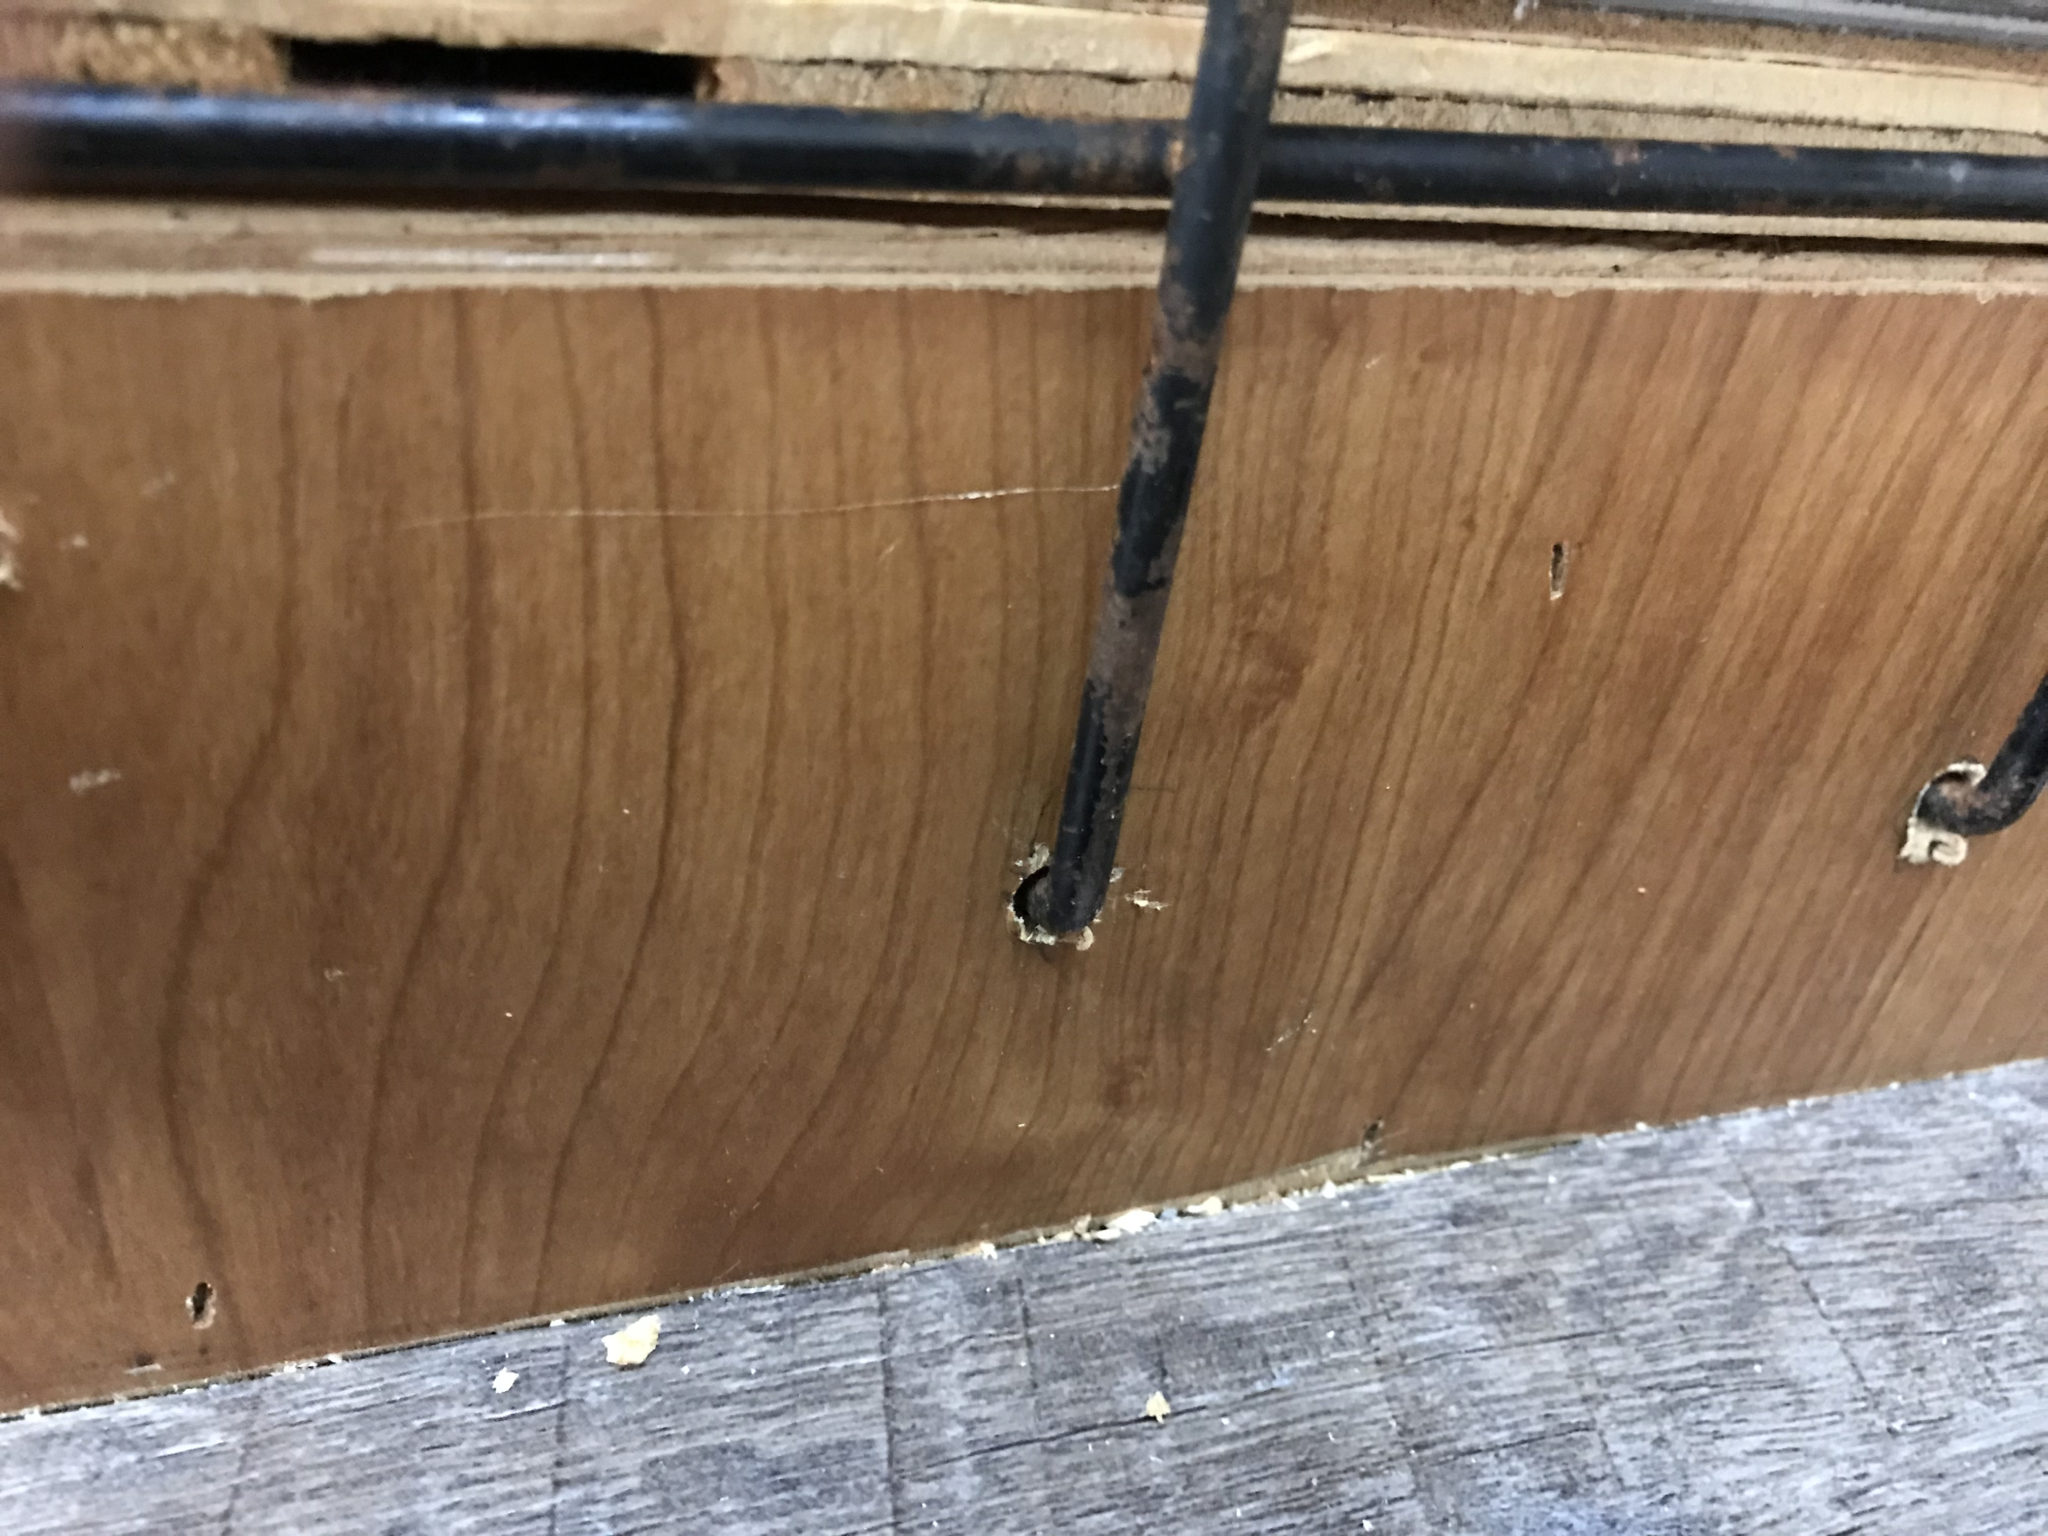
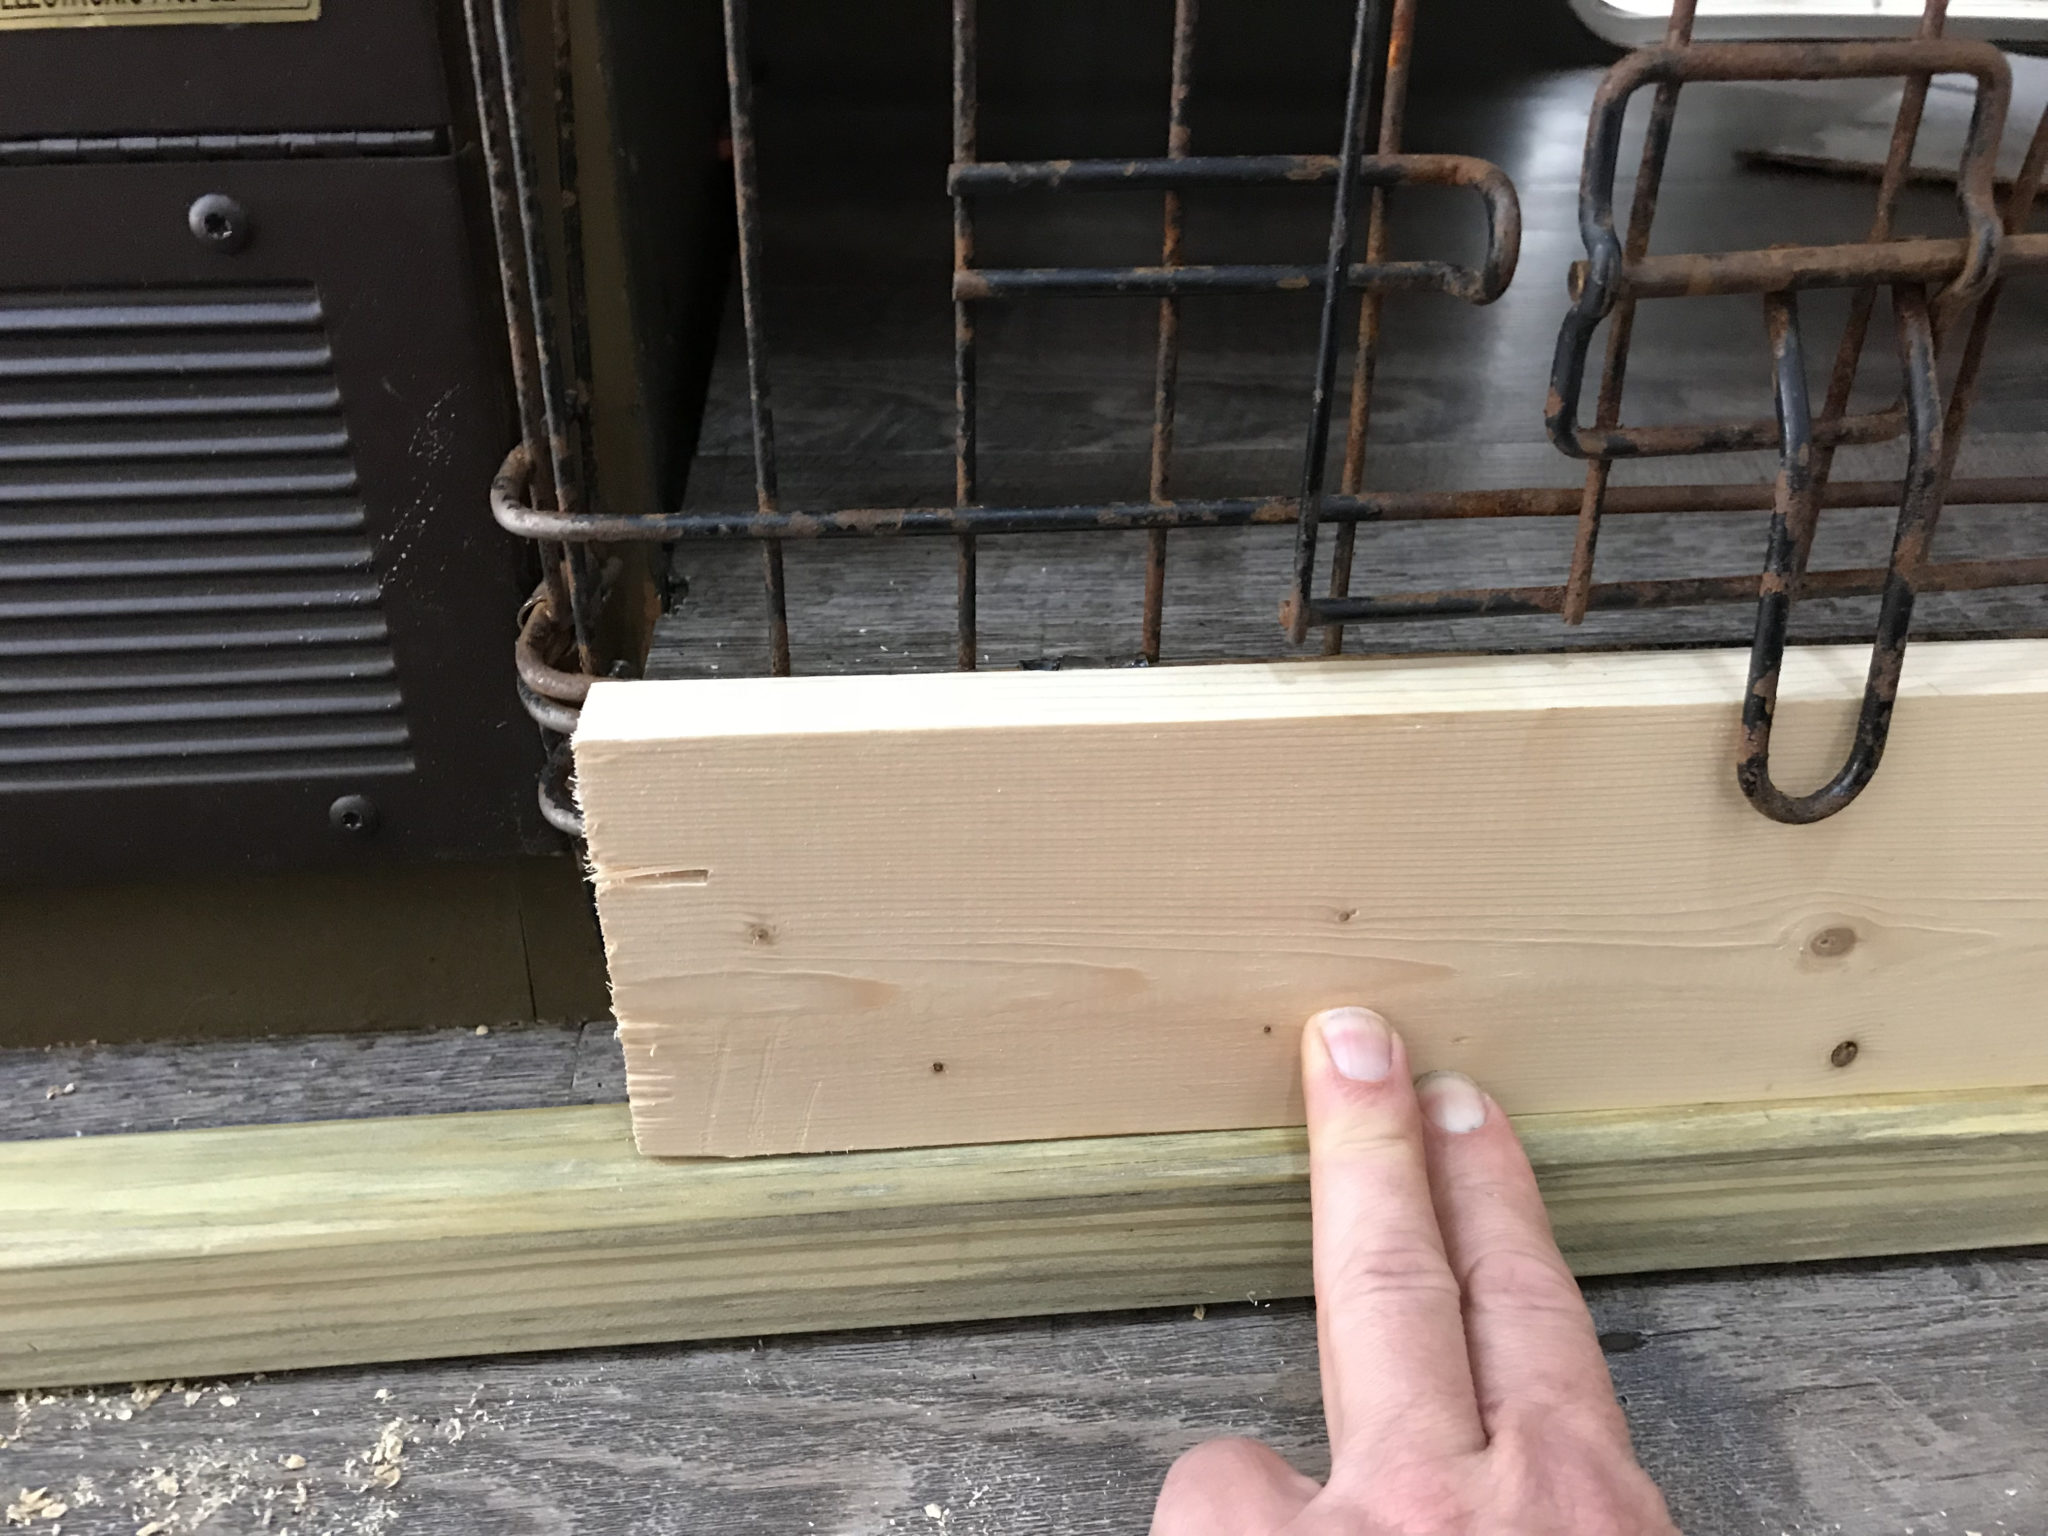
Fastening the dog cage side in place was accomplished by cutting some short pieces of metal strapping and screwing them over some of the vertical wires of the top of the cage side to the bottom of the middle bunk. I put about three of these in place, which held it firmly, then finished it with a piece of 2×3 notched out for a 1×3/4 to protrude out over the cage side. On the bottom of the cage side, I marked the places where the 90° bends touched the bottom of the lower bunk. Then took a drill and made holes in the side of the bunk floor for the wires to slide into. This will help prevent the cage side from trying to slide down over time. It is then held by some 1×4 and 2×2 inch wood trim, screwed in place over the top of the cage wires.

Cage side in place Metal strap Top molding pieces Bottom of cage side Bottom molding pieces Dog Cage with Bassets Installed
Who Doesn’t Need More Storage?
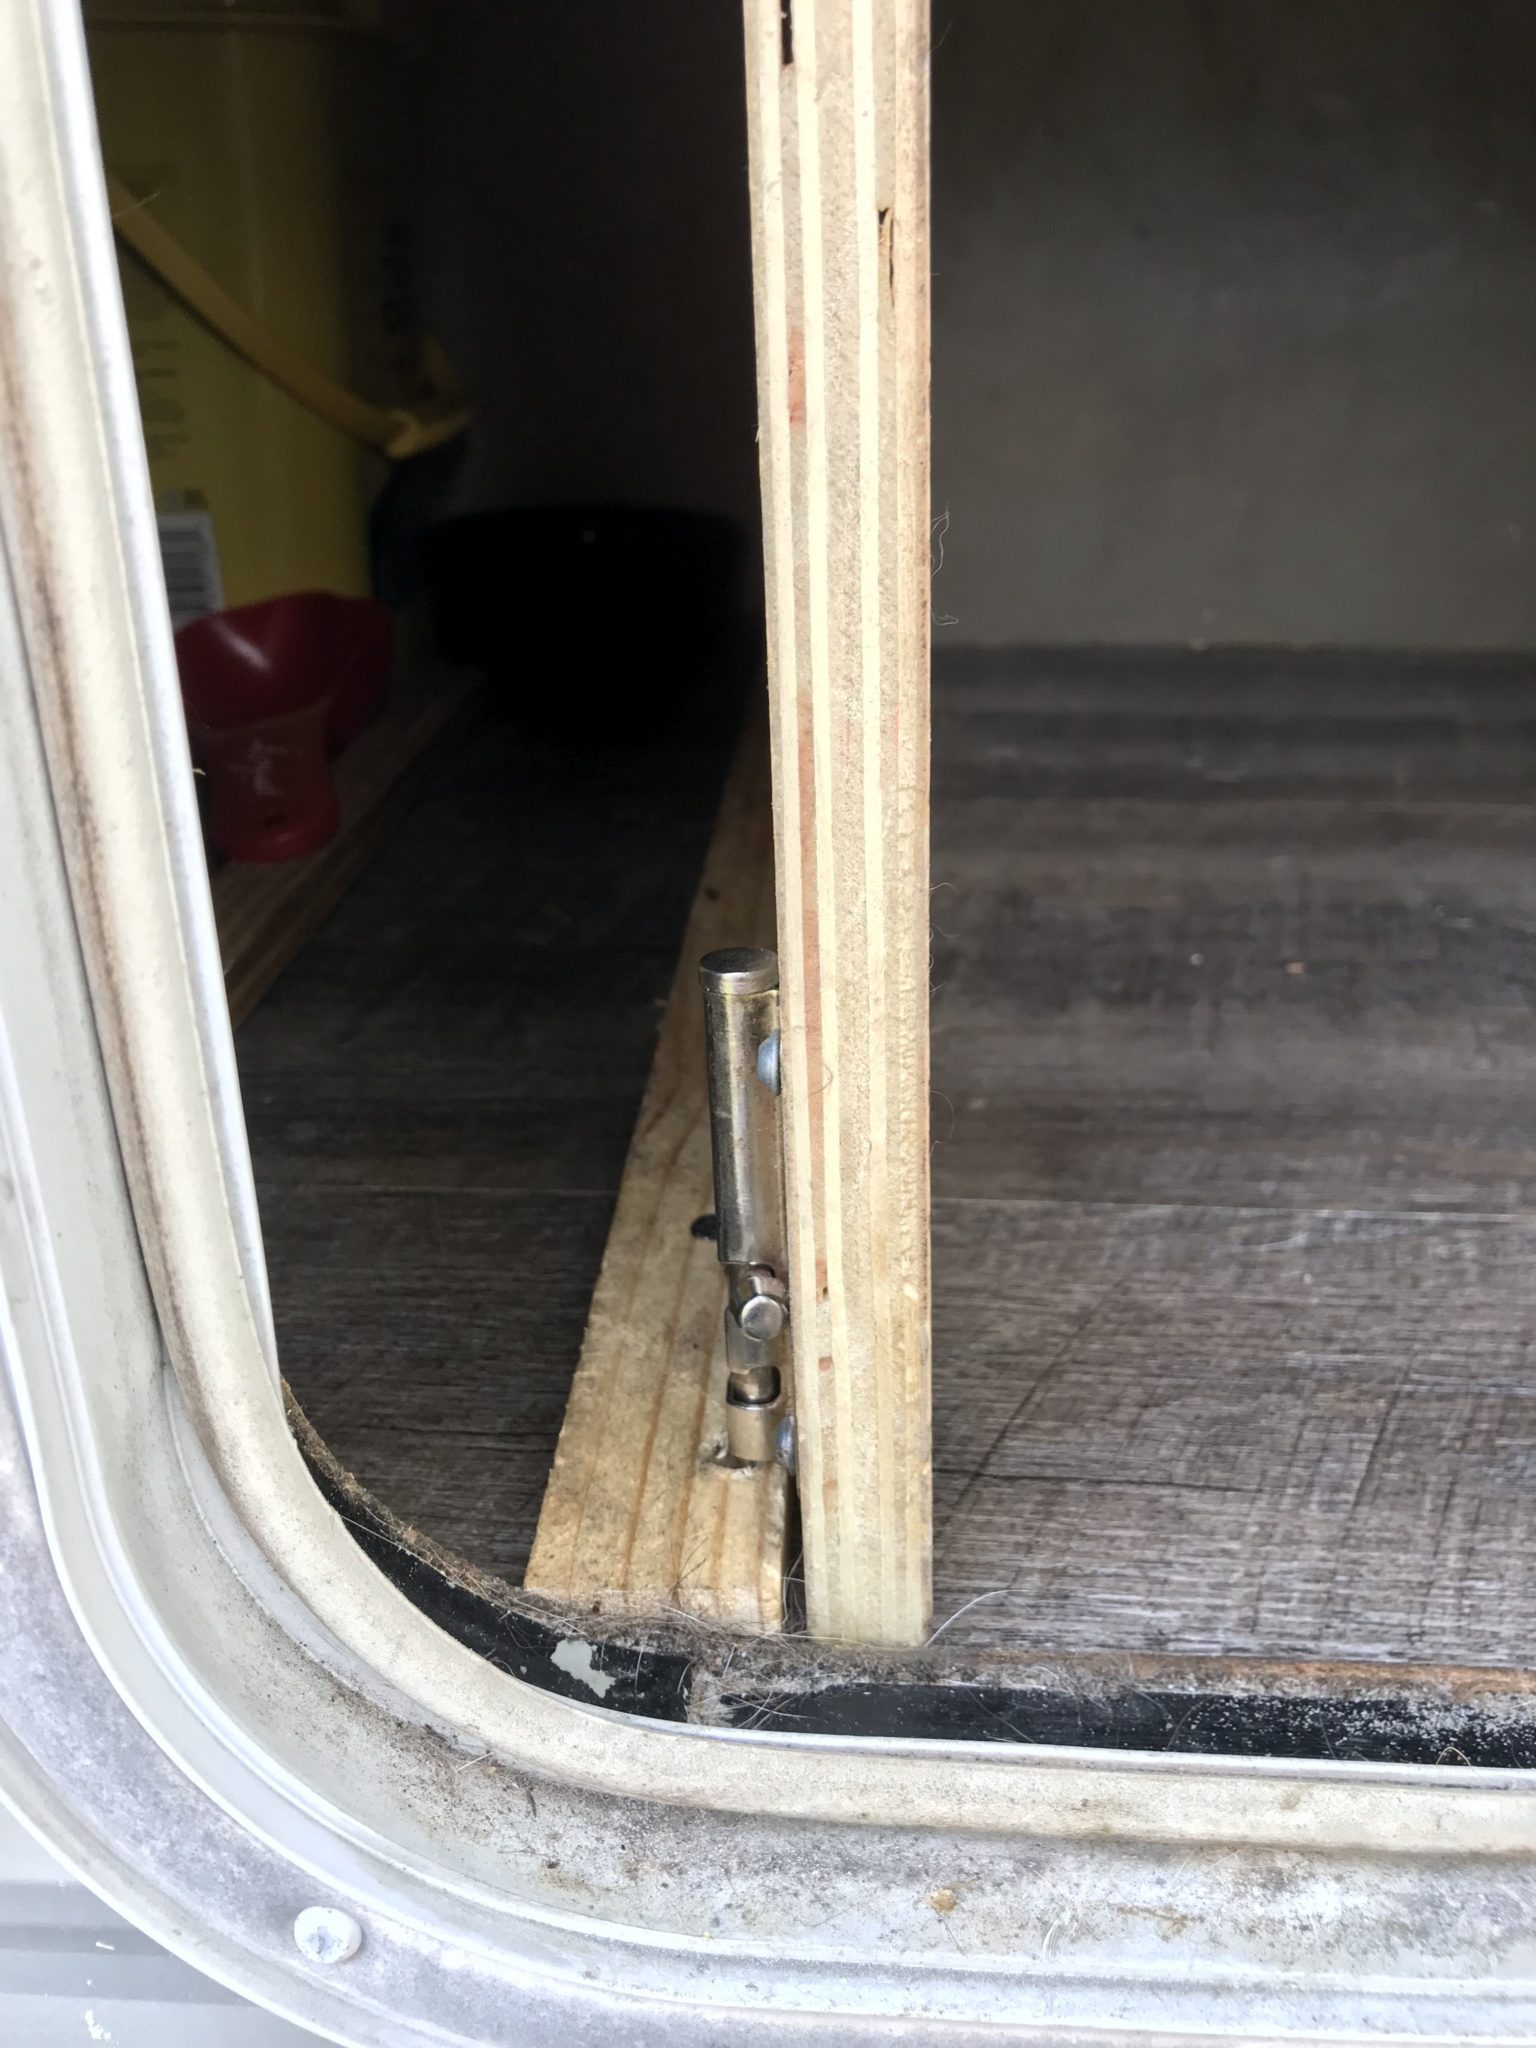
We didn’t want to give the dogs the full length of the bunk and storage for pet food was also needed. To make a rear storage compartment in the bunk, I cut a piece of plywood to fit between the ceiling and floor of the bunk. I then used a piano hinge to attach it to the ceiling of the bunk about 18 inches away from the rear wall of the trailer. With the hinge facing toward the dog side of the bunk to allow full access to the new storage area. A strip of wood was then attached to the floor of the bunk to act as a stop for the door and bolt latch added on the secure the door in place.
Storage Area Door Door Bolt Latch Rear Storage Area


We now have a nice dog cage area for our bassets and additional storage for their food and supplies that can be accessed from outside. It has proven to be a very valuable update to the trailer.
You can follow the adventures of our rotten animals on Instagram.
Please Like and Share us on social media! Also, subscribe to our email list to stay up to date on new posts! Please leave a comment telling us what you think.

Awww…love hound dogs! We had a beagle that died a few years ago. Our kids are begging daily for another dog, but we kind of want to start this lifestyle without a pet. Great job on the cage!
Thank you Kristi!