Who doesn’t wish that they could change out the ugly countertop in their RV? After all, most are cheap, thin OSB, laminated tops and don’t look good at all. Then there are the sinks. The combination of these two pieces, at least in our RV, left much to be desired.
When we started our RV renovation, we had not planned to replace our countertops and sinks. After we had gotten a good start on painting and putting up the backsplashes. But now, the ones that were in the RV just didn’t seem to fit in anymore. The current tops also didn’t provide much counter space. So, we decided to just replace them.
Finding A New Countertop

Now, the big decision was to choose what kind of countertops we wanted to install. We like butcher block countertops, but we didn’t feel like we had the time to make them ourselves. Also, a nice pre-made true butcher block countertop was just not in the budget. One day while browsing the home/RV improvement store, we came across this Edge Glued Spruce Pine Fir Board. They have a butcher block look, are light-weight and very affordable. It was the perfect choice for our RV.
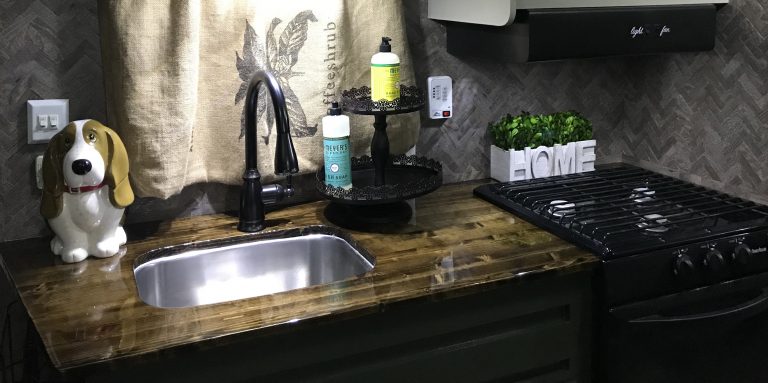
While replacing the existing countertop, we came up with a way to cut the new countertop to give us more counter space. To accomplish this, we extended the width of the top all to way to door frame along the wall, then cut it at an angle to make it about the same width as the old countertop in front. This gave us more counter space on the left side of the sink without narrowing the entrance way to the trailer. We also replaced the double bowl sink with this single bowl. It is a great size and is very deep. This pretty much doubled our counter space on the right side of the sink. These changes made a huge difference when cooking in The Tin Can. Of course, since the sink was being replaced, a new faucet was a must. We picked out this oil rubbed bronze gooseneck faucet that is perfect for the job.
Prepping The Countertop
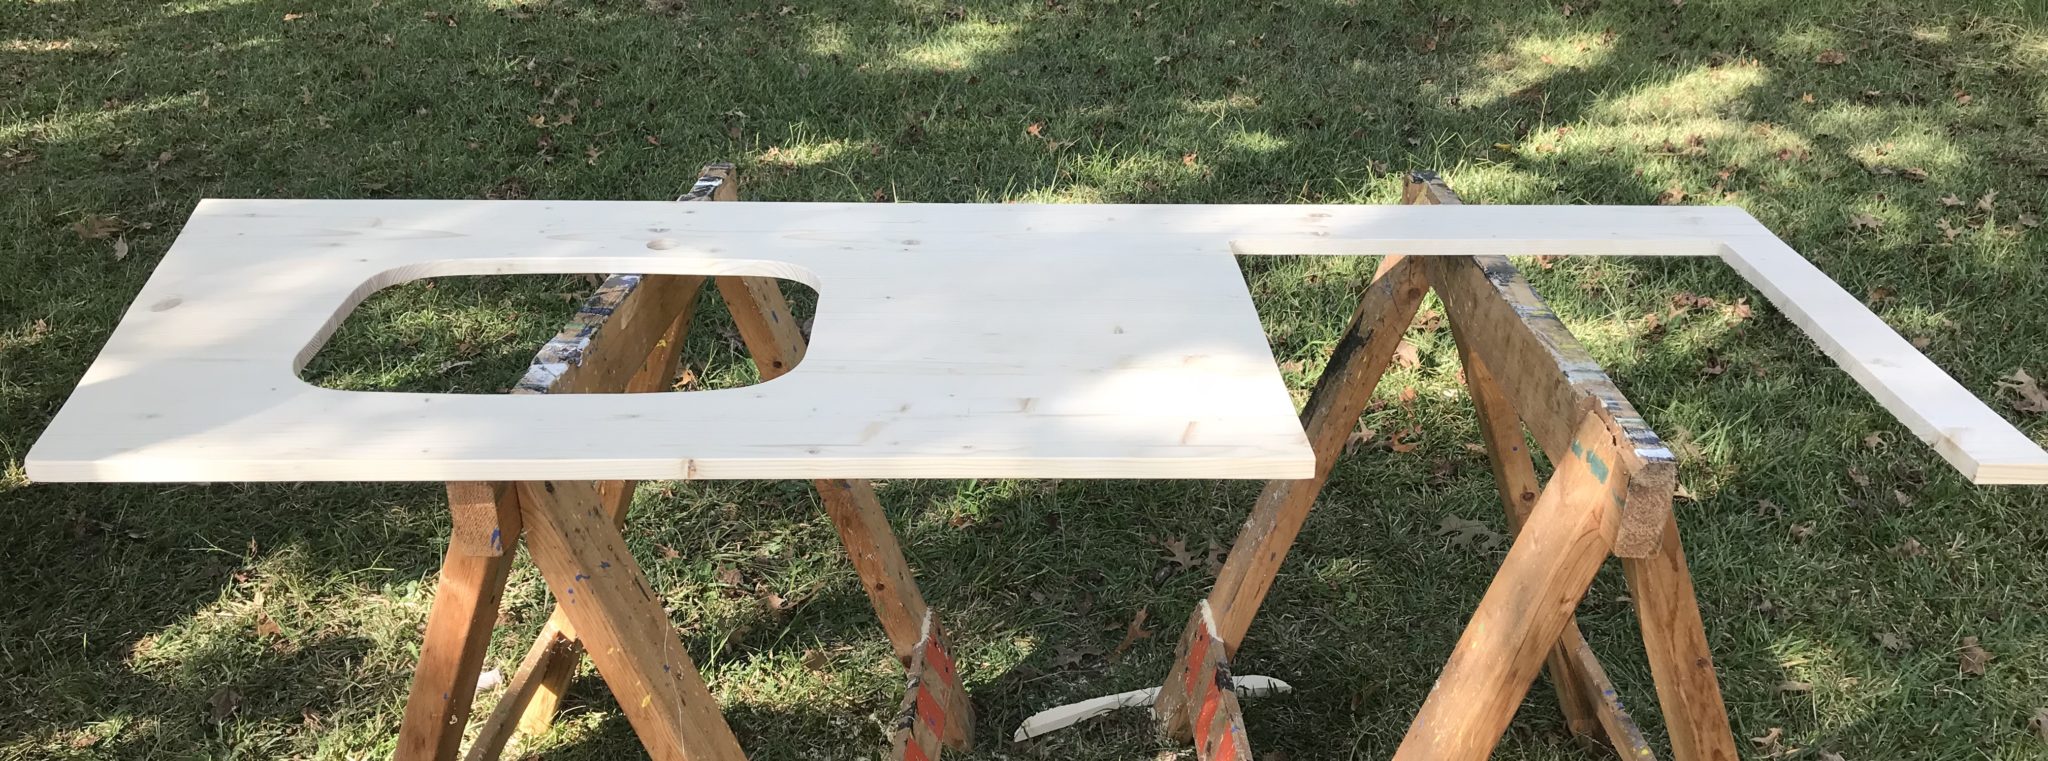
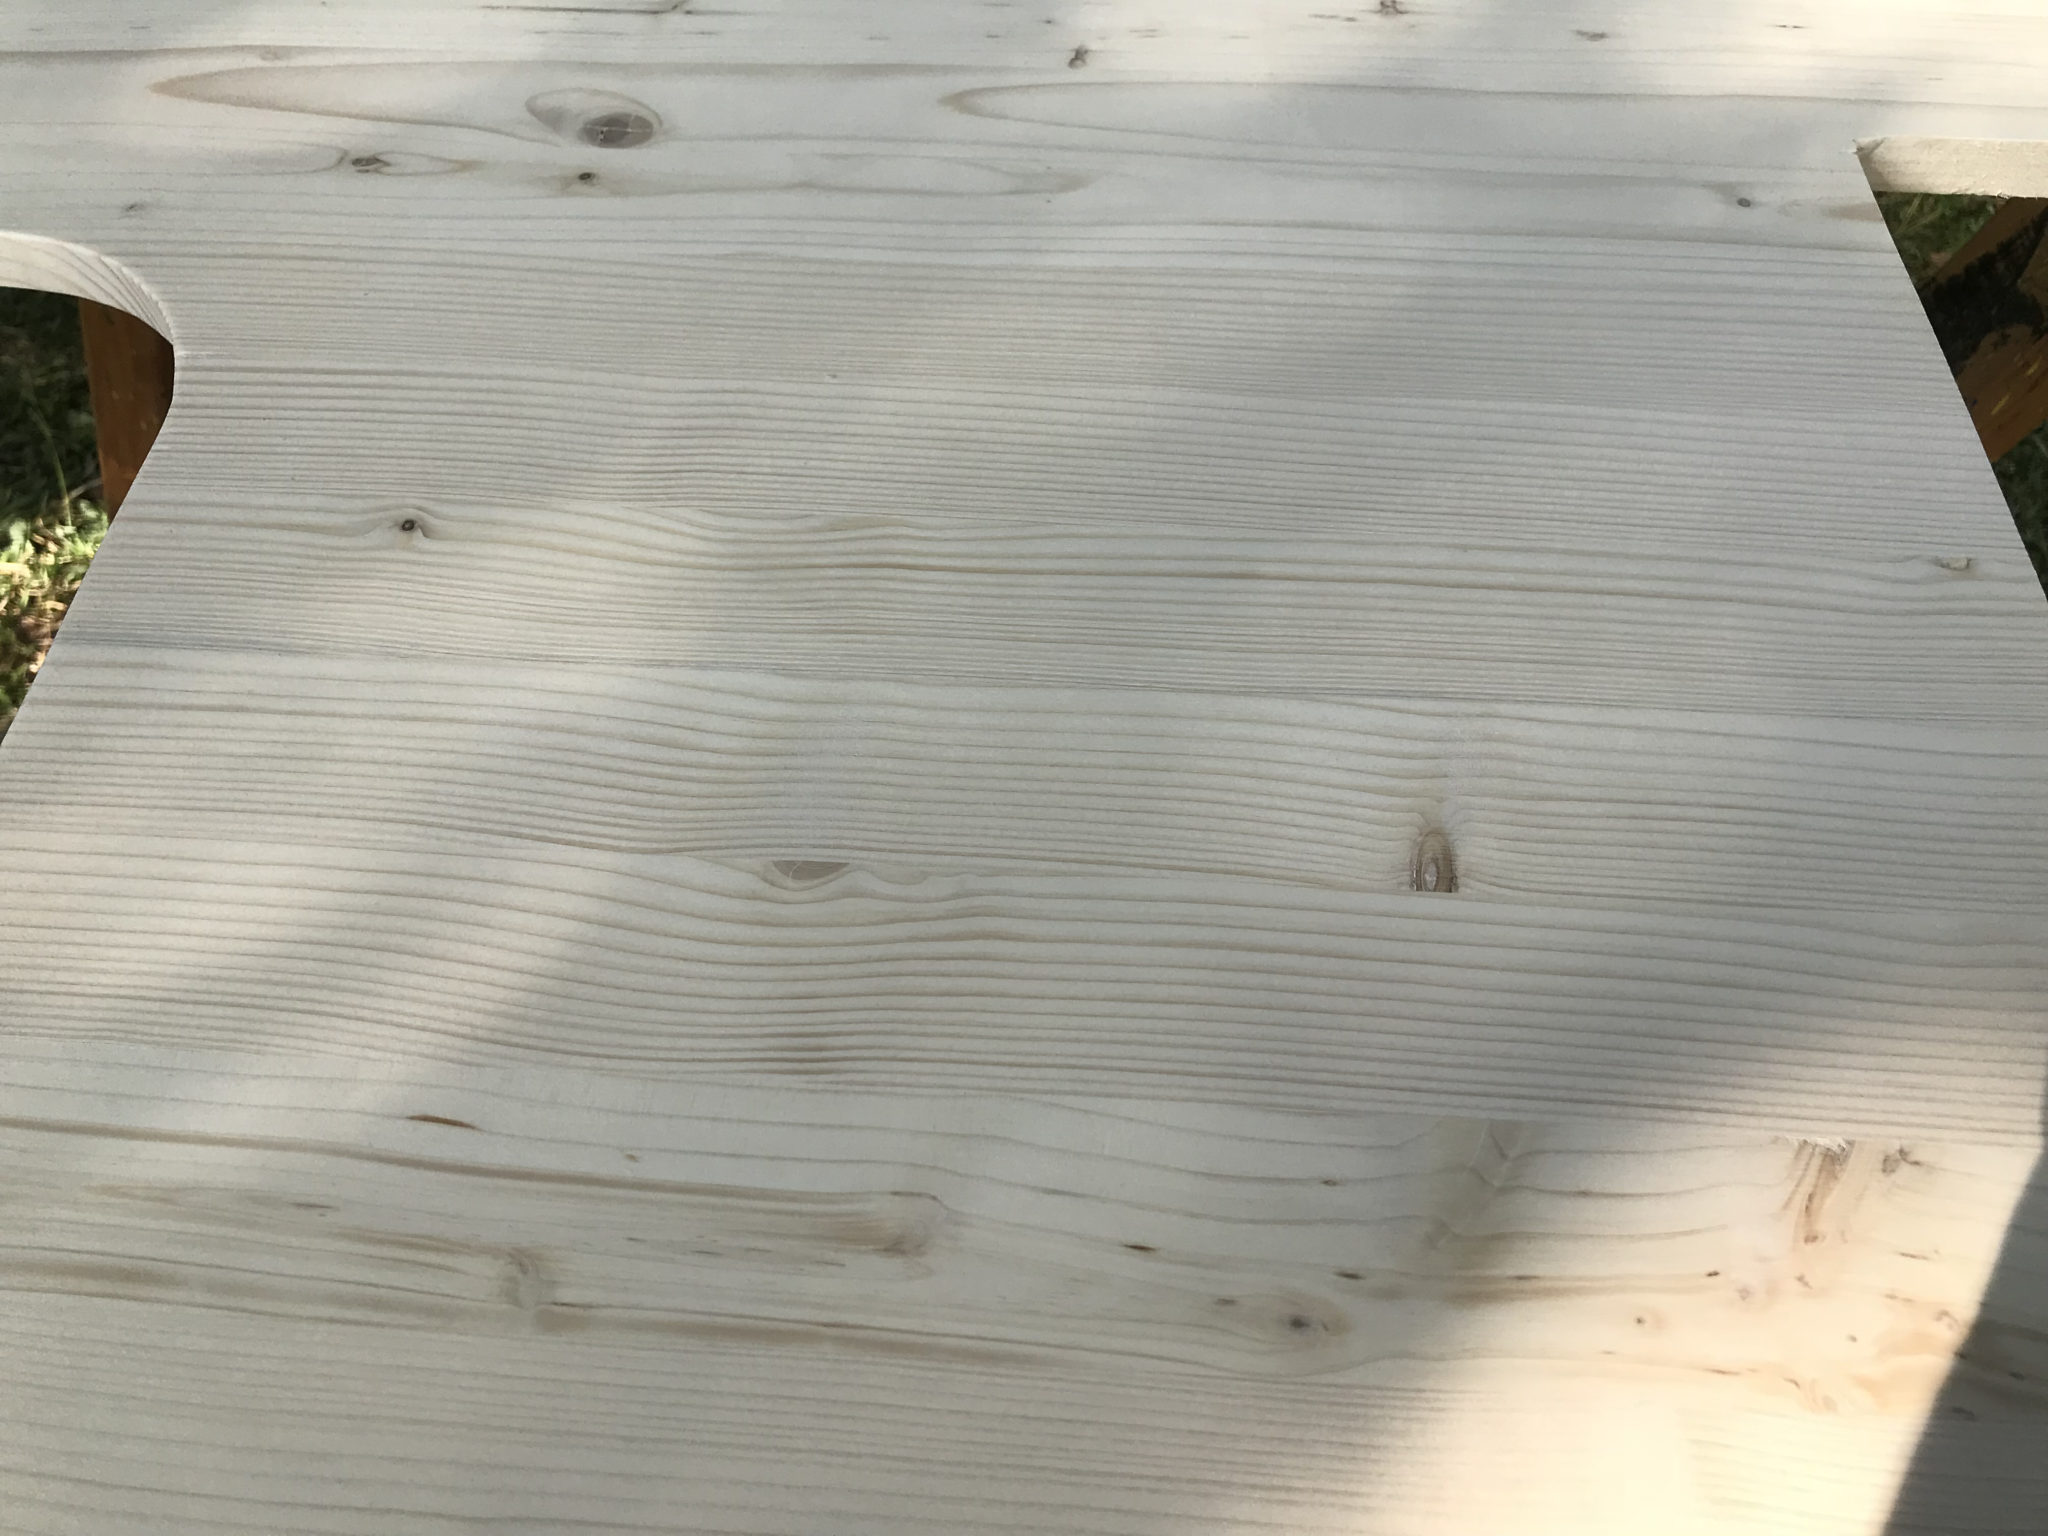
Shaping the countertop was fairly simple. I cut the countertop to width with a circular saw. I measured out and cut the hole for the stove, then using the templet included with the sink, traced out and cut the hole for the sink with a router. Next, I went about the task of smoothing the edges with a rat tail file and sandpaper. Then used my Ryobi orbital sander with some 220-grit paper and a super fine sanding sponge to finish smoothing it all out. The end grains took the most work. They are rougher than the other surfaces from the saw blade and take longer to get smooth. You want to get them as smooth as possible so the grain will show through when you apply your finish. Otherwise, it will just come out dark without much detail showing, not very pretty at all.

Marking the cuts in the countertop. Countertop cut to shape End grain sanded Sanded countertop


Applying The Finish
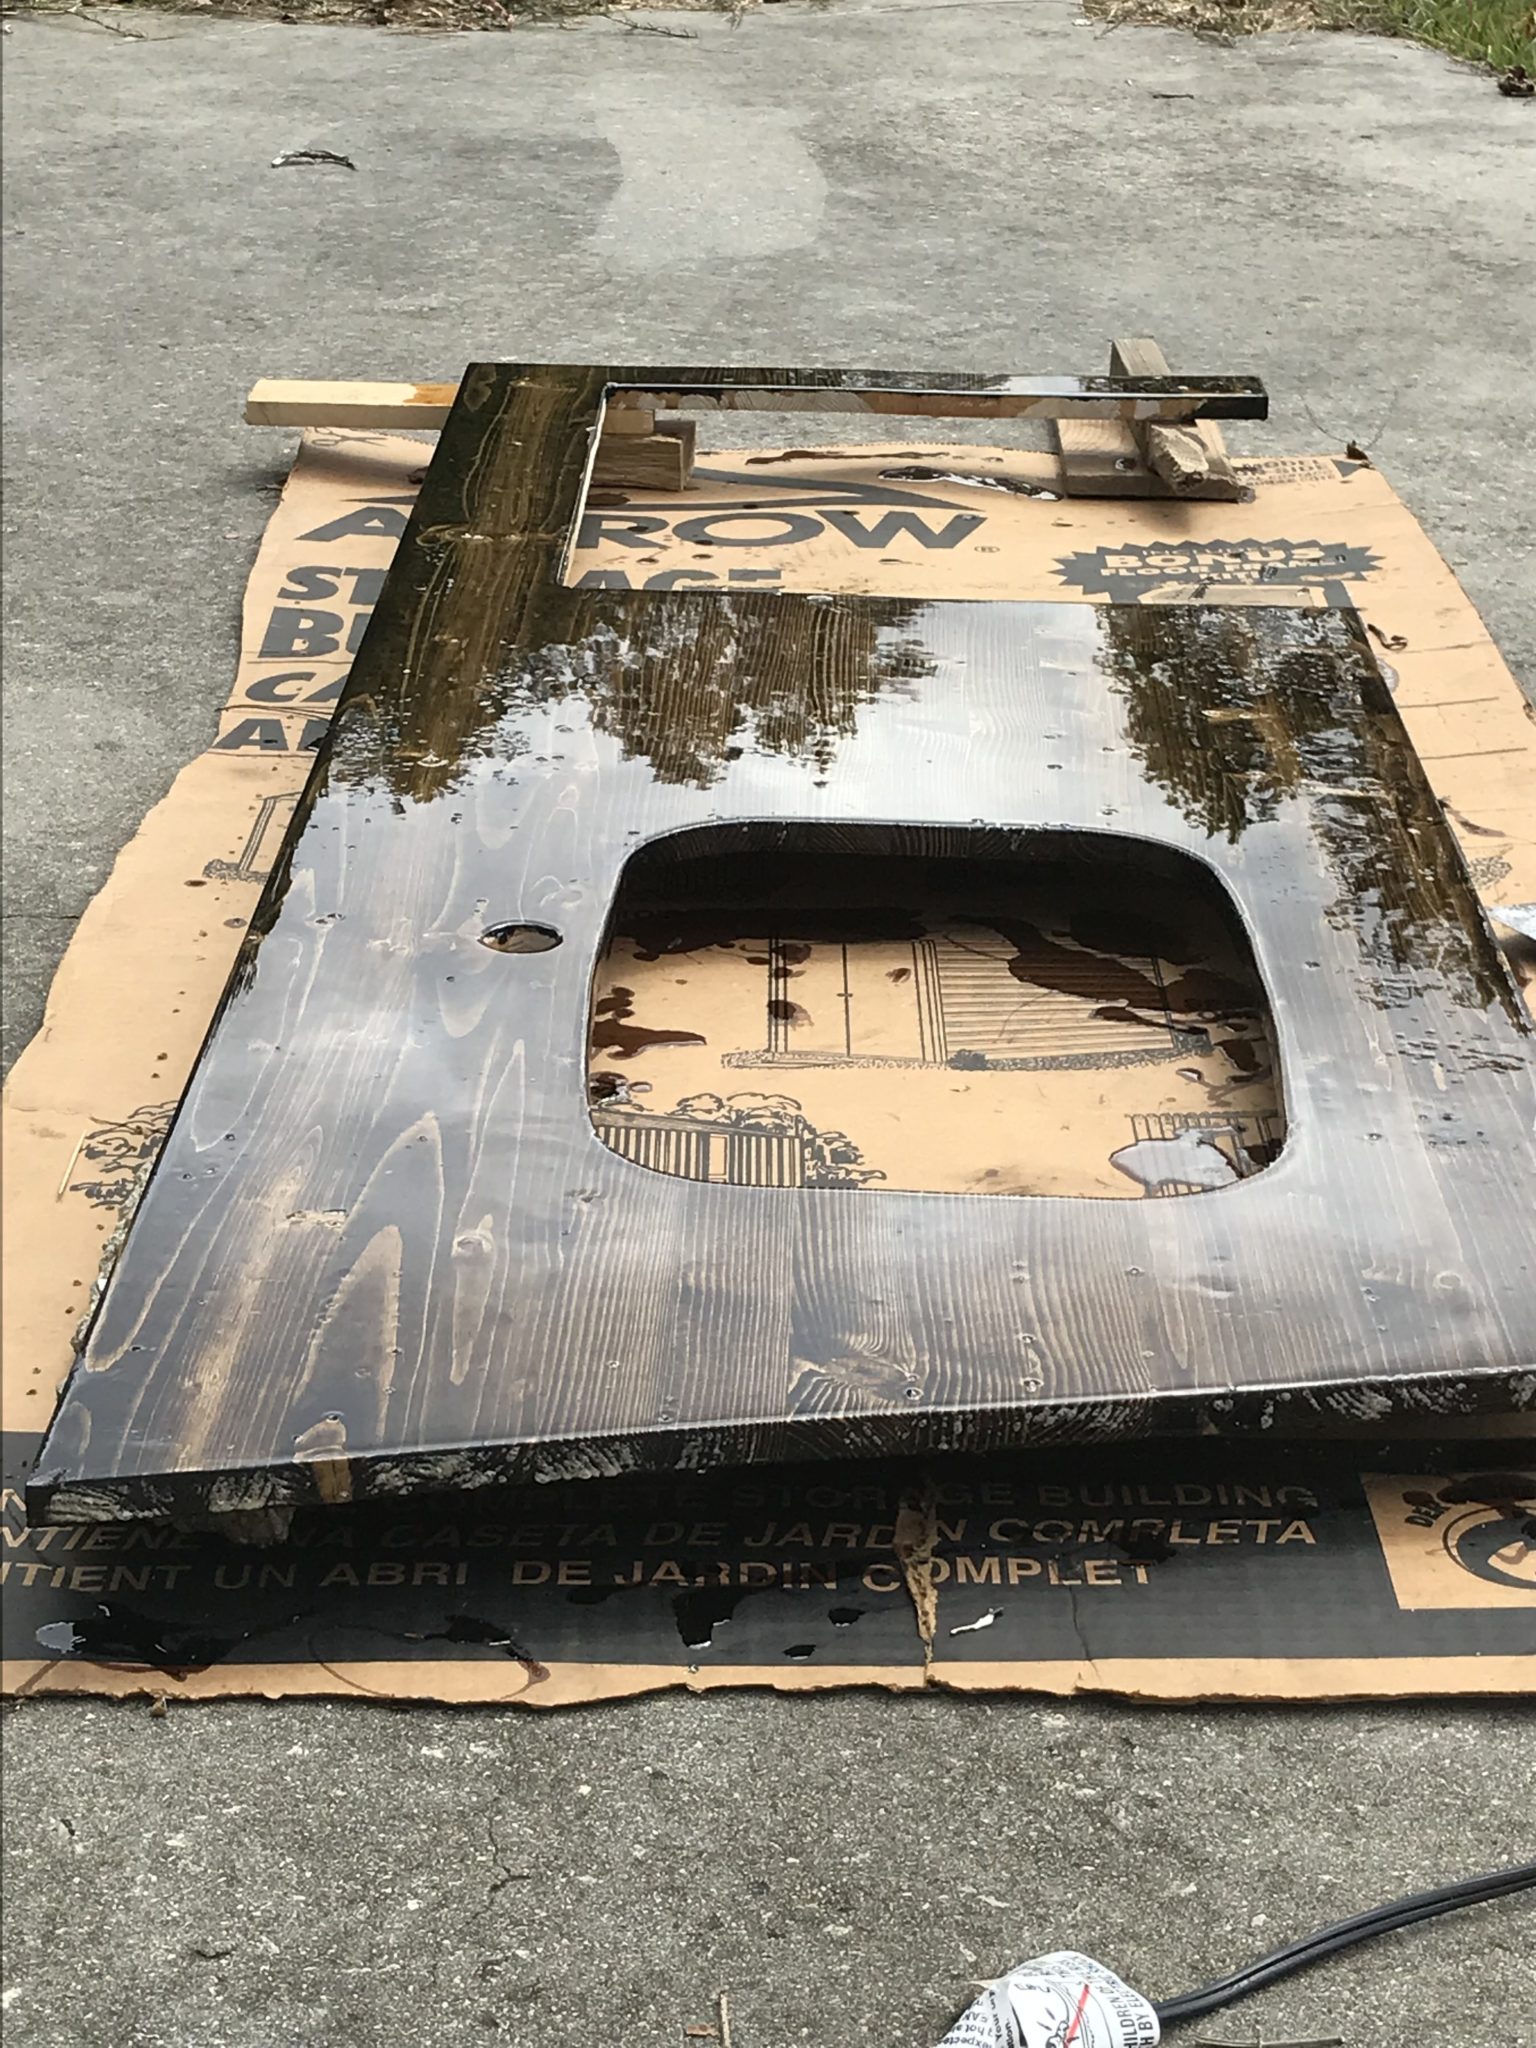
For the finish of the countertop, we applied some Minwax Jacobean stain with a sponge brush then wiped off the excess with an old t-shirt. Let that dry per instructions and topped it off with Famowood Glaze Coat, it’s a two-part epoxy resin, that looks amazing on wood. Before applying the glaze coat, we leveled the countertop on the carport the best we could and placed some cardboard underneath it to catch the drips and runoff. You get a lot of drips and runoff! I also reinforced it with some pieces of wood screwed onto the bottom, to keep the board from cupping.
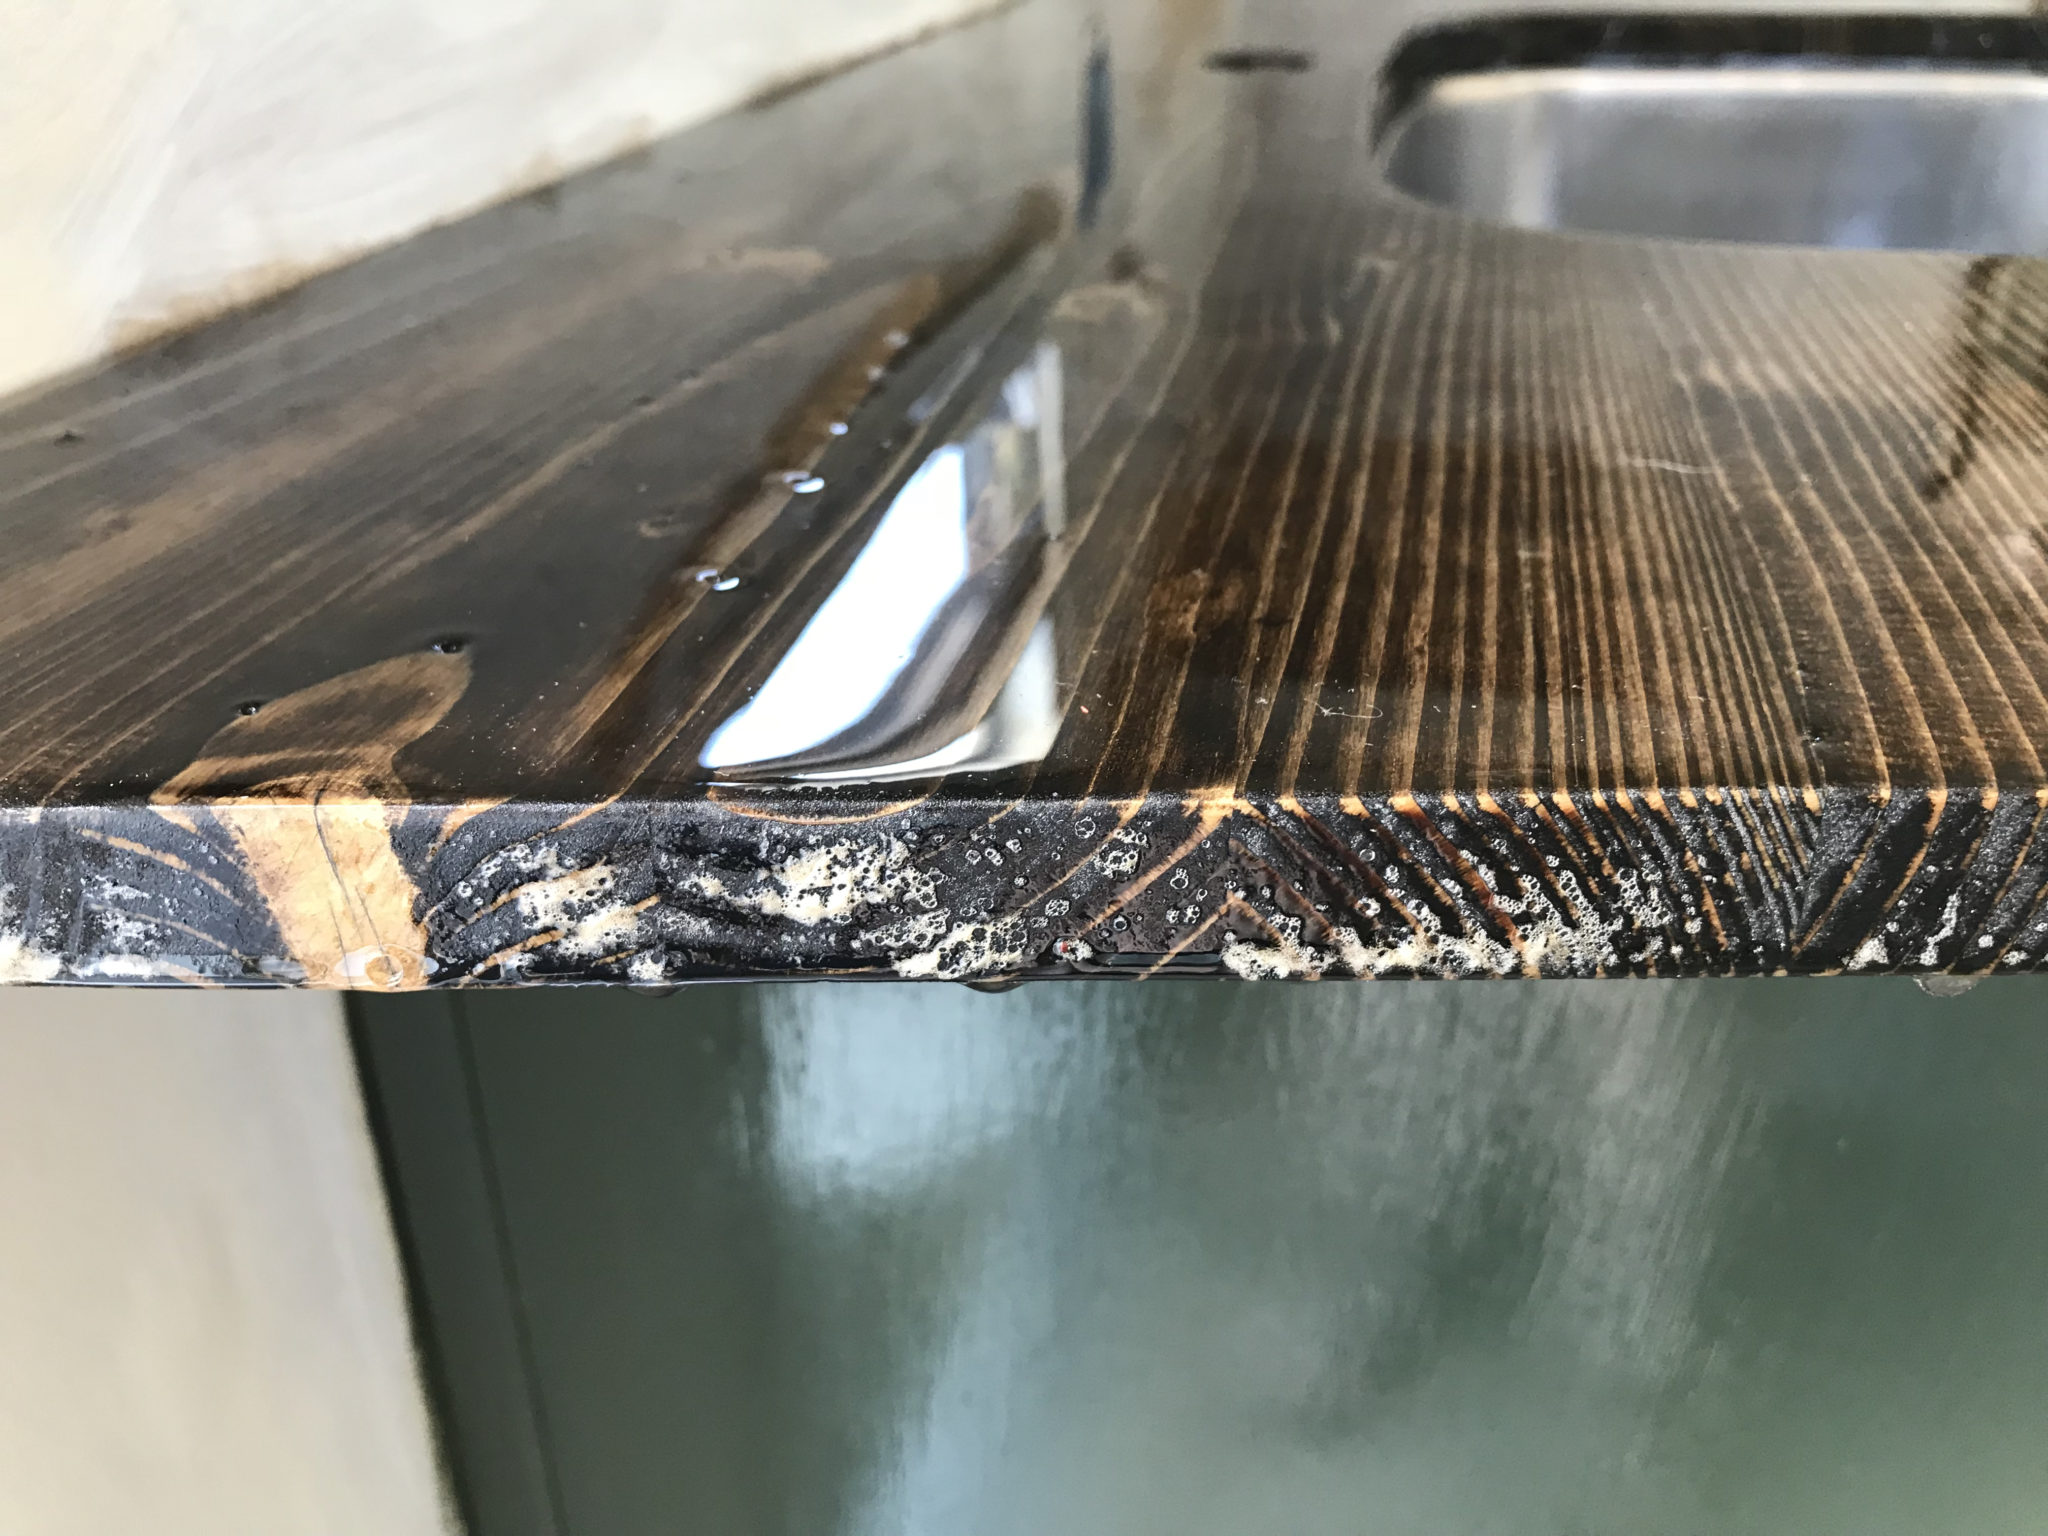
Now you should really follow the instructions carefully for the glaze coat, I didn’t and paid the price. The instructions state that you should first mix a small portion of the glaze and apply a thin coat to seal the surface. Let that cure and then come back and apply the final thicker coat. I didn’t do that. Nope! I just went ahead and mixed up a big batch and poured on a thick coat of glaze. Then, with my propane torch in hand, went about getting rid of the air bubbles. The problem was since I had not applied the thin seal coat, and the wood was very dry, the bubbles kept coming. Even to the point where the glaze started to set and I could no longer get the bubbles out with the torch. It still came out looking really nice, at least from a distance
Countertop stained First attempt of glaze coating. End grain after first glaze attempt.

Take Two Of Glazing
After the glaze completely cured, we took a good look at the countertop to see if we could live with the results. We decided though, that there were just too many bubbles in it and that it would give way too many places for dirt and food particles to hide. It also just didn’t look very good, so I took the orbital sander back out and partially sanded it down. This was not a fun job! I didn’t sand it completely down, that would have taken way too long. But I was able to sand it enough to expose most of the air bubble that had formed in it. I cleaned the dust off with some alcohol and a toothbrush and applied another coat of glaze. In the end, I still ended up with a couple of knots that never fully sealed and left some small holes in the finish. Overall though, it came out looking great!
The Finished Product
Here is a video by The Gray Adventure, another blogger, YouTuber and Fulltime Family, taken at an RV rally we attended in March, where we put The Tin Can on the Tour of Homes. There is an excellent shot of our bathroom countertop and a beautiful pan over our kitchen countertop starting at 8:45 in the video.
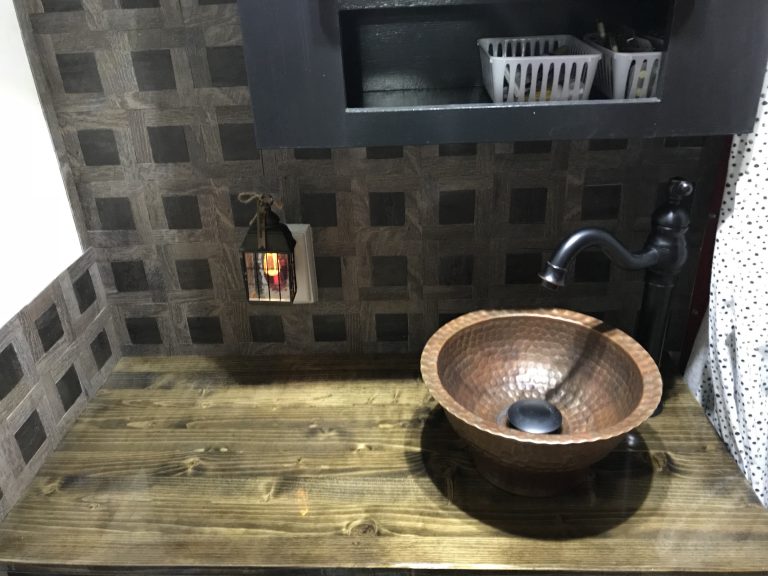
As I just mentioned, we also replaced the bathroom countertop with the same wood and finish. Except in the bathroom we chose to install this copper bowl sink and a faucet that matches the one in the kitchen.
In Conclusion
So far, we love the countertops! It has managed to get a few small scratches in it and sometimes an object will leave a slight impression in it. All the impressions have gone away after a little time. In the end, I would recommend that you follow the instructions on the glaze more carefully than I did.
Update: If I was going to do this project again, I would seal the underside of the countertop with some polyurethane or something also. Especially in the bathroom, where there tends to be more moisture. Our bathroom countertop is showing some signs of the wood swelling. The board nor the finish has cracked or anything, but there
Please Like and Share us on social media! Also, subscribe to our email list to stay up to date on new posts! Please leave a comment telling us what you think.
And don’t forget to check out The Gray Adventure also!
