Have you struggled for adequate closet space in your RV? I know RV closet space is minimal in our travel trailer anyway. So, what does one do when they need more closet space in their travel trailer? Well, to answer the question I left in my last post, A Better RV Storage Solution For Dirty Laundry, you build your own. You see, the biggest reason for building the wall in The Tin Can was to make a closet.
What We Need Is More Closet Space
With the decision to fulltime in The Tin Can we knew we were going to need more space for clothes then what the Can’s manufacturer offered. The little wardrobes on each side of the bed just don’t give much room for hang-up clothes. They can be modified with shelves to hold a good bit of folded clothes on the other hand. But for all our clothes that we wanted to keep on hangers, another location was needed. That is where the wall idea comes into play.

From Doorway To RV Closet
The bedroom entrance opposite the trailer door provided a pretty good space for a closet. Though closing off that entrance does make it a little harder to get over to that side of the bed. You have to crawl over the bed, there is not enough room to walk in front of it. The added clothing storage gained was worth it, to us anyway. The closet gave us 29 inches of hanging space, which is way more than what to old wardrobes provided. And it proved to give us just enough of the hanging space we needed.
There’s Always Some Prep Work
Before the wall was built and put in place, we had to do some prep work. The first thing that had to do was, do away with the sliding door on that side. That was pretty easy, the door just latched to 2 rollers that ran in a track on the ceiling. The next thing we did was shorten the wall that the door ran next to. This was done to give us all but about an inch and a half of the new closet width. I had to be a little careful on this step.
Watch Out For Wires
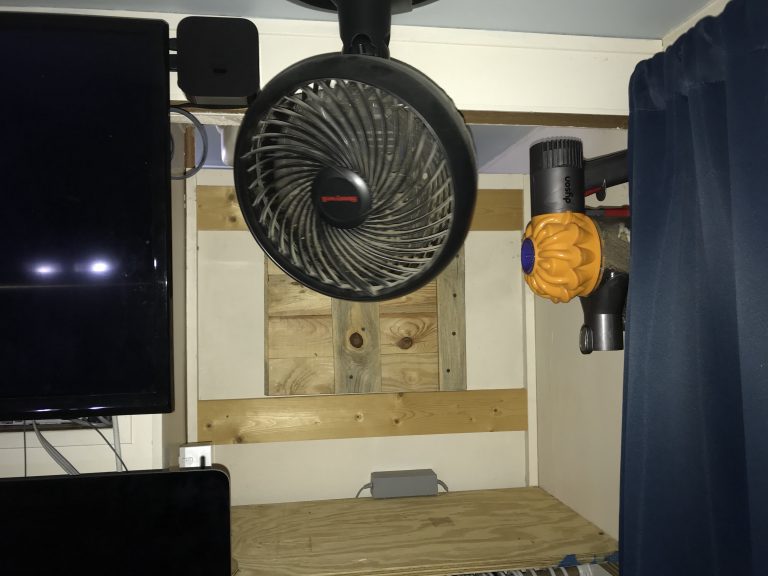
For some reason the manufacturer, instead of running all the wires for the entertainment system through the portion of the wall that runs behind the entertainment system. Instead, they ran the wires down the portion of the wall next to the system. Then when they got them down to where the entertainment system was, they routed sideways through the wall into the cavity the system is located. These wires made my job of trimming down this wall more difficult. I had to cut the paneling, while at the same time being careful not to cut any of the wires. I accomplished this feat by holding the wires out of the way with a thin board while cutting the panel with a Dremel tool. After I cut the panels down and removing some unneeded studding, I was able to use the same wall end cap to finish off and cover the wires that had
Building The Wall
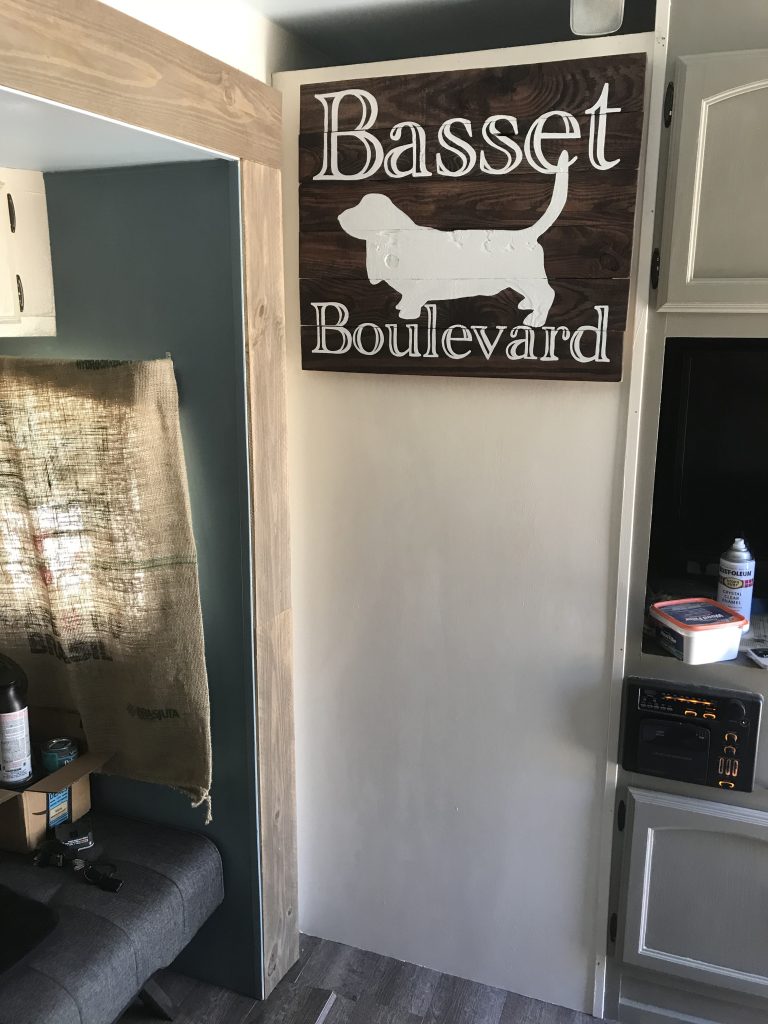
I constructed the wall itself out of some out of some brown hardboard panel that I had and some 1 X 2-inch boards for the framing. The panel was cut to the full width of the opening and a few inches short of the full height. The reason for shortened height was kind of two-fold. First off, there is a speaker on the ceiling right where the new wall is. The second reason is to allow air to flow from the main living area

Putting Everything In Place
With the panel cut out and framed up and also with the basset hound door all mounted, the wall was ready to install. This was a job that took me and Angelica both to accomplish. We were able to get the wall inside The Tin Can and get it maneuvered in place without banging up the entire trailer and wall. Then with Angelica on one side of the, I ran some screws through the framing of the new wall into the entertainment center on one side and into the trailer side wall on the other. We chose not to attach it to the floor on the off chance it was ever decided to remove the wall. That way there would be no holes in the floor left behind. The wall is sturdy enough like it is anyway. All that I had to do after that was install a closet rod to hang our clothes on.

Conclusion
We like the way this RV closet project came out. Yes, climbing over the bed can be a little annoying, at times, but it’s not that bad. Other people have even commented on how they have considered the same project. It really gave us a lot more clothing storage, plus a place to hold our dirty clothes basket. The area also serves as the perfect place to store our Dyson stick vacuum.
Please Like and Share us on social media! Also, subscribe to our email list to stay up to date on new posts! Please leave a comment telling us what you think.


HELP! PLEASE! I HAVE NO CLOSEST ROIM FOR ALL MY CLOTHES AND I HAVE TO HAVE A CLOSET! NO QUESTION ABOUT IT! WE HAVE A BACK BEDROOM SPACE WITH BUNKBEDS THAT DONT GET USED AND ARE WANTING TO TURN INTO MY BEAUTIFUL SPACIOUS WALK IN CLOSET. JUST NEEDING SOME ENCOURAGEMENT AND IDEAS ON HOW TO COMPLETE THE PROJECT!
Turning the bunk room into a closet shouldn’t be hard. Get all the bunks disassembled and removed. Then figure how to best positions hanger rods. I have seen this done on the Facebook RV Interior Ideas group. If you’re not already in that group, it is a good one to join.
Good Luck!
Get in there and go for it. It’s not as hard as you think.