Is parking and leveling your RV a frustrating chore that causes an argument and a show for the rest of the RV park? Well, here is how to level an RV and keep a happy relationship! Its name is the Anderson Leveling System.
Disclosure: This site contains affiliate links. Which means we may receive a commission, at no extra cost to you, if you purchase a product or sign up for a service on this page. The products and services on this site are mentioned because we believe in them and feel that they may be of value to you.
Discovering This Great Leveling System
When we purchased The Tin Can back in 2015, in the RV dealership, there was a video running showing off the Andersen Leveling System. I stood there watching that video in amazement. The video showed how you place these crescent moon shaped wedges in front of the RV wheels on its low side. Then while watching a level, your partner pulls the RV onto the wedges until the bubble reaches level. You then place chocks under the wedges and wheels and your done. I was amazed. Angelica noticed me starring this thing and came over asking “What the heck are you watching?”, and I was like “This is awesome!”. Kindly, Angelica agreed to let me purchase the Anderson Leveling System, we needed a leveling kit anyway. This was our first RV, so we didn’t have any accessories that we were going to need. I hadn’t even thought about how to level an RV before seeing that video. After watching it though, I knew this was the way I wanted to do it.
The Leveling System
The Andersen Leveling System that we purchased included the following items: 2 Camper Levelers, 4 TUFF Chocks, 1 Rapid Jack with a rubber pad, 4 TUFF Pads, 1 Clean Step, and a Carry Bag. All the pieces are very solid, thick plastic and made in the USA. I use the levelers and chocks every time I unhook the trailer, except on the rare occasion where the site
How To Level An RV
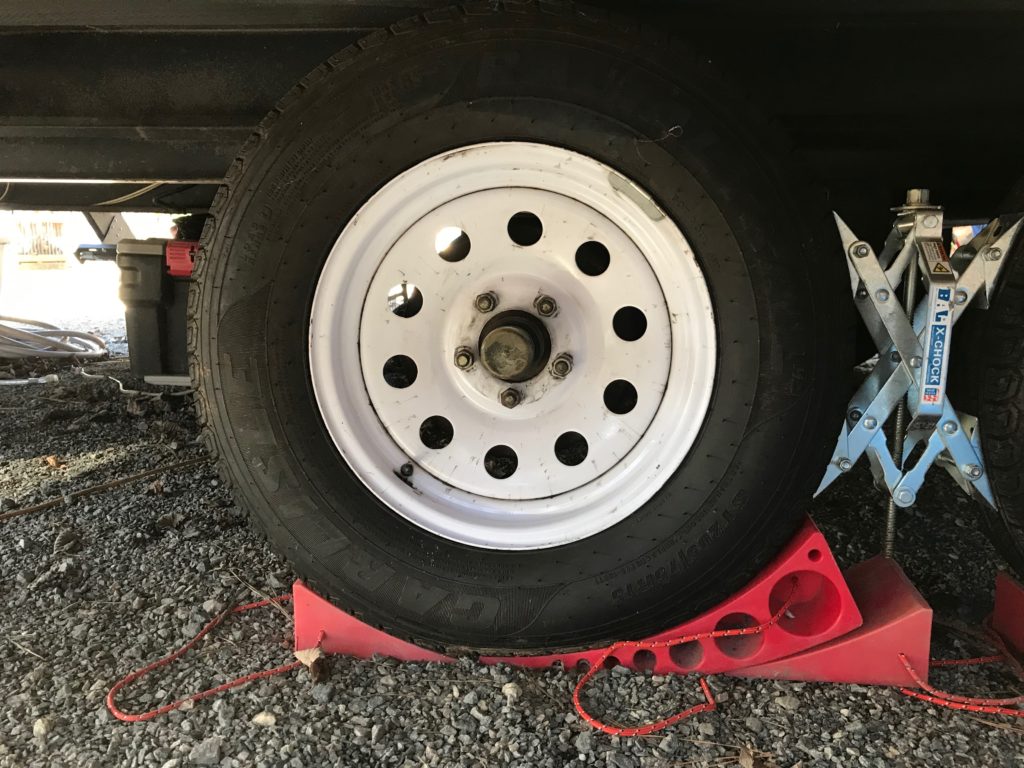
Using the Andersen levelers has been a great experience. This is our routine for leveling The Tin Can. We put our trailer, whether backing in or pull-through, in the camp spot to where the slide will clear any obstacles. Then we go ahead and run the slide out, so we don’t have to guess how it will affect level. Next, we decide which direction we want to move the trailer to level it and place the levelers accordingly. After placing the levelers one of us either pulls or backs the trailer while the other watches the level that I attached to the front of the trailer until we are a little past level. Then set the chocks on both sides of the wheels. It’s best to do this because after putting the chocks in place, the trailer is going to roll against them slightly. With the trailer chocked we’re all done and ready to unhook the trailer. It’s very easy with no fuss. There has been one time that the levelers didn’t work so well. That was when we were in Canada and our spot was grass and it had been raining a good bit and the ground was pretty soggy. When we tried to back onto the levelers, they would just slide on the grass. That’s the only time we’ve had any kind of issue with these levelers.
There Is Always A Hack
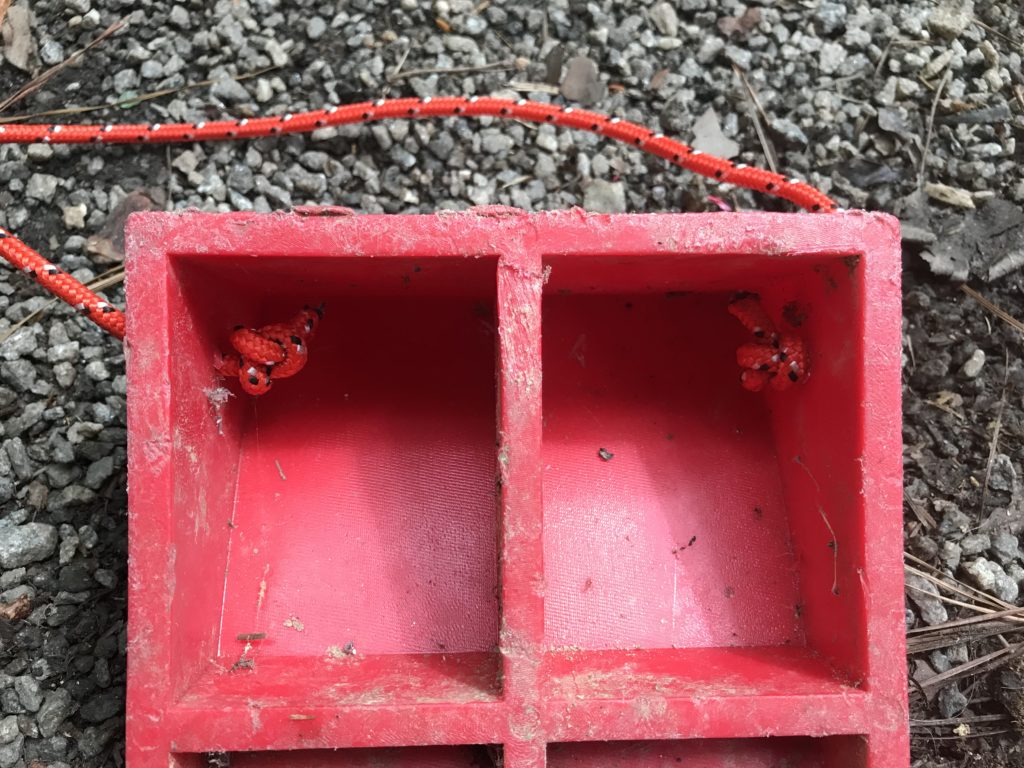
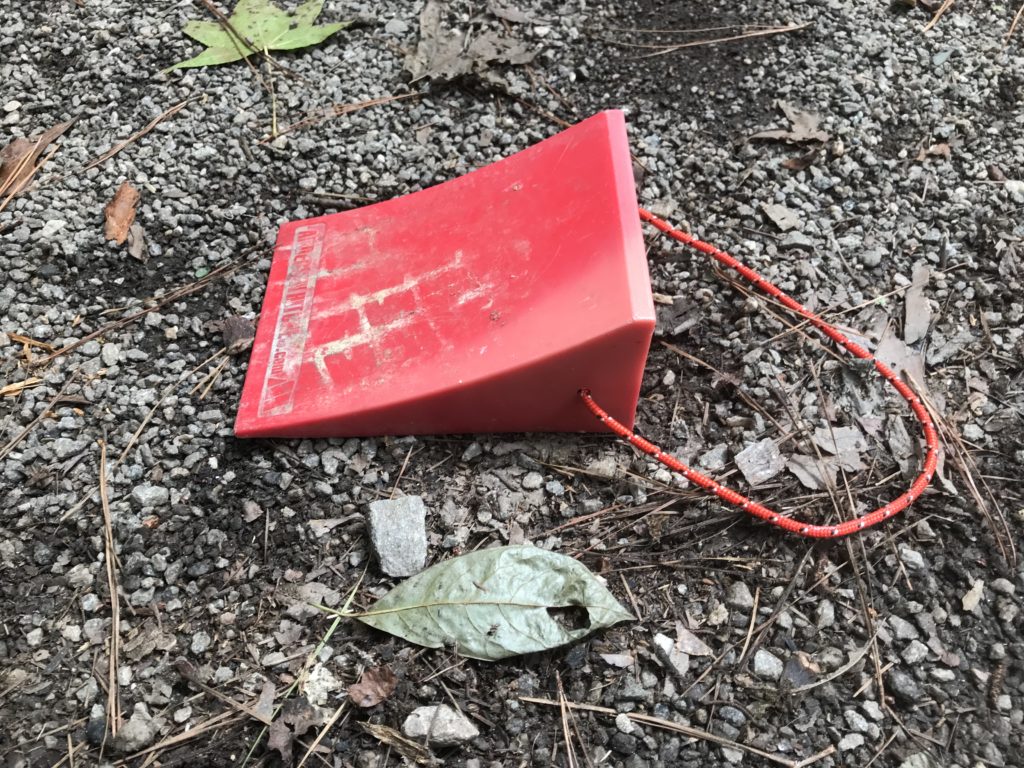
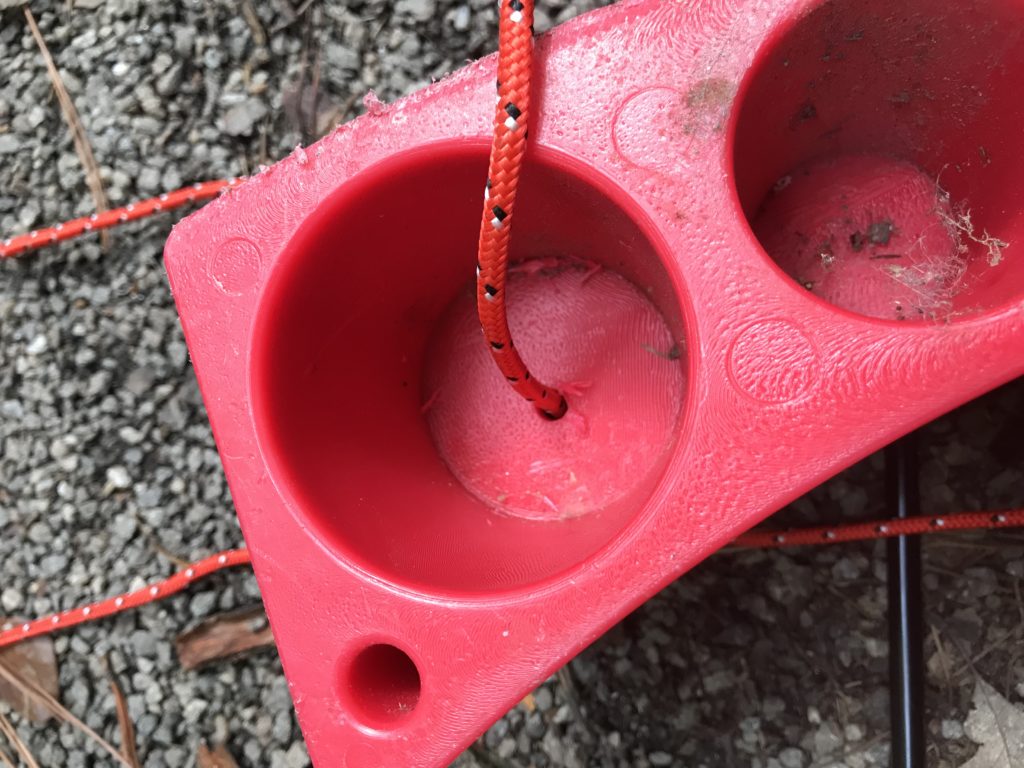
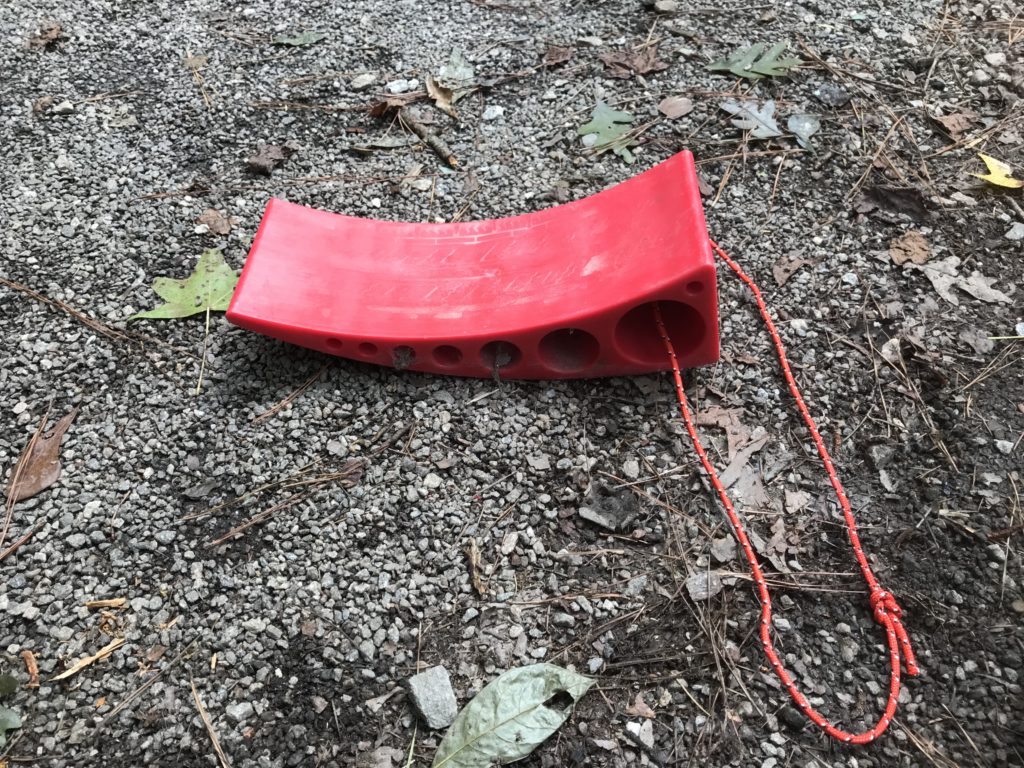
I want to tell you about one hack I have performed on the levelers and chocks. When taking the trailer off the levelers and chocks you have to reach between the wheels to pull the leveler out. I’m not afraid of doing this, but it does make me a little uncomfortable especially trying to get the kids more involved with setting-up and taking-down the RV. What I did was drill holes on each side of the chocks and one hole through the end of each leveler. I then ran pieces of small rope through the holes to form a loop on each piece. This allows us to grab the rope and pull the chocks and levelers out from the wheels without having to stick our hands in the way of the tires. It makes me more comfortable for the kids to use and it makes them easier to carry around too.
Other Buying Options
The Andersen levelers can be bought with just the chocks, in sets of one or two, also. Which is good if you already have stabilizer pads or don’t care about having the jack or step. The pads, jack, and step can also be purchased separately. I mentioned the Andersen levelers in my 5 RV Gift Ideas article.
Conclusion
If you are researching how to level an RV the easiest, most convenient way. Check out the Andersen levelers! They have proven to be a great leveling system that is simple to use and easy to store too.
Please Like and Share us on social media! Also, subscribe to our email list to stay up to date on new posts! Please leave a comment telling us what you think.
