Well, we’ve been living in The Tin Can about 6 months now, and it’s beginning to look lived in. There are a few scratches in the paint here and there. A few places getting stained and dirty. Also the floor has taken on some damage.
Of course, the beauty of peel-and-stick vinyl flooring planks, is that it’s easy to replace planks. I wrote about our flooring choice and installation in We Are Down With This RV Flooring article and this was a big factor in our flooring choice. Now I was going to find out how easy it was actually going to be.
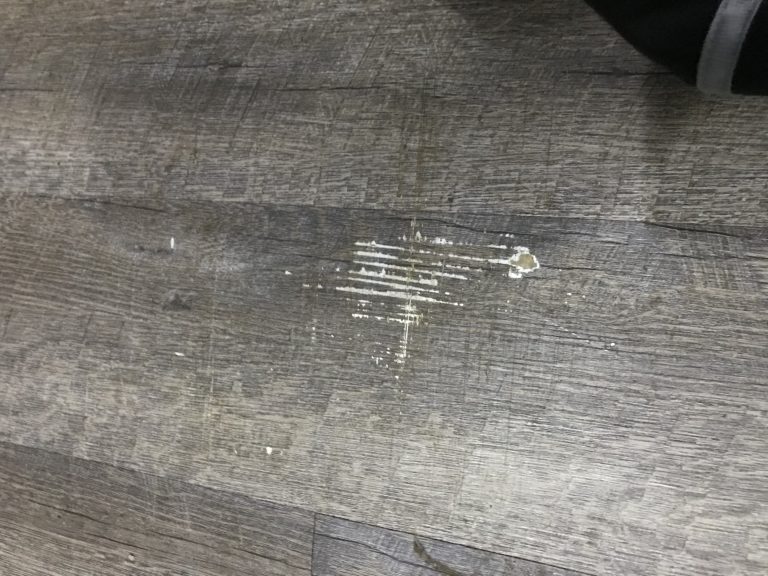
The Damaged Planks
We had about 10 planks that were damaged to the point where we wanted to replace them. All of the planks across the front of the slide. We had put two futons in the slide, the legs of them rested just behind the transition and they had cracked the planks. A few of them had also gotten chipped from sliding the futons around. Then, there were a few on the main floor that had gotten scratched up by I’m assuming the slide, while it was run in.
During our recent slide renovation we decided that it was the perfect time to repair the RV floor too. I counted the planks that needed to be replaced and Angelica made a trip to the RV/home improvement store and purchased the planks and more 3M Hi Strength Spray Adhesive. I then grabbed my pocket and putty knives and went to work.
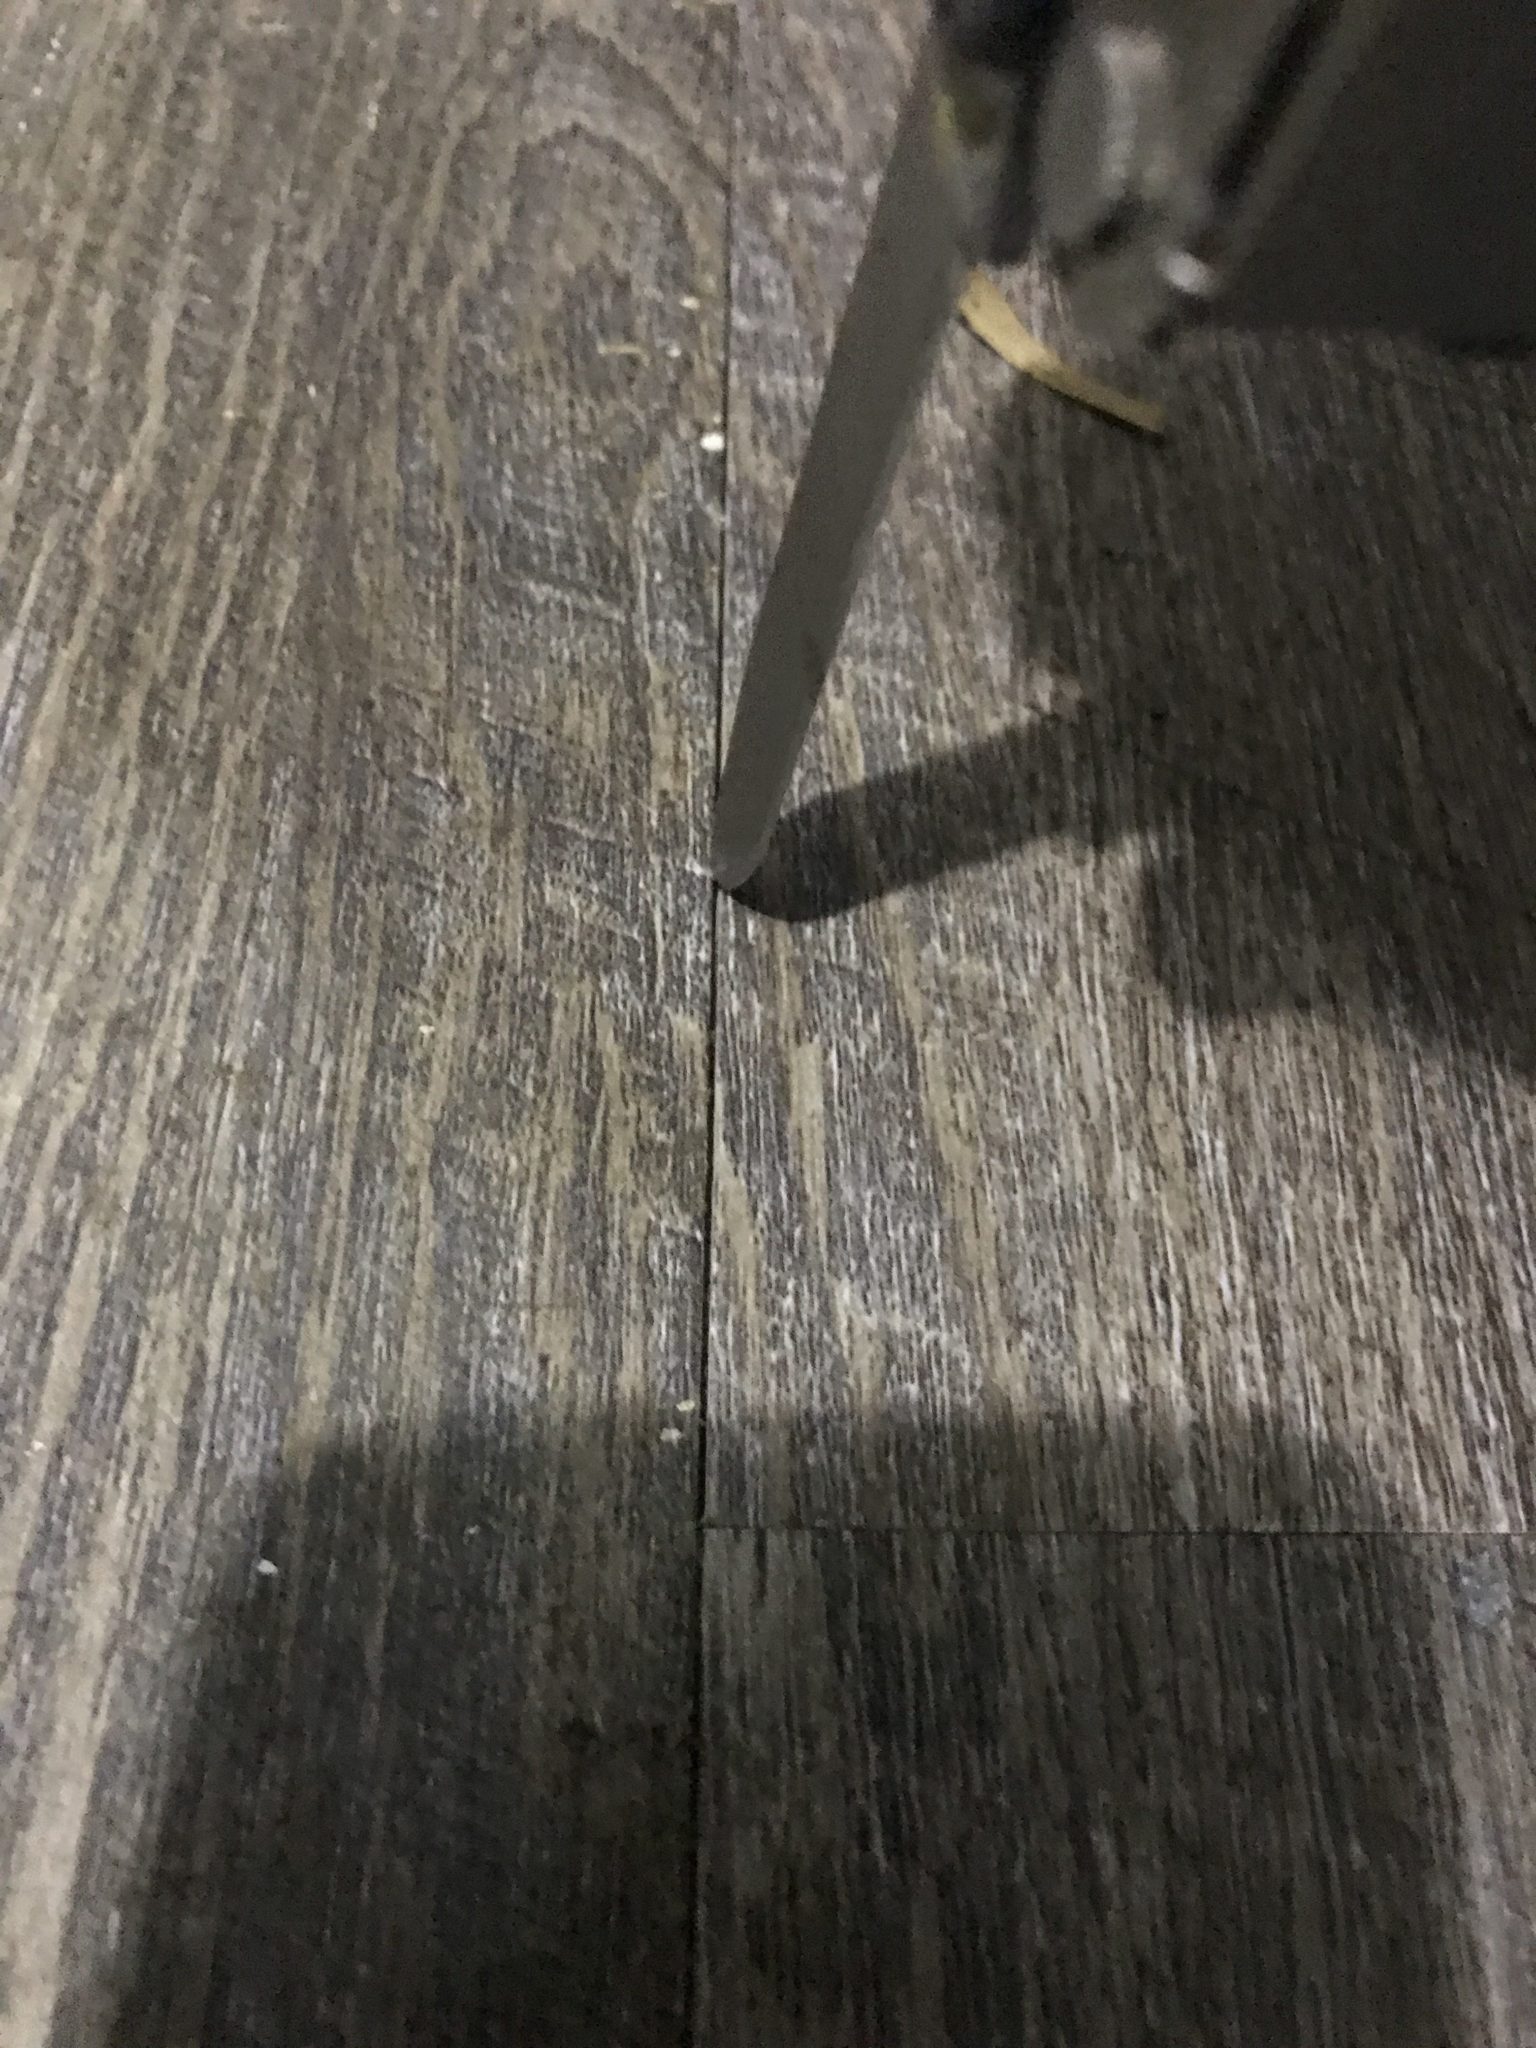
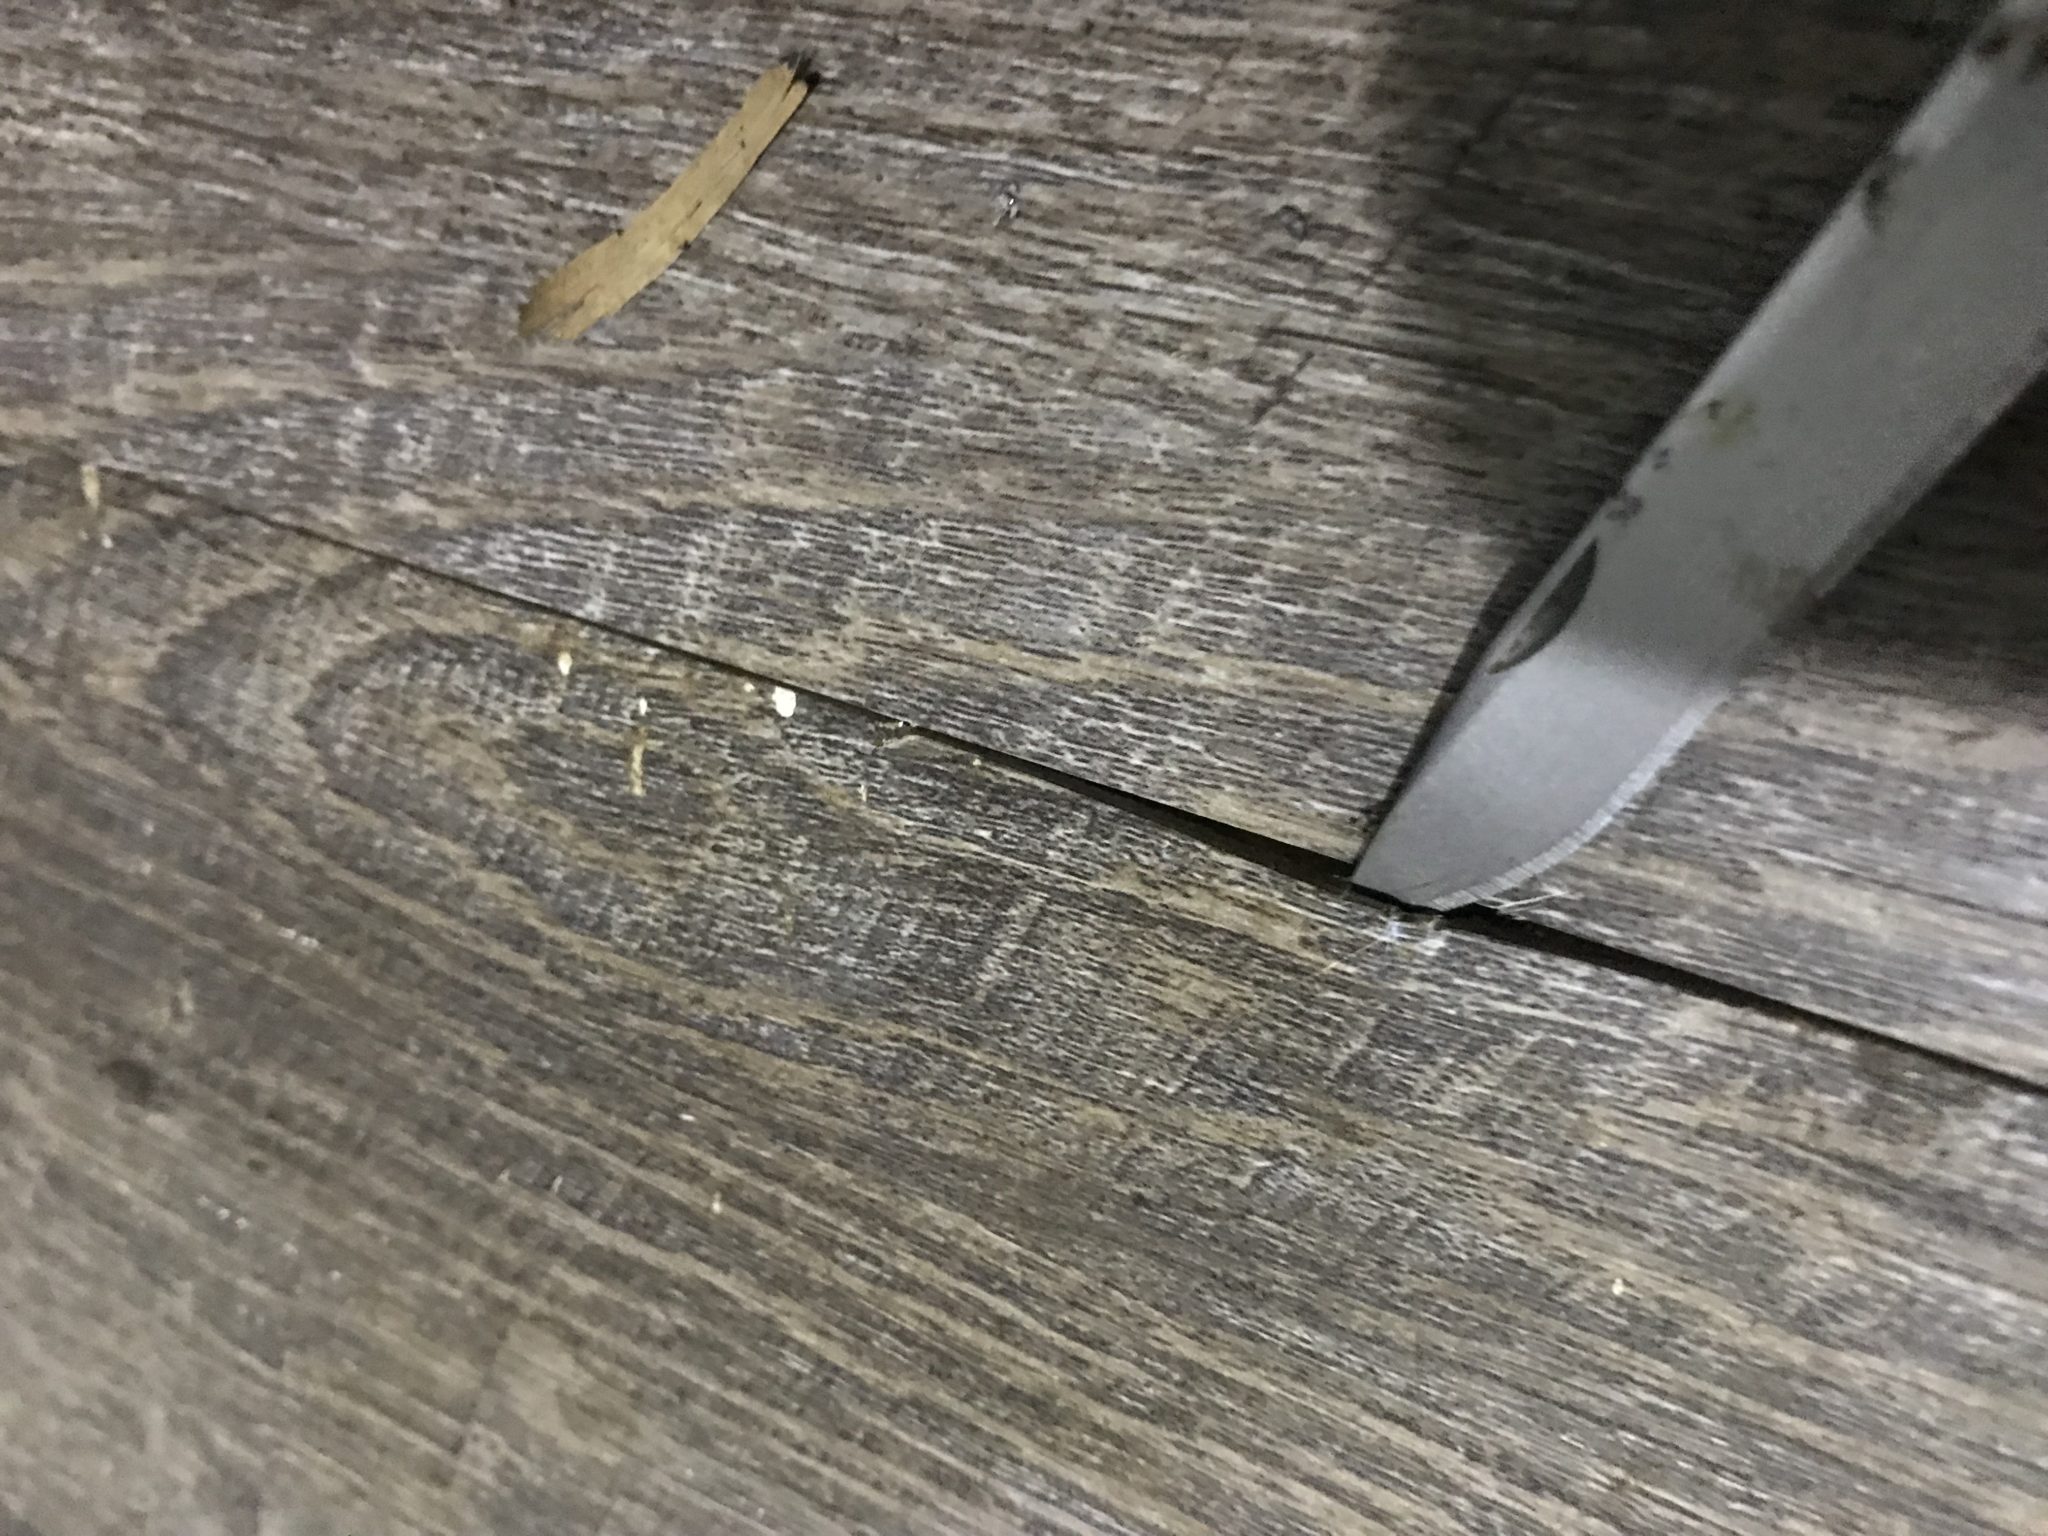
Removing The Damaged Flooring
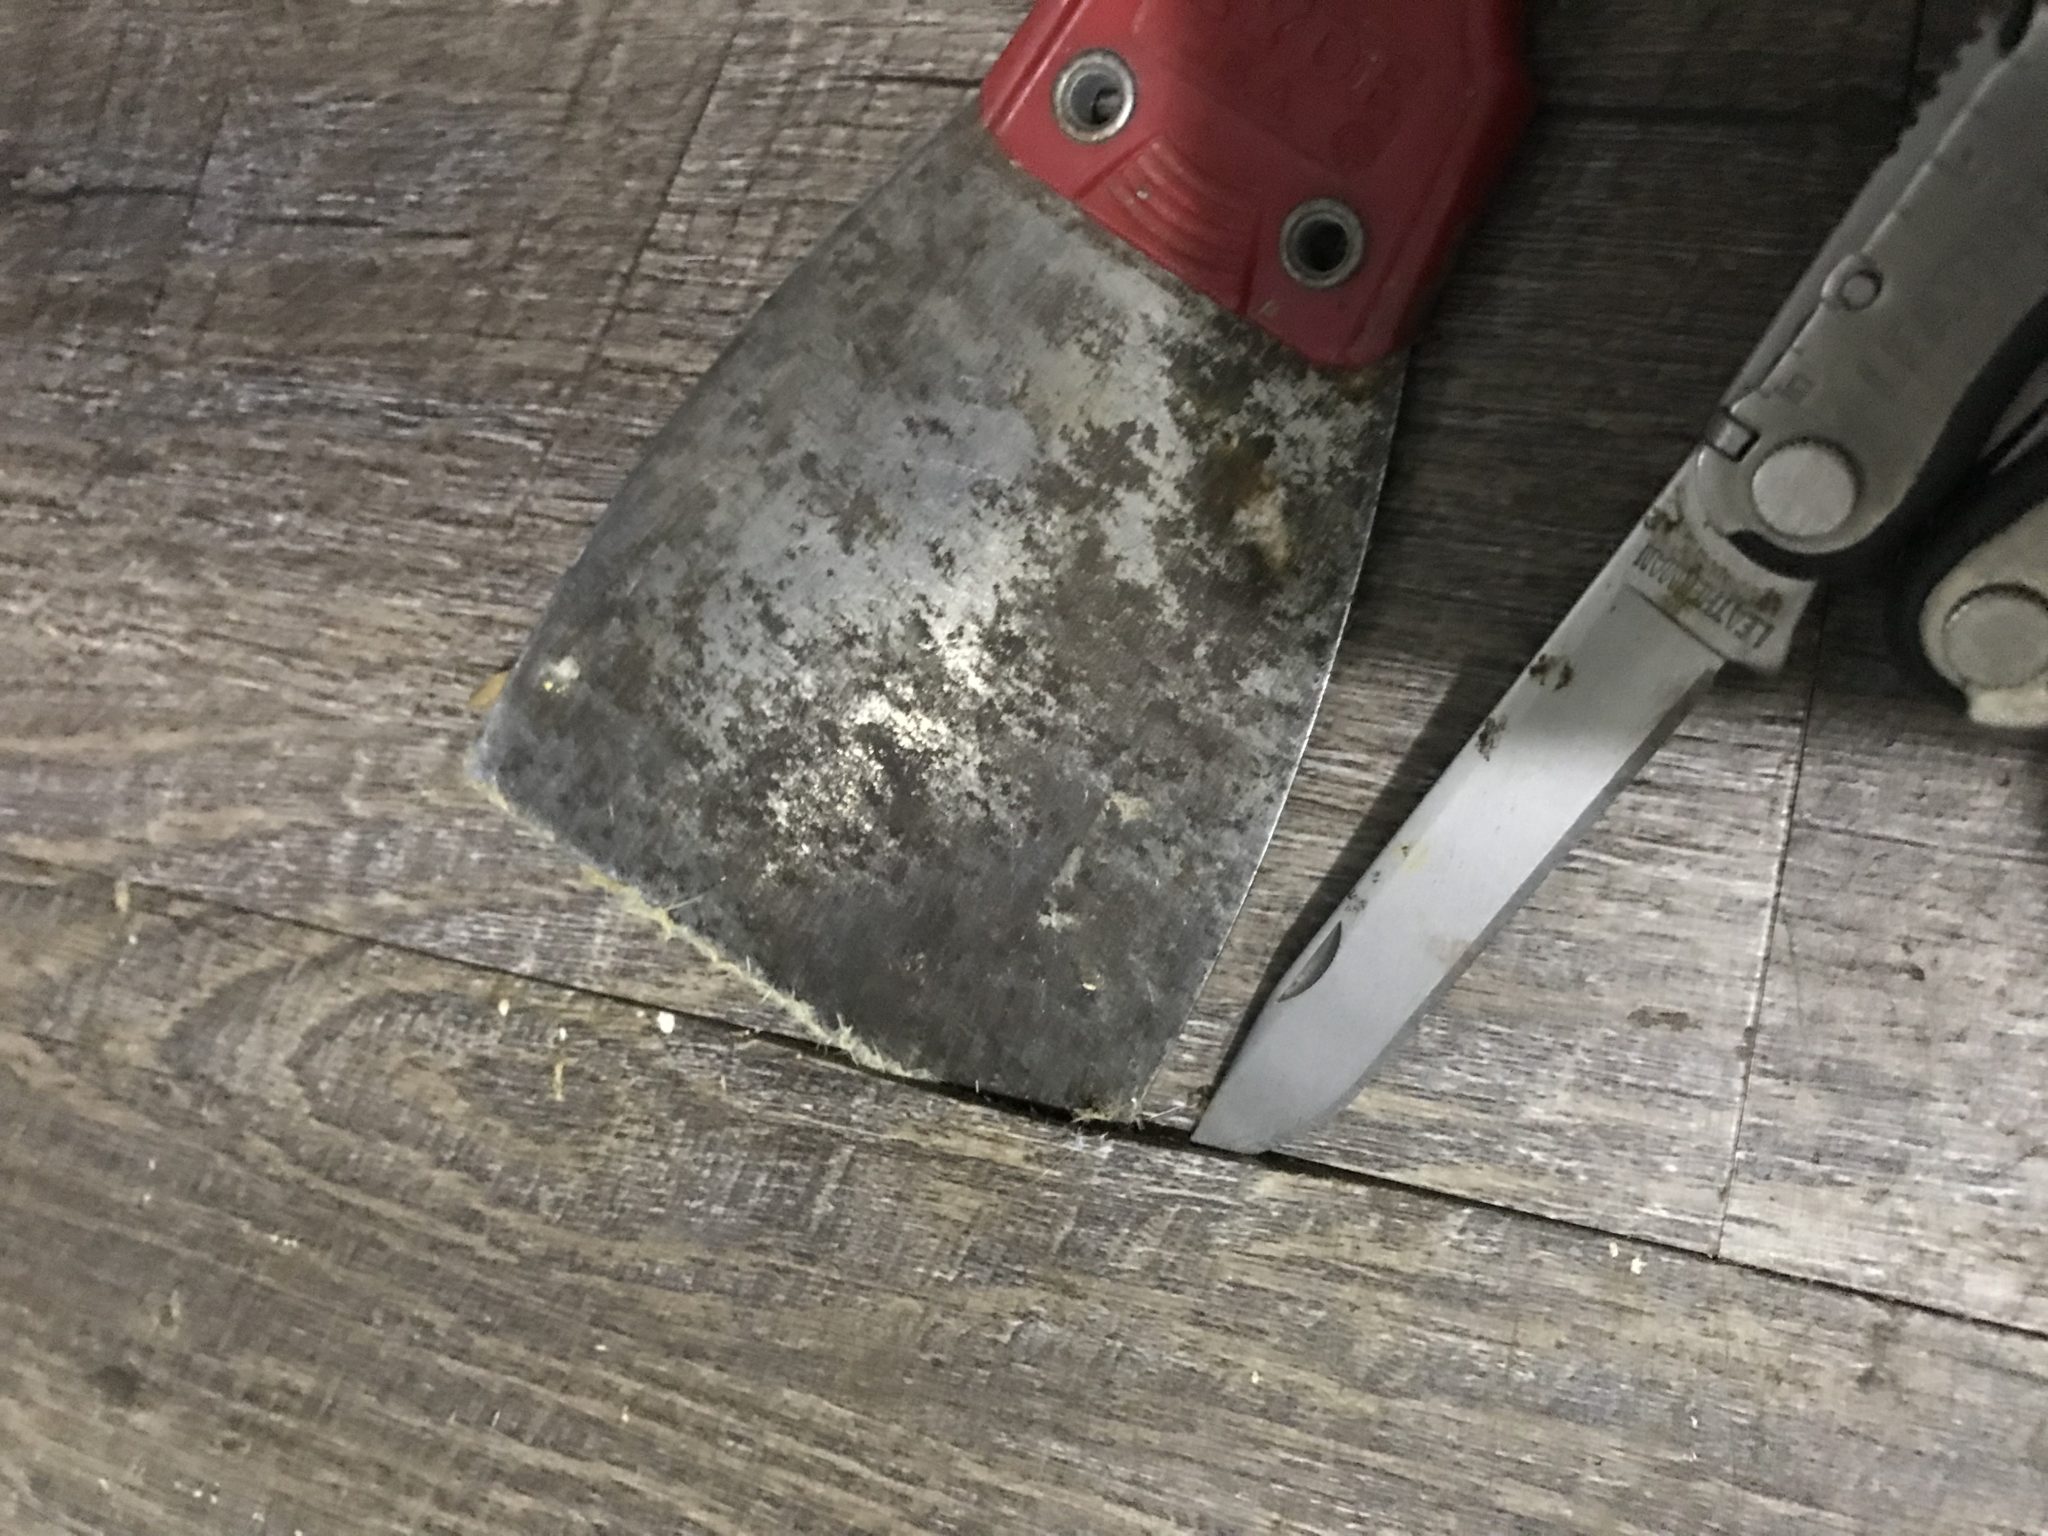
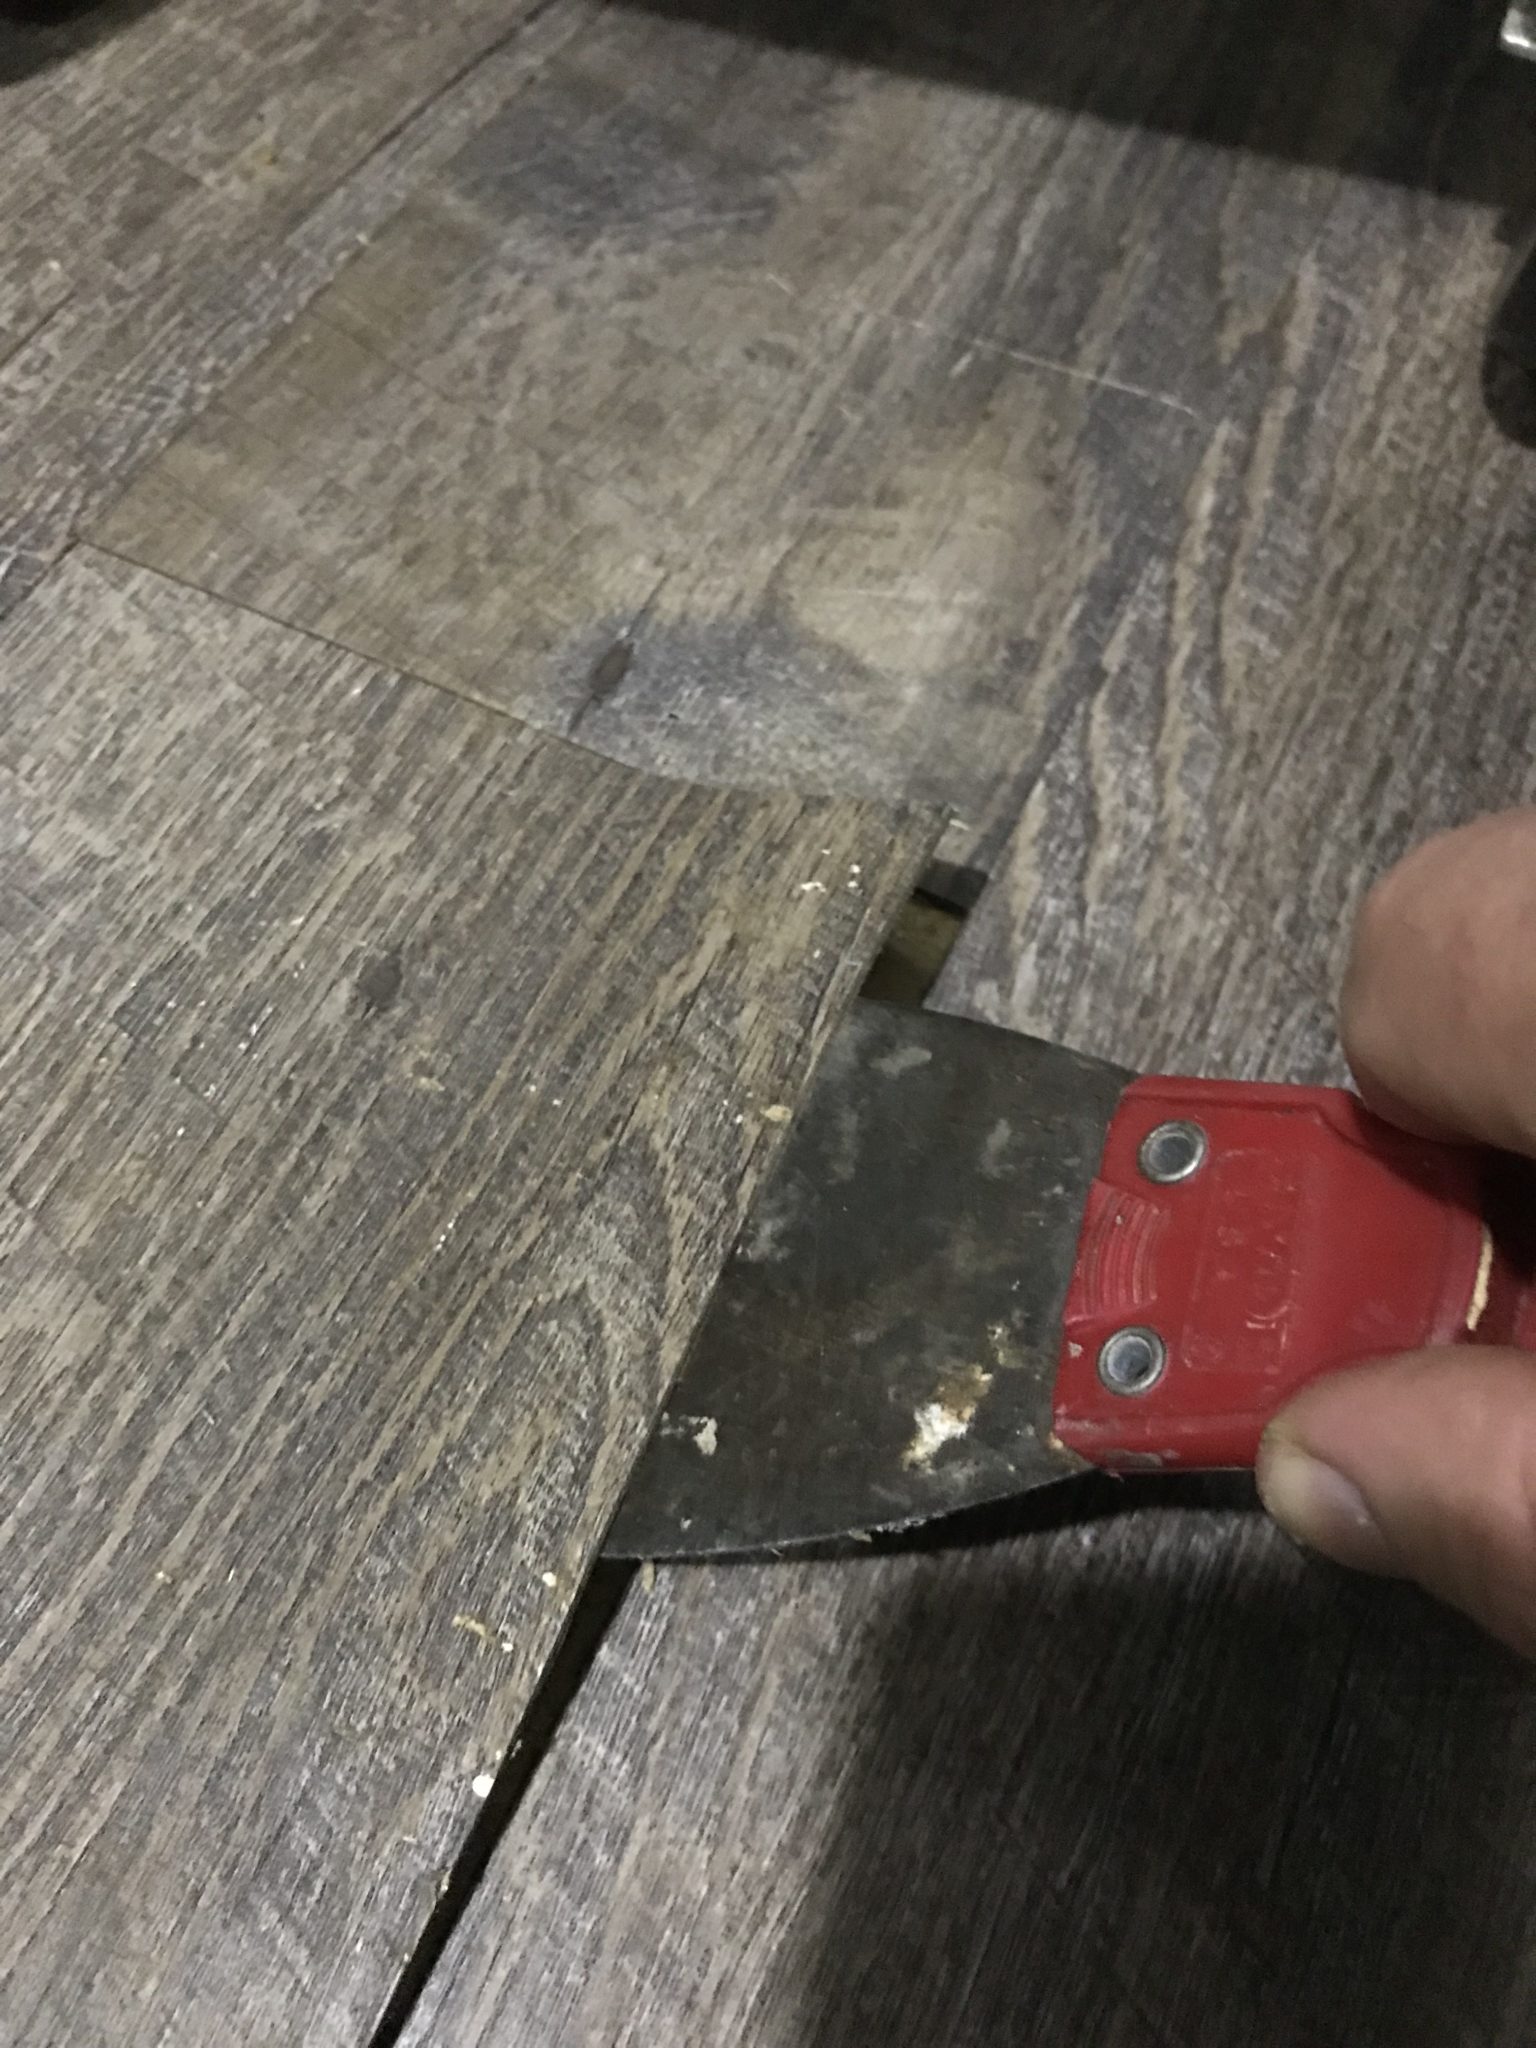
I first stuck the point of the pocket knife between two planks to pry it up enough to get the putty knife under it. With the putty knife under the plank, I worked it around to where I could grab it with my hand. I then just had to peel it off the floor, it helped to keep running the putty knife under the plank while pulling it up. That helped prevent the planks from breaking, but a few broke anyway. Not a big deal though, I just had to use the putty knife to start peeling them off again.
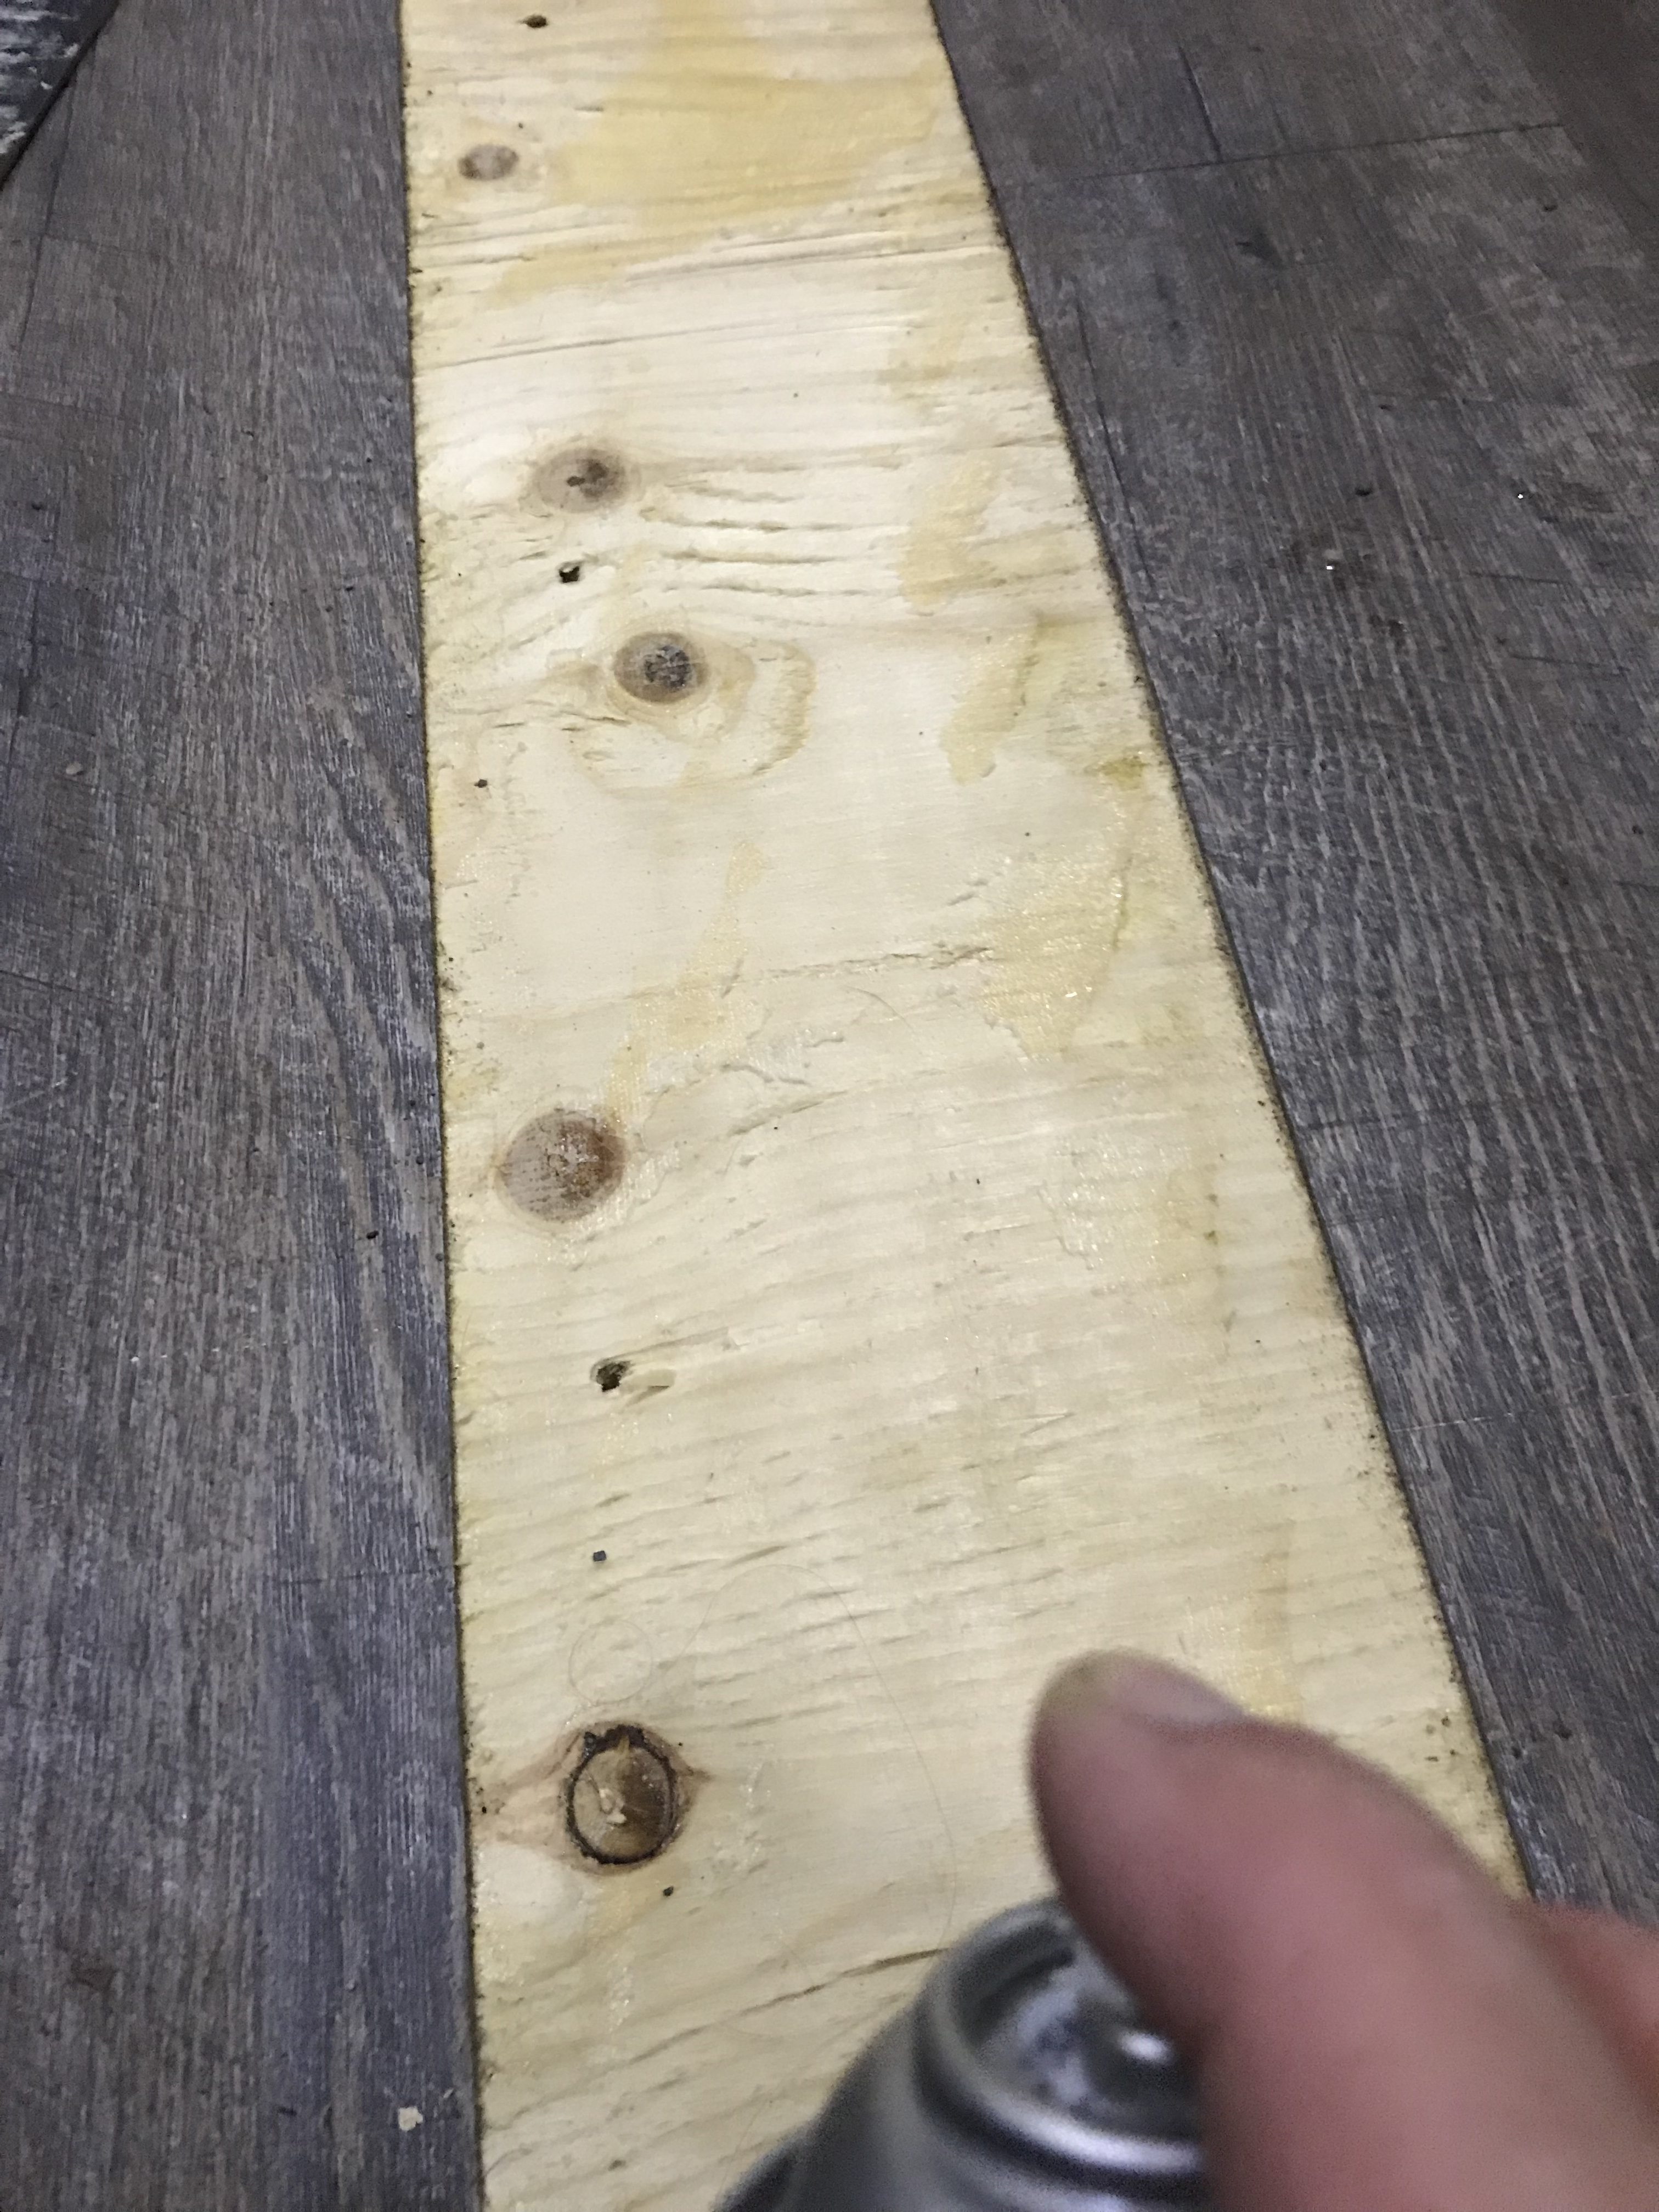
Installing The New Planks
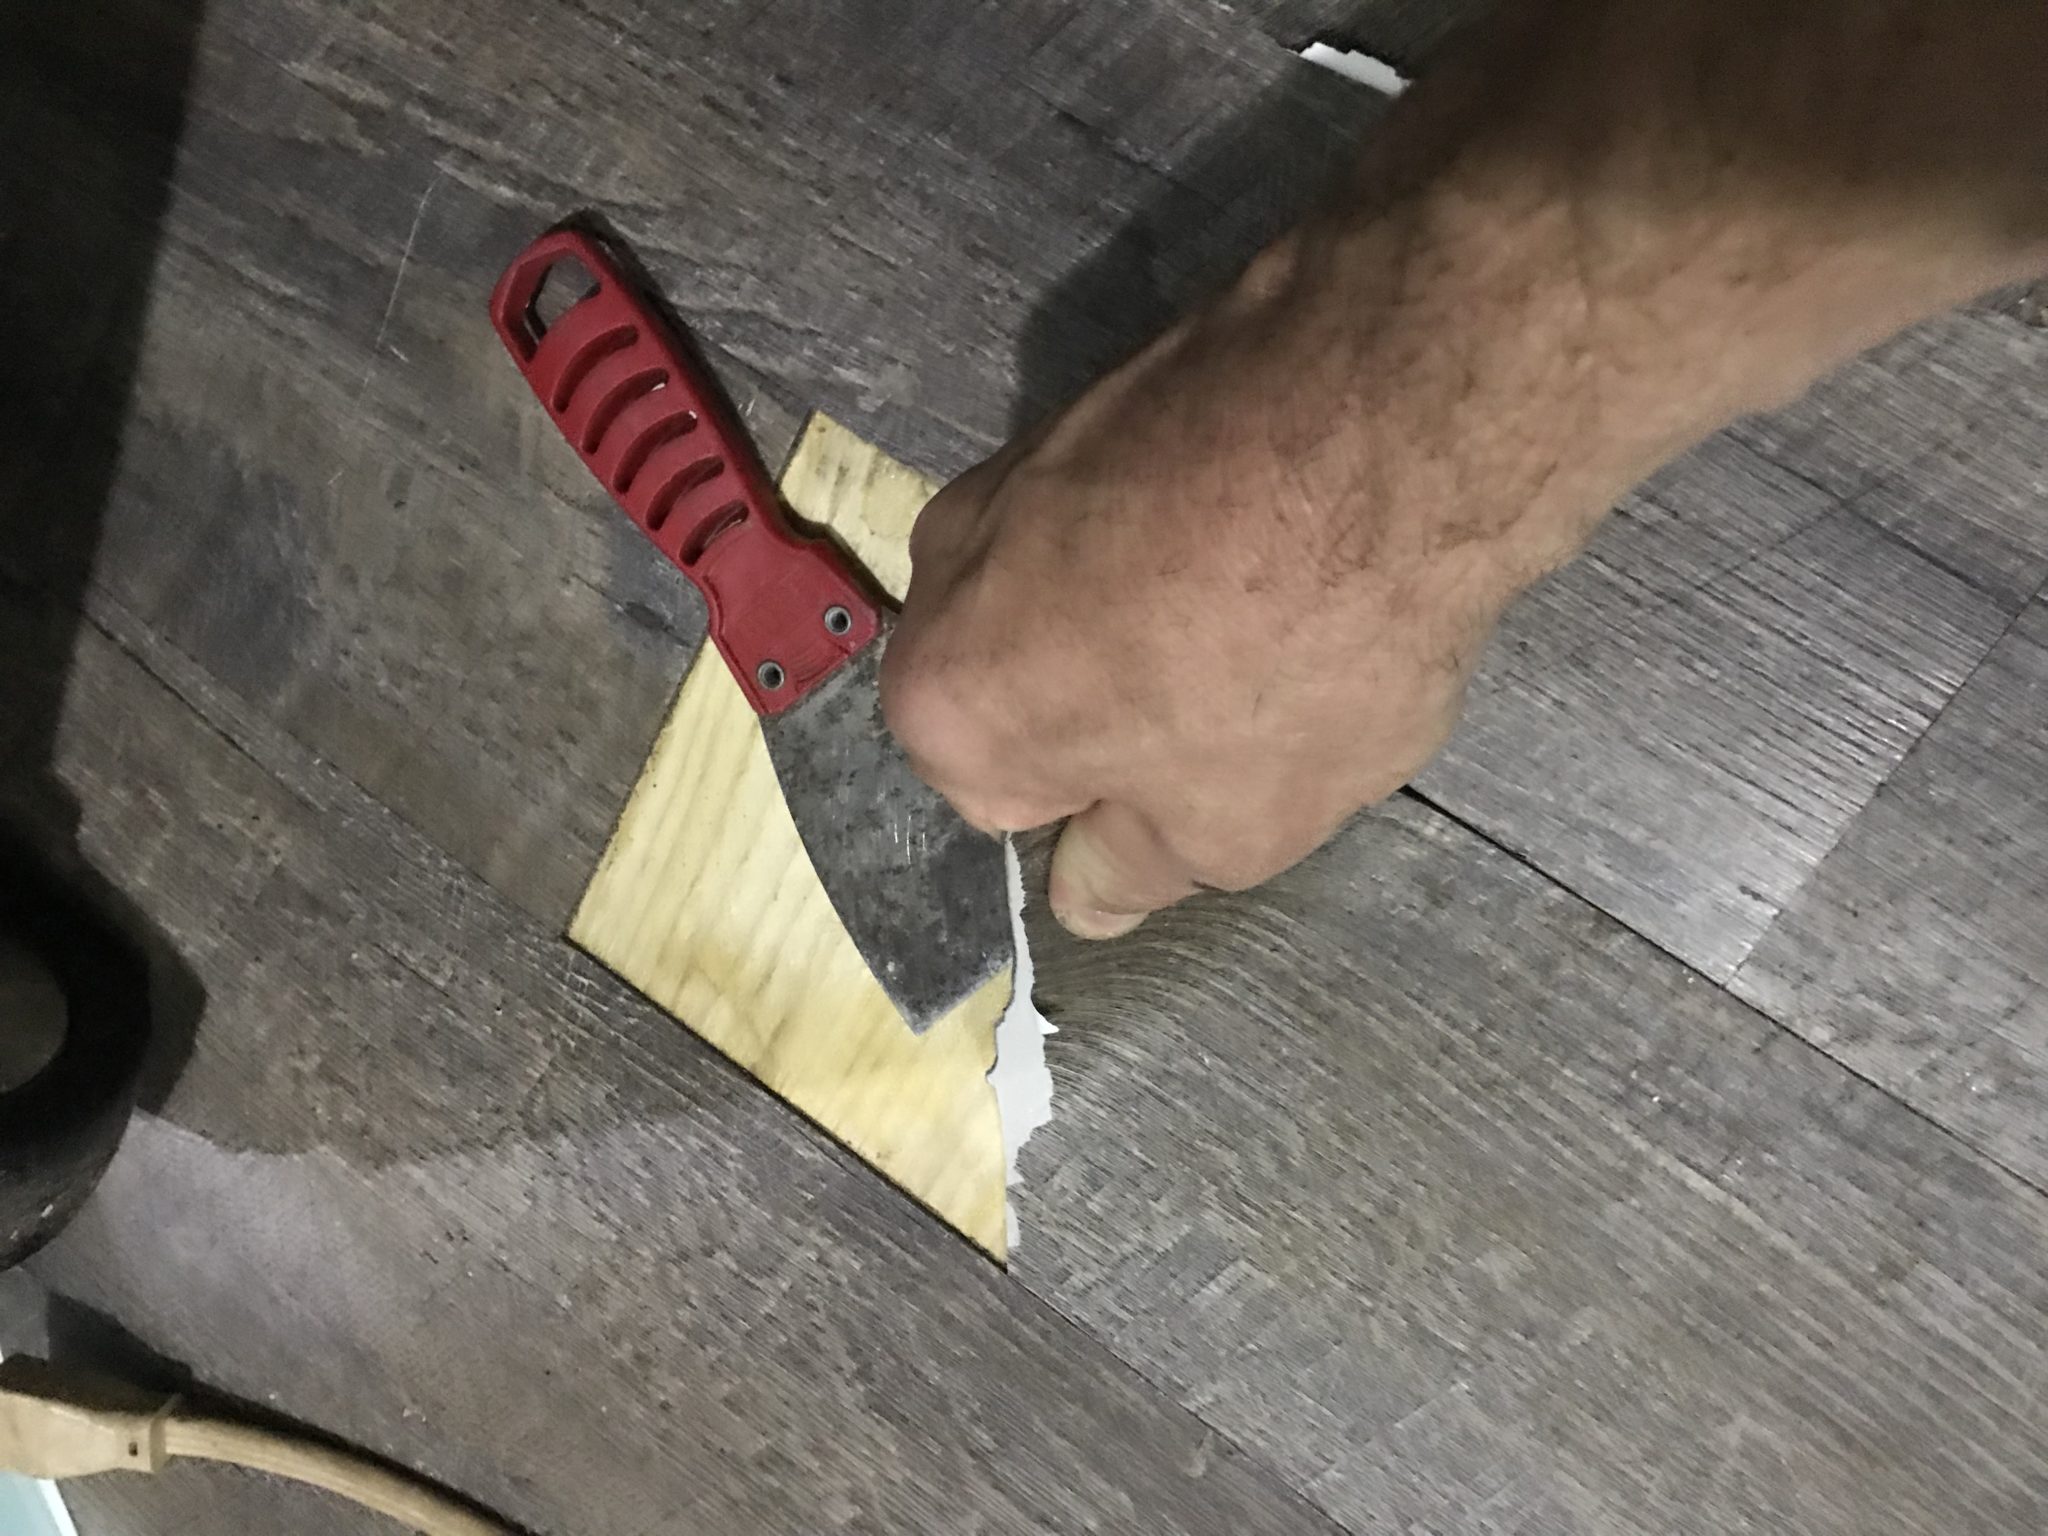
With an old plank removed I cleaned up what little bit of dirt that had gotten between the planks, then sprayed the subfloor and the new plank with the 3M adhesive and stuck them down. It was actually easier than installing them the first time. Especially since most of the planks I had to replace didn’t need to be trimmed.
So that’s that the floor looks good as new again! It was a supper easy job to repair the RV vinyl floor. It makes me glad we chose the peel-and-stick flooring.
Please Like and Share us on social media! Also, subscribe to our email list to stay up to date on new posts! Please leave a comment telling us what you think.

Were you using the Allure brand it something of this type. We are having gaps pop up all over and I didn’t know if it was the heat in AZ 🌵. Hmmm. I’m wanting to do a few rows over again, but I don’t want it to do the same thing.
We used the Lowe’s Style Select flooring. I’m not sure who it’s made by. But we have not had any panel come up or gapping. The heat may have something to do with it. Did you use extra adhesive?
How does the floor handle expansion and contraction during the seasonal changes. We are exposed to -30F to 110F + in the Dakotas.
So far we have not had any issues with it. But neither have we been exposed to those temp extremes.