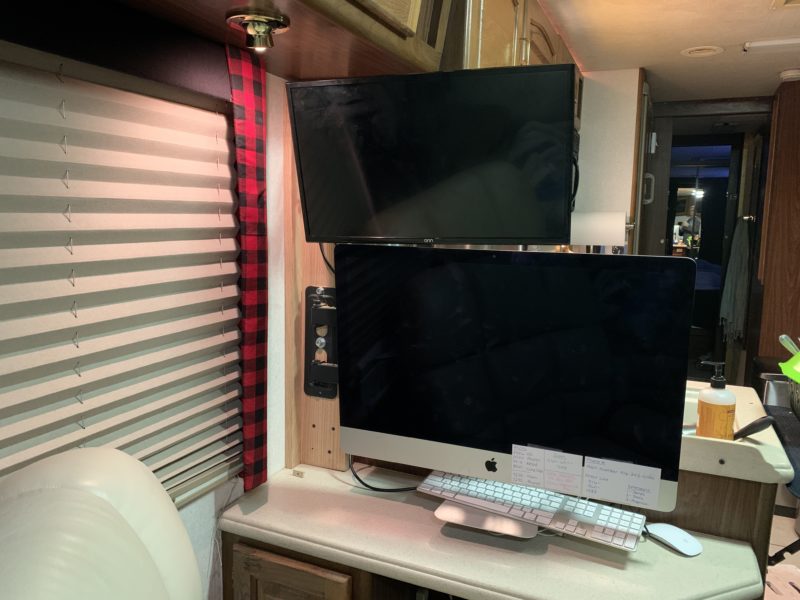
With desktop space in our RV motorhome being very minimal, wall mounting the iMac and second monitor was our best solution. Our motorhome only has a tiny little desk area in the living room area. Initially, we had Angelica’s iMac and her second monitor sitting on the desktop. The problem was that they took up almost the entire space. Leaving very little space for a mouse much less a keyboard. We had to get them off the desk with some wall mounts.

How To Attach The Mount In The RV
But, how do you properly install a computer wall mount in an RV? Finding a wall stud and fastening it to that would be the obvious answer. But what if you can’t seem to locate a wall stud? I have a wall stud finder. The stud finder was unable to find a wall stud, though. The walls in the motorhome seem to be pretty well insulated. Like, insulated with spray foam or Styrofoam. You can tap on the wall at any location and it sounds very solid. I didn’t want to go and start poking a bunch of holes in the wall trying to find one, either. I needed to come up with a different plan.
My Plan Of Attack
Fortunately, the cabinets in our motorhome are solid wood and very sturdy. On top of that the upper kitchen cabinets aligned up with the back of the desk. The side of this upper cabinet left plenty of room to fasten another piece of wood to. My idea was to attach a piece of wood to the side of this cabinet and then to the back of the bottom cabinet. Which is also the back of the desk. Then I would attach the computer wall mounts to that. My concern was whether it would be sturdy enough to hold the iMac solid.
Using The Right Materials
The key to this idea was going to be using the right kind of wood. It would need to be rigid and not want to flex or twist. A piece of hard wood, I figured, would be the best bet. So, I bought a 1X6 and 1X2 piece of oak wood to make the bracket out of. It should make a very secure foundation for the mounts.
Creating The Mounting Bracket
I cut the two pieces of oak slightly shorter than the distance between the desk top and the bottom of the living room upper cabinet. Then attached the edge of the 1X2 to one side of the 1X6. This would reinforce the 1X6 a little more and hopefully prevent any bowing.
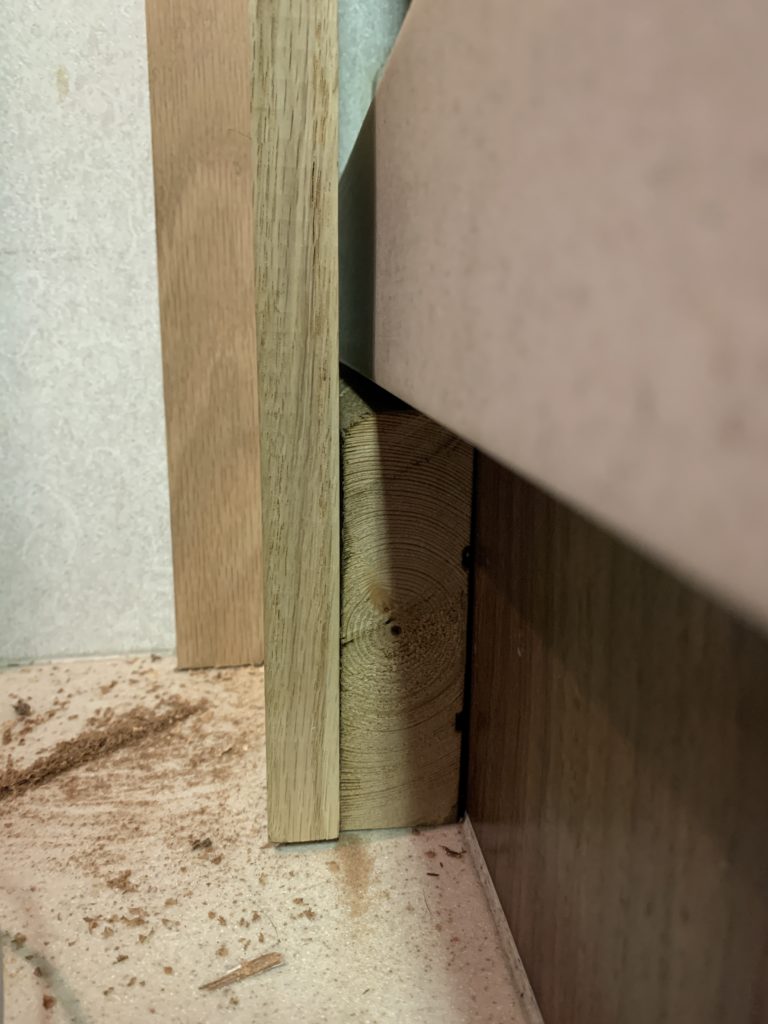
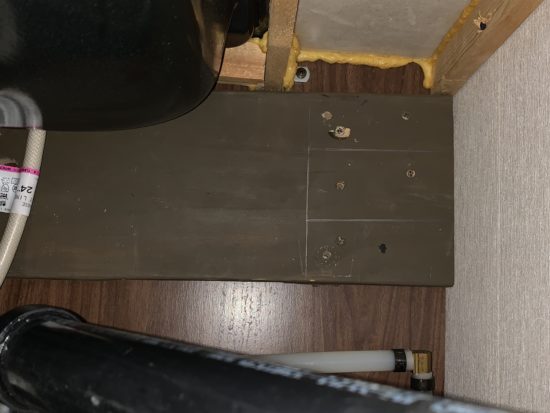
Next, I had to build out the back of the kitchen cabinet with a short piece of 2X6 to clear the countertop. The back of the cabinet is made out of two pieces of paneling with space in between them. That meant I needed to reinforce both sides of the cabinet back. I used a scrap piece of plywood on the inside of the kitchen cabinet opposite the piece of 2X6. I hoped this piece of plywood would span across a few studs in this cabinet back. That would hopefully keep the back of the counter from crushing. Luckily, the two pieces secured together to form a solid foundation for the oak.
Now that I had the bottom built out, I held the piece of oak in place with the end resting on the desktop. And secured it with some long wood screws. On the upper end of the board, I drilled 3/8” holes through the oak and the upper kitchen cabinet side. Then secured it in place with some bolts. This thing is not going anywhere!

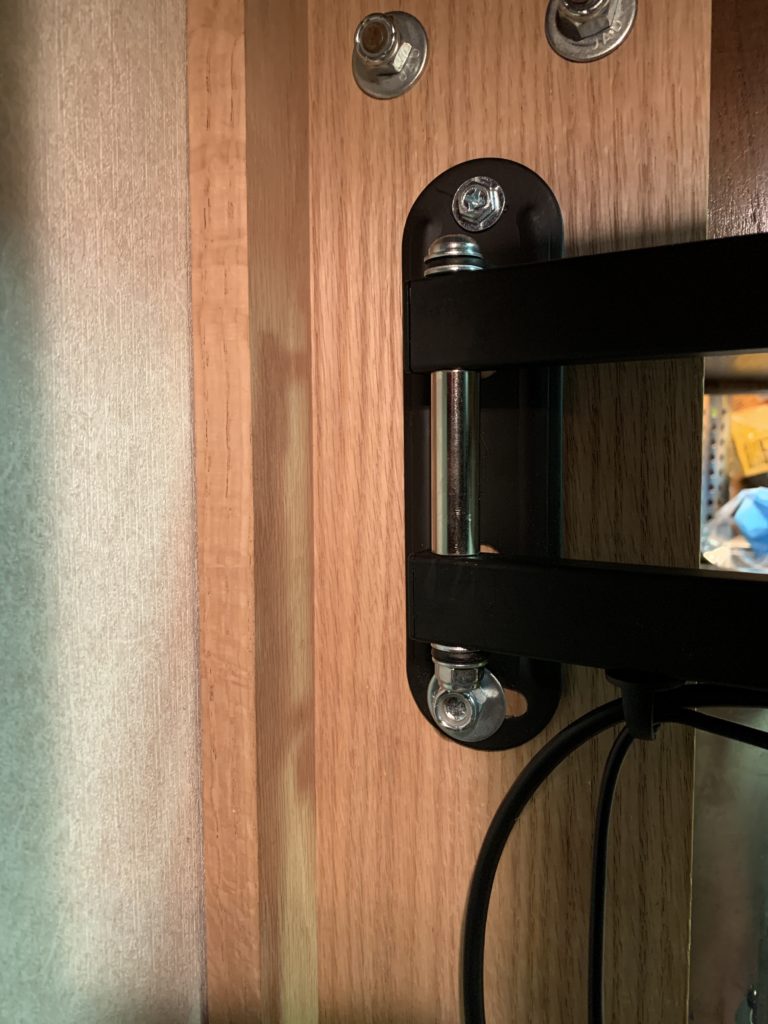
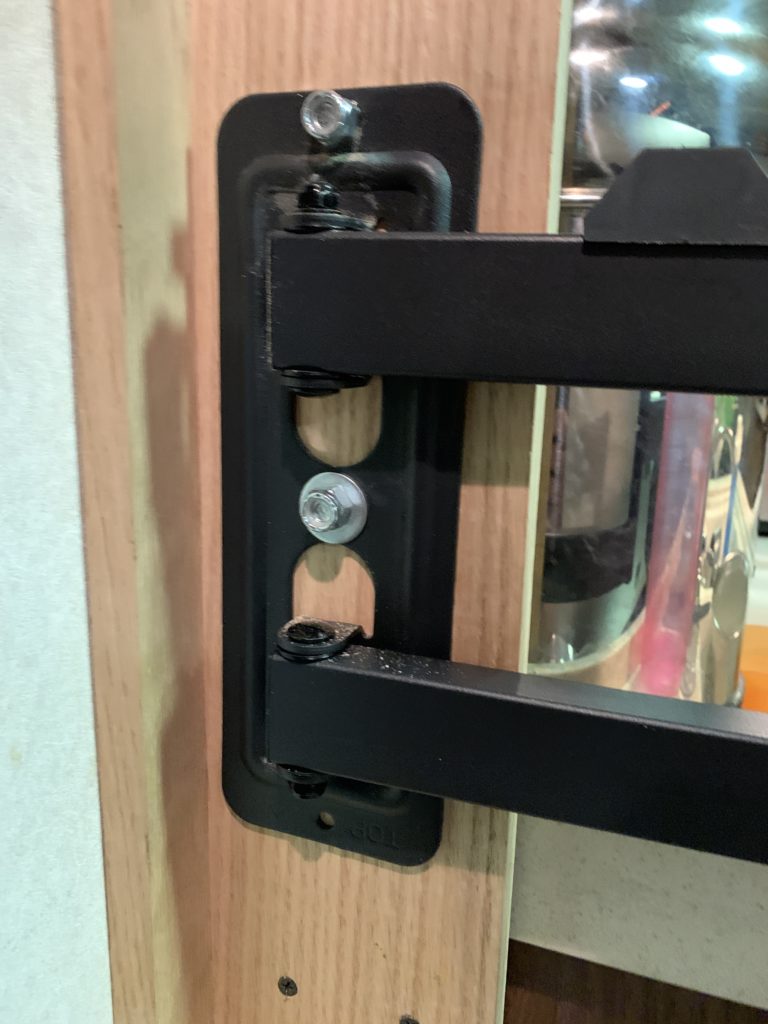
The Wall Mounts
For the wall mounts, I used 1

Conclusion
I know this isn’t the only way to install a computer wall mount in an RV. But this way worked really well for us. It’s strong and secure and opened up the desktop area for Angelica. She now has room for her keyboard, mouse, some paper, and even her Yeti tumbler.
Be sure to check out our new RV in these post:.
Please Like and Share us on social media! Also, subscribe to our email list to stay up to date on new posts! Please leave a comment telling us what you think.

