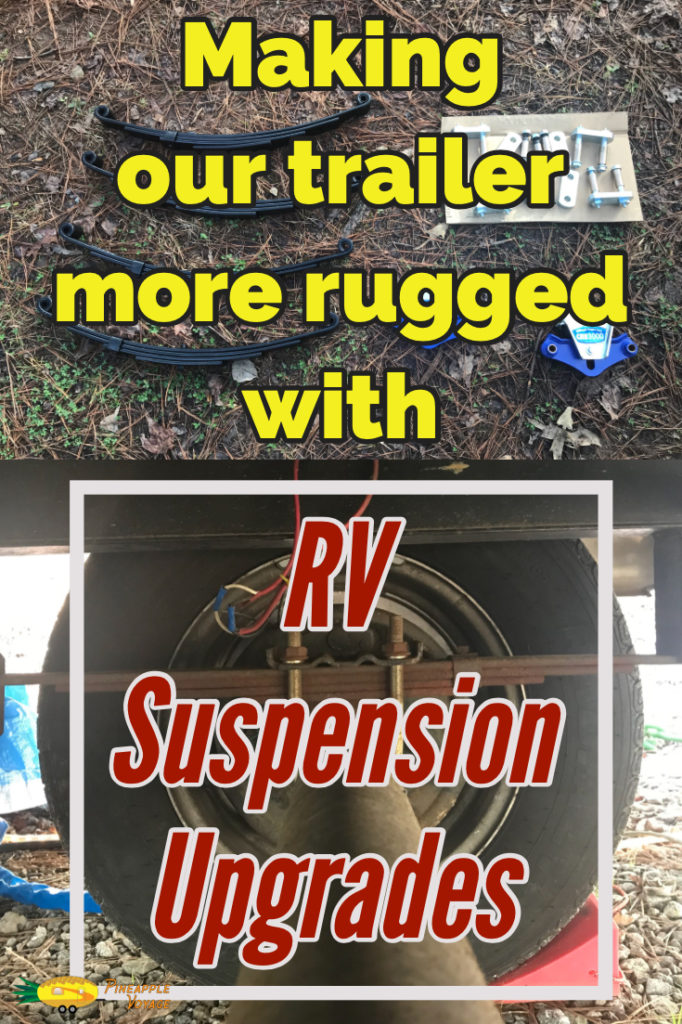
Have you filled your RV up to the rim with clothes, food and other supplies? I know I sure have! Chances are, you are pushing your RV’s carrying capacity to the max. It may be time to consider some RV suspension upgrades.
Traveling On Overloaded Suspension
Full-timing in an RV can be taxing on an Its suspension. You tend to carry a lot more stuff than many of them were intended to haul. This was The Tin Can’s burden. When we pulled it to a scale on our initial launch, she weighed in at over 7,200lbs. on the axles. Though I first thought we were good, we have a GVWR of 7,800lbs. it was later that I realized that our GAWR (Gross Axle Weight Rating) only totaled 7,000lbs. This little fact was a definite eye opener. Thanks Bill!
Bill is another full-time RV’r. He and his family have been on the road a few years already. We first met Bill and his family at the Full Time Families, Canada Rally in 2018. It was there that me and Bill were discussing The Tin Can’s weight and suspension one day. Bill explained that my GVWR was really my axle rating plus my tongue weight rating. That little fact had not occurred to me and I guess I had not studied the sticker on the side of my RV either. Sometimes I wonder about myself…
Fully Admitting The Problem
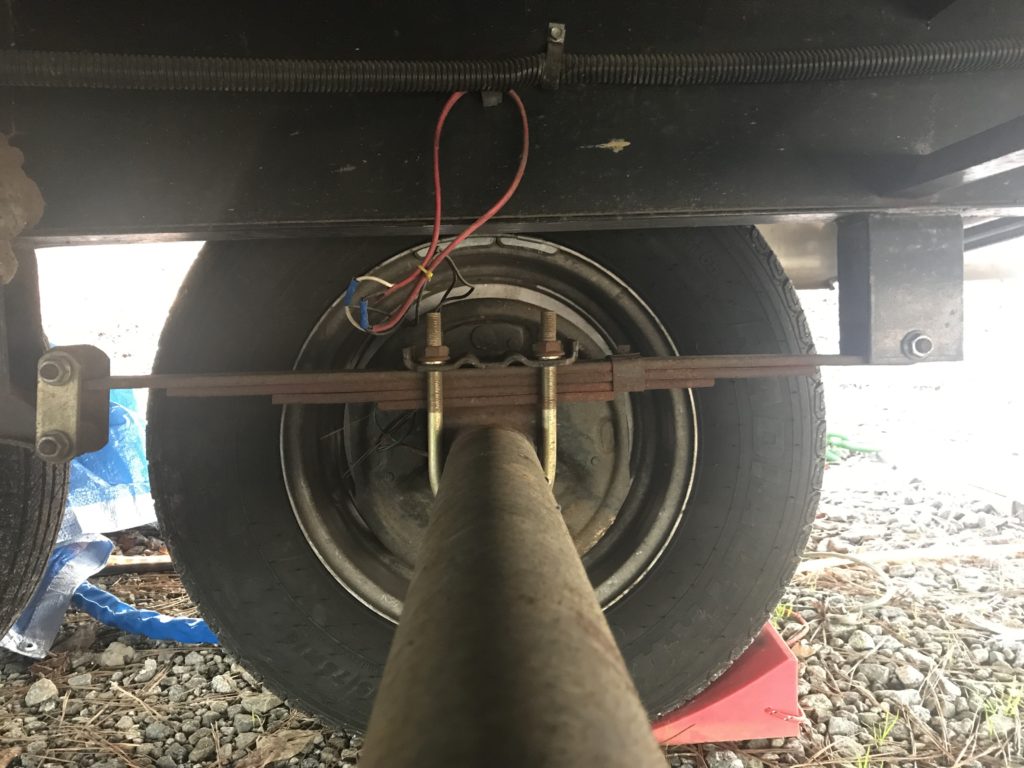
I mean, I had been looking at my trailer springs and noticed they were sitting pretty flat. So, I did have a notion that we were pushing the RV’s suspension to the limit. But that weight slip was comforting me. I kept telling myself “we’re really OK… I think”. But now I knew that we REALLY needed some RV suspension upgrades. And the sooner the better!
The good news is we made the entire Canada trip safely on the old suspension. And all the way through our last camp hosting assignment. Now, finally, I was in a position to start our upgrades. The first suspension upgrade I made was the leaf springs and equalizers.
*Note
Performing these suspension upgrades does give your RV suspension more load capacity. It does not necessarily increase the trailer’s load capacity. The frame and other components may not be rated for the increased capacity. It also will not likely increase your RV’s official GVWR. If it ever comes down to it, an insurance company or other official agencies will possibly only look at your RV’s sticker.
Leaf Springs and Equalizers
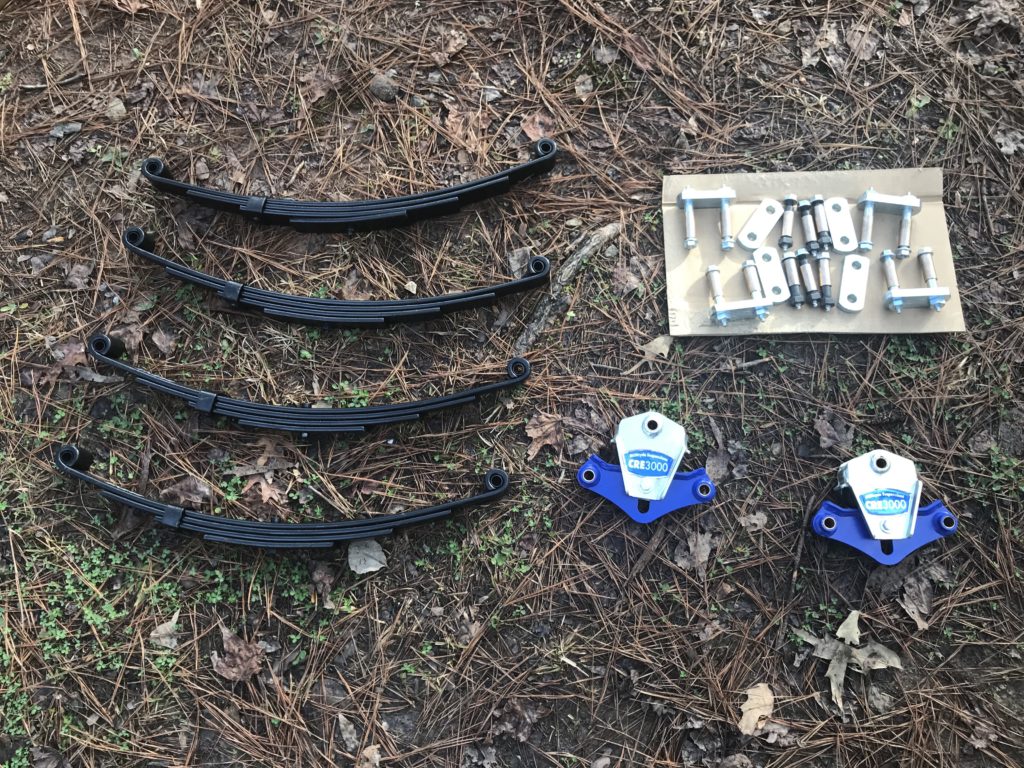
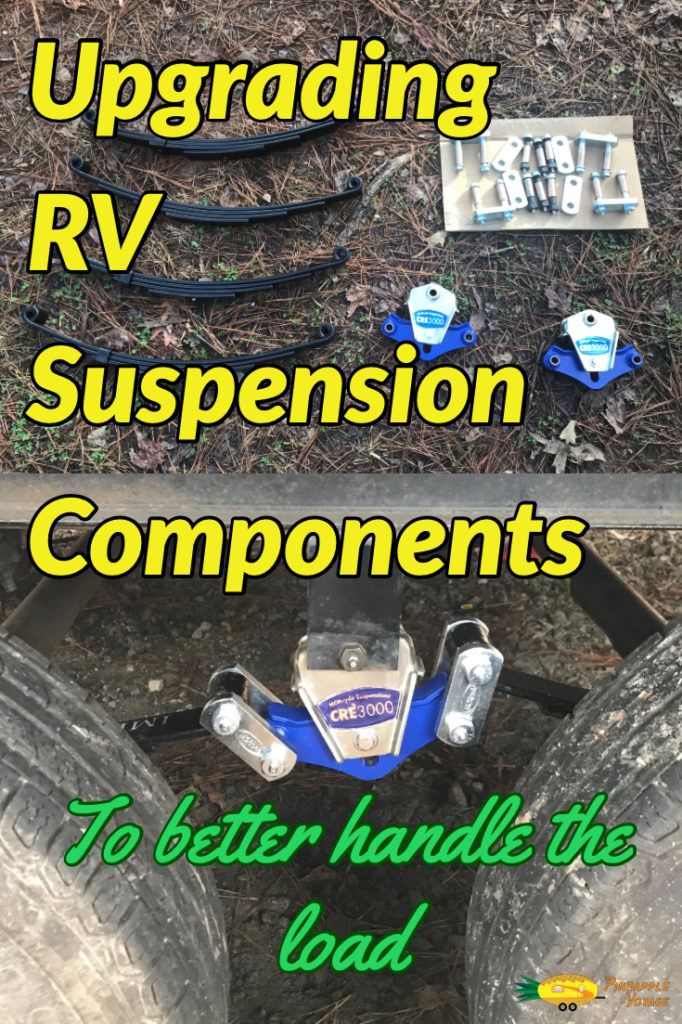
The leaf springs and equalizers are least expensive parts of the RV suspension upgrades. But I feel like they are the most important. Maybe I had a false sense of security in the old axles. I know I was way more concerned with a leaf spring breaking on the original suspension. Anyway, for the upgrade I purchased 2 sets of 5,000lb. leaf springs, a set of MORryde CRE3000 equalizers, and a MORryde heavy-duty shackle and wet bolt kit.
What To Do About Jack Stands
One of the things that makes the RV lifestyle fun is the challenge of having to work with what you have around you. This project was definitely one of those times. This job requires lifting the trailer entirely off of the wheels and suspension. And I don’t have a set of big heavy-duty jack stand to support the whole trailer. Especially to the height needed. Fortunately for me, the park we were staying at cut their own firewood. So, in the area they did all their splitting they had a bunch of 2 ft. long logs laying around. These logs were perfect for supporting The Tin Can. With permission, of course, I borrowed several of these logs.
Getting To Work
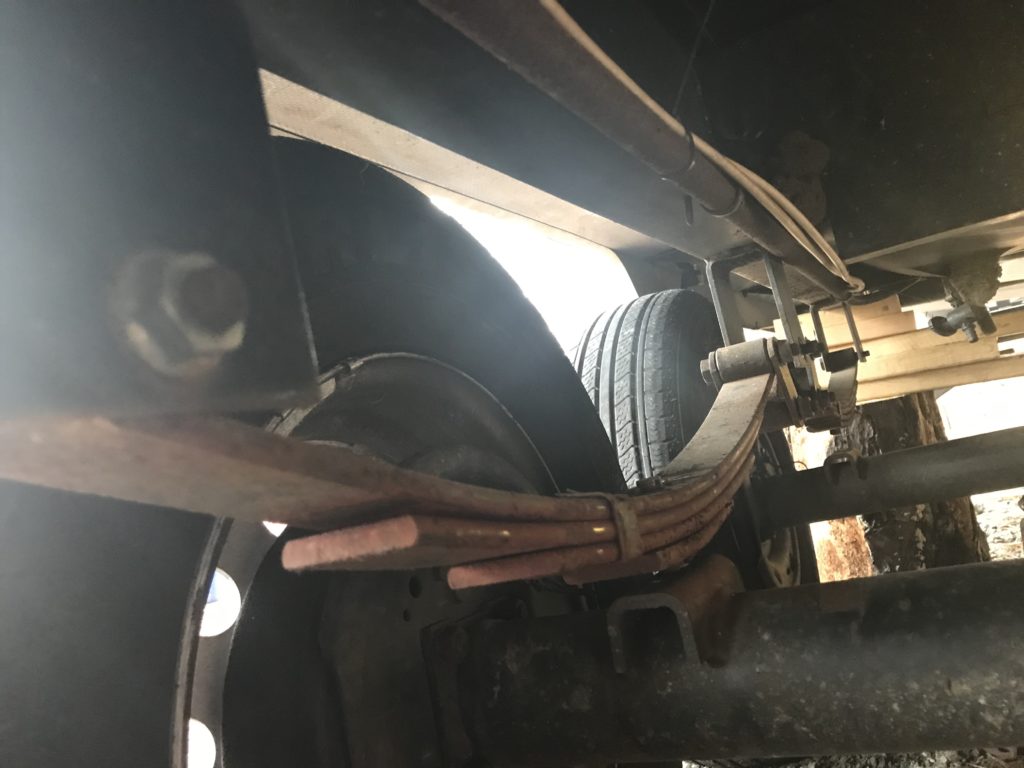
With the trailer supported on the organic, all natural, jack stands, it was time to take things apart. The first thing I did was drop the axles down. I left the wheels on the axles, I wasn’t replacing them at this time, and it was less work to leave them on. After getting the axles down there is only 3 bolts to remove on each side. The thing is, these bolts are knurled. Which means they won’t just slide out. With help of Crush bracing the spring hanger with a 2×4 I was able to drive the bolts out. This took a little longer than I hoped. But doesn’t everything?
Installing The Equalizers
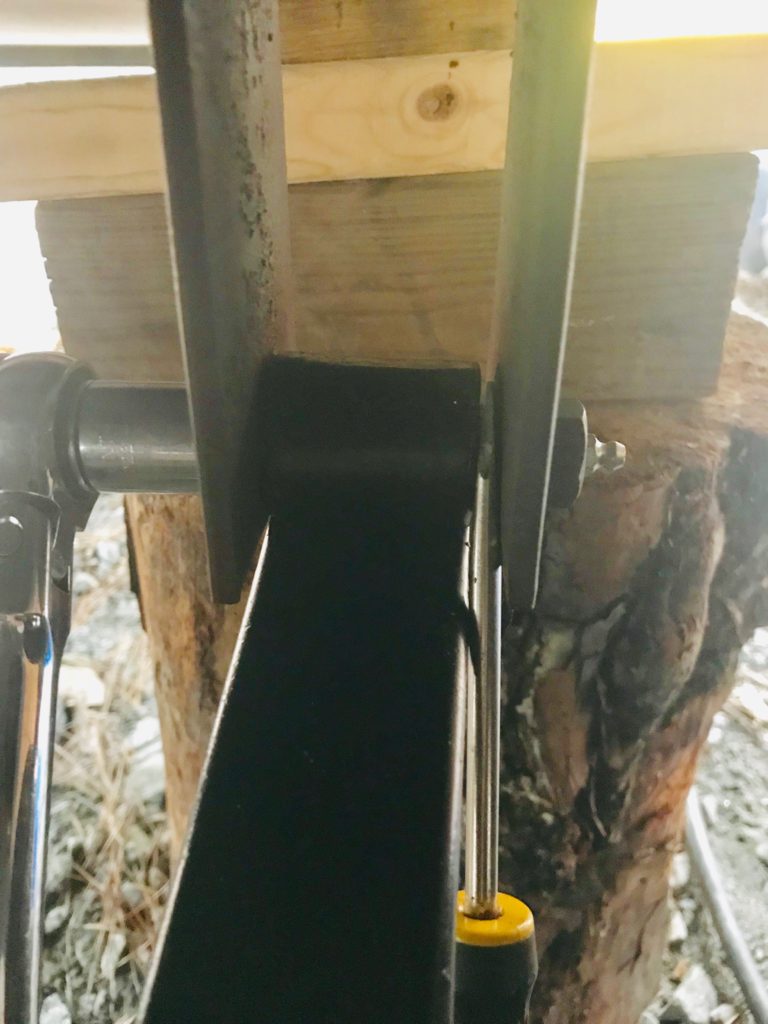
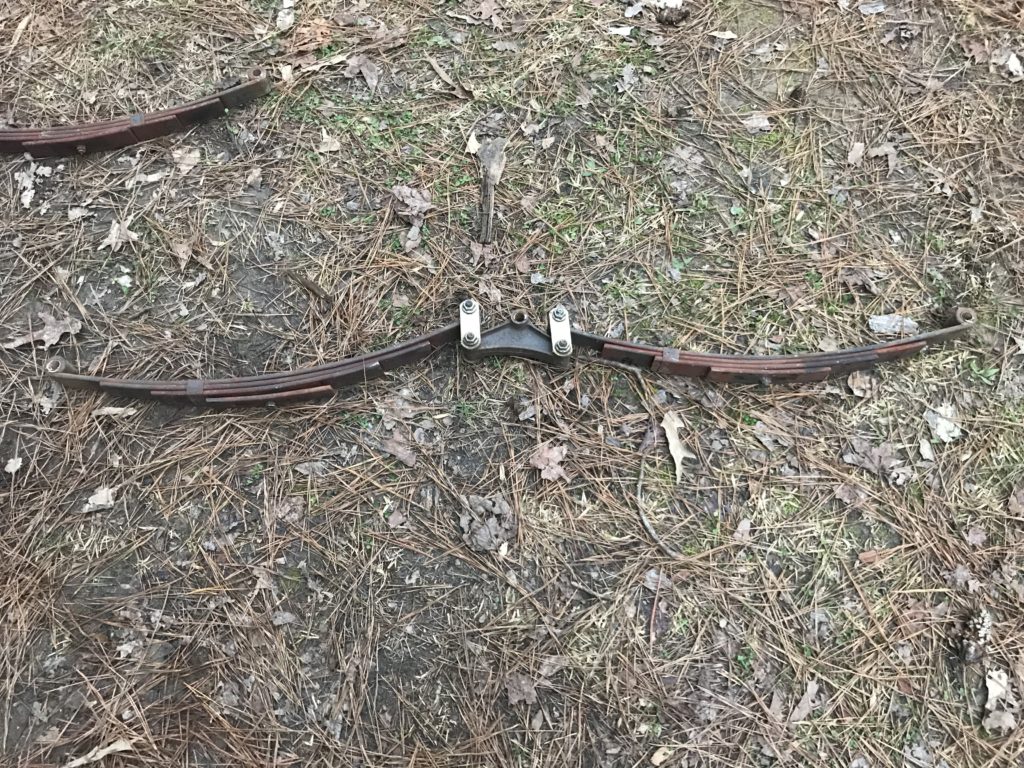
Like I said, with removing the 3 bolts the whole leaf spring assembly comes right out on each side. Now it’s time to install the new stuff. The pieces I installed was the equalizers. You just place it up in the hanger and put the bot in. One trick I had to do was stick the end of a screwdriver in between the equalizer and the hanger while initially tightening the nut. This pulled the knurled part of the bolt all the way into the hanger. Otherwise, the knurled part stops pulling in and bends the hanger. So, I tightened it one time with the screwdriver in place, loosened the nut to get the screwdriver out, then retightened the nut. Equalizers done!
Time For The Leaf Springs
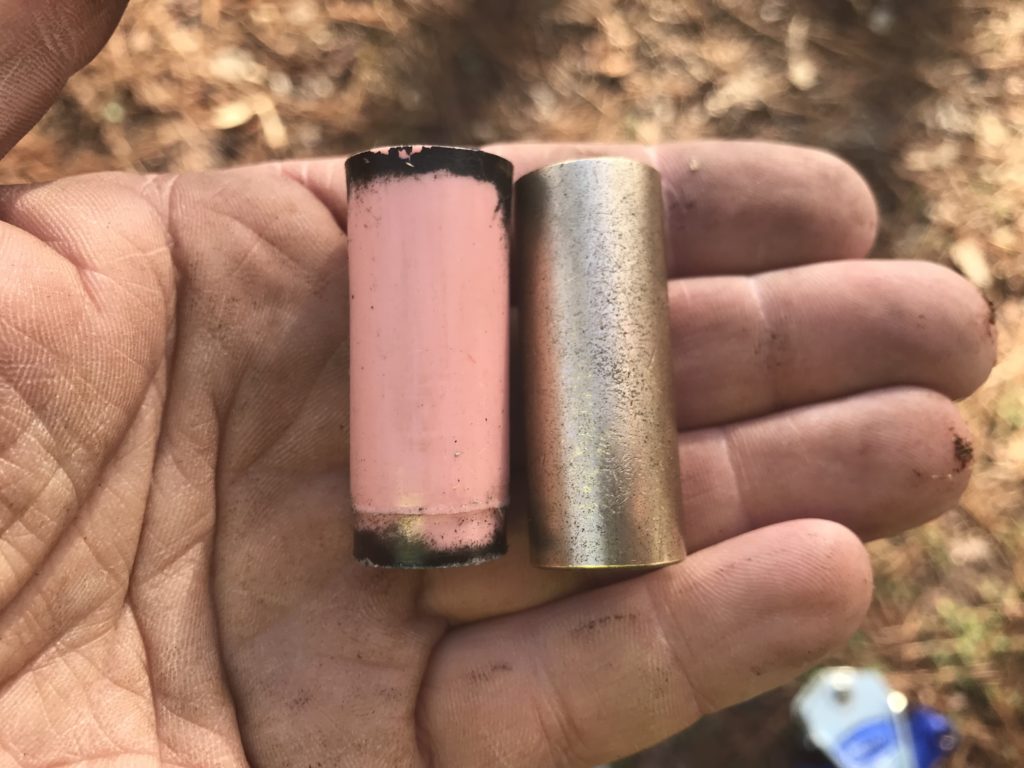
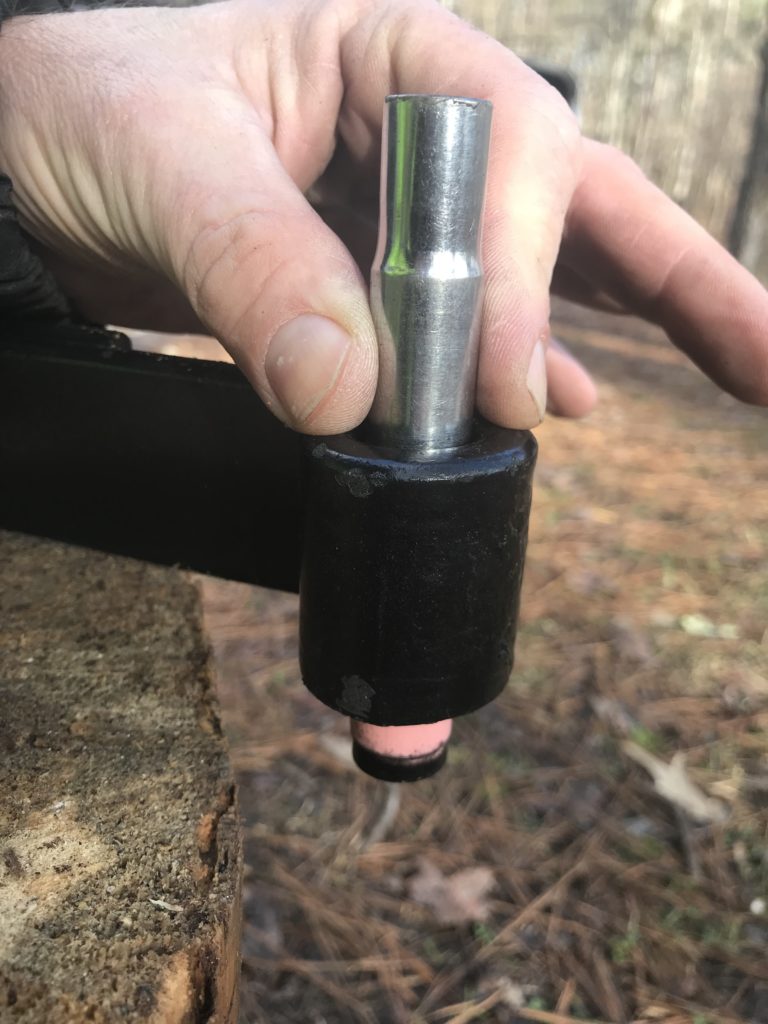
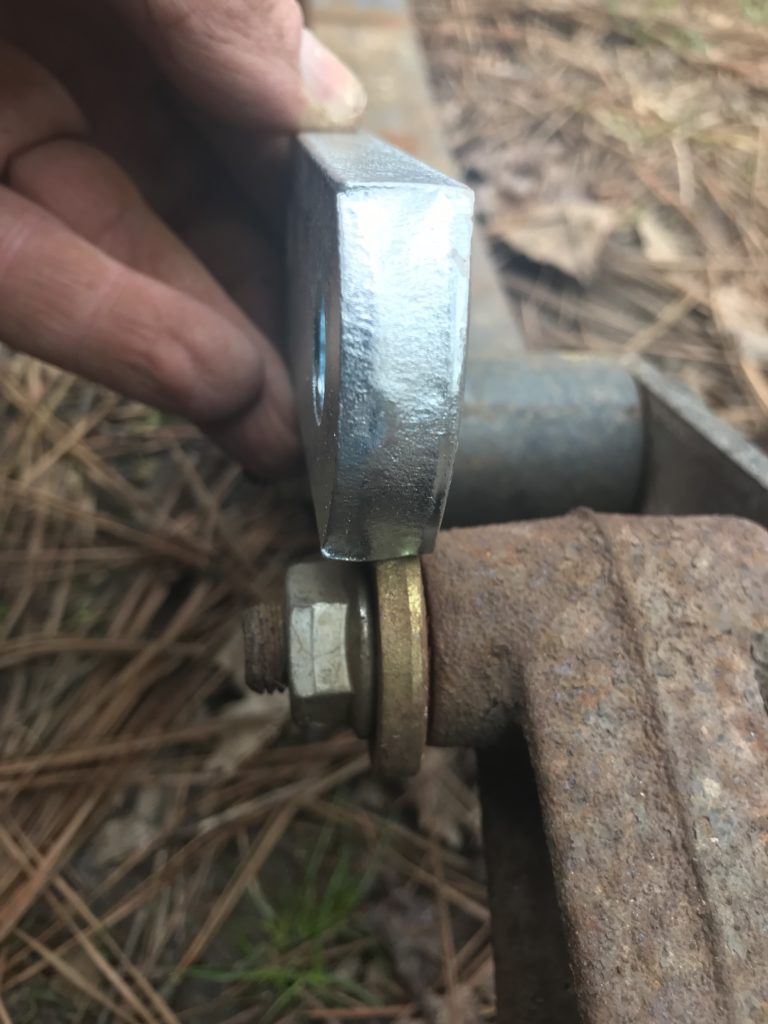
After installing the equalizer, I installed one end of a leaf spring into the hanger on the trailer using the same screwdriver trick. But before installing the leaf springs I changed out the bushing that came in them. The leaf springs come with plastic bushings in them. But the MORryde shackle and wet bolt kit, comes with bronze bushings. Using a long ratchet socket, I drove out the plastic bushings and replaced them with the bronze ones.
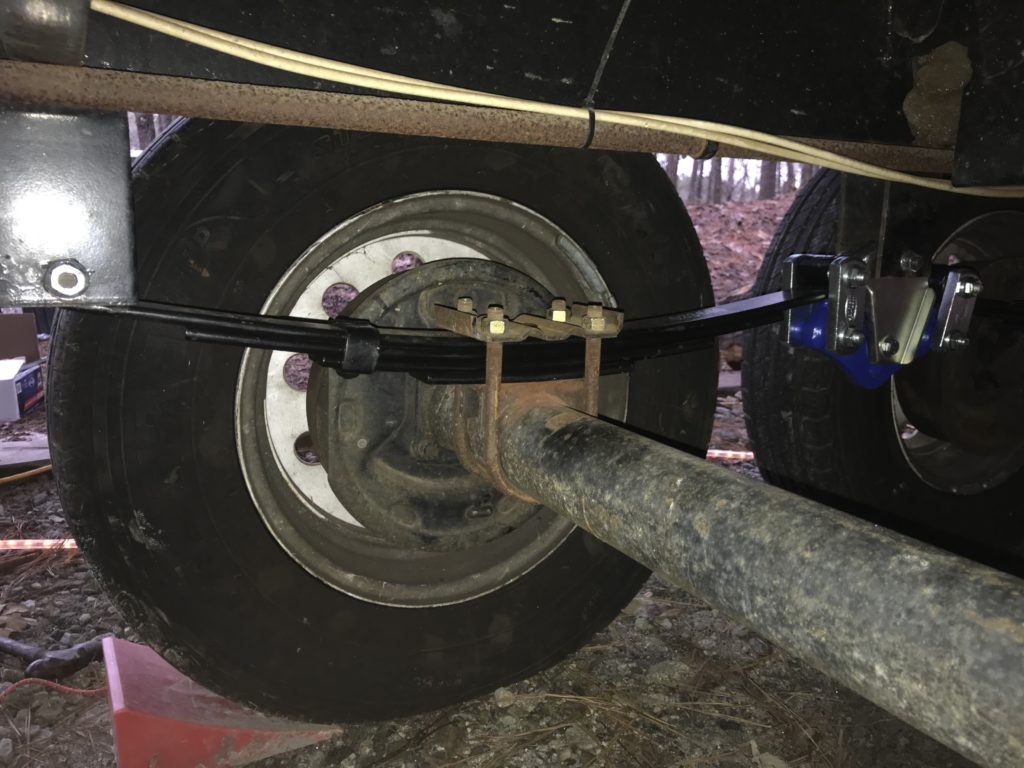
Now that I had the leaf spring attached on one end. I lifted the other end of the spring and installed the shackle connecting it to the equalizer. Repeat this operation on 3 more springs and the new suspension upgrades are installed.
More About The MORryde Shackle Kit
One of the cool things about the MORryde heavy duty shackle kit is the wet bolts. These bolts have grease fittings on them allowing you to grease the inside of the bushings. So, periodically you can squirt a little grease in each of the bolts to keep your suspension lubed. This is really cool! The shackles in this kit are also way heavier duty than the originals. Like over twice as thick! There should be no bending or breaking these things. I think this kit is a very worthwhile purchase especially if you are doing any kind of leaf spring replacement.
The MORryde CRE3000
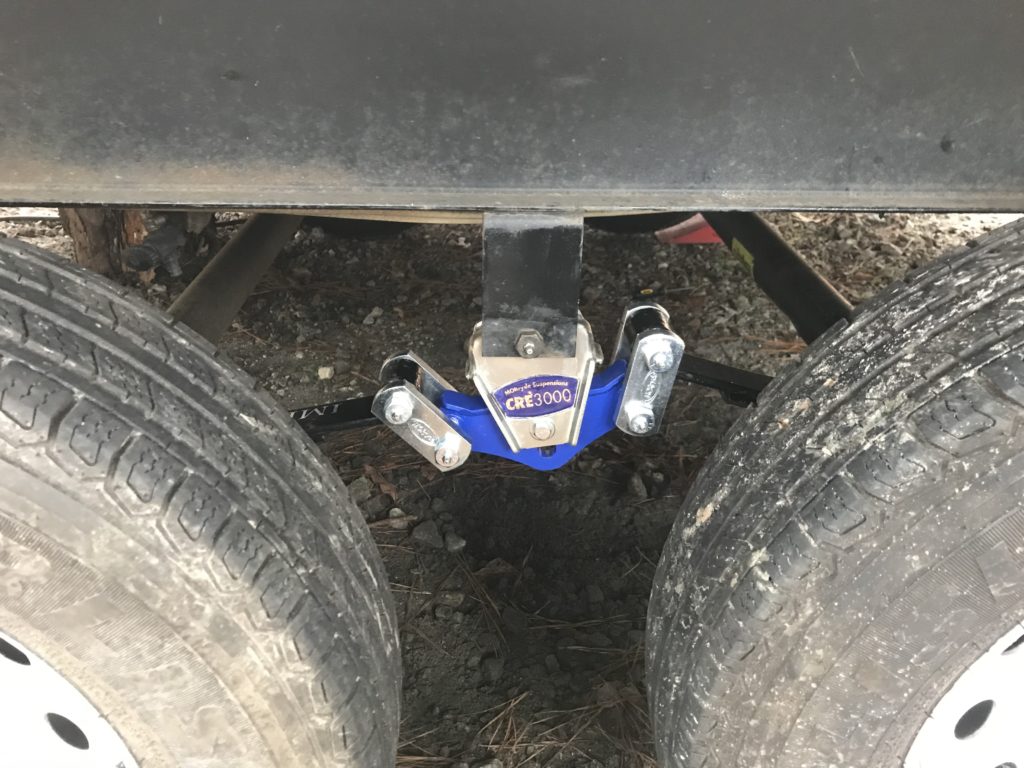
Doing this upgrade, I also opted to upgrade the equalizers to the MORryde CRE3000s. I wanted to give the trailer a smoother ride. Probably, partially due to the old overloaded springs, The Tin Can use to teeter a lot. This may not be too bad if we were just on the occasional trip. But we are full-timing and pull this thing everywhere. The CRE3000 also give the suspension an additional 3 inches of travel. And they have a compressed rubber insert that absorbs shock. This upgrade has been very noticeable while towing. There have been a couple of places that I’ve driven over in the past where the trailer would teeter quite a lot. Now it may teeter one time and then smooth out. I am very happy with these CRE3000s! For the price they are well worth it.
Conclusion
These RV suspension upgrades have been a lifesaver to The Tin Can. They have put my mind way more at ease. The ride of the trailer is also tremendously better. The time and investment were well worth it. I’ll tell you about upgrading the axles in an upcoming post. Until then y’all safe and have fun!
Please Like and Share us on social media! Also, subscribe to our email list to stay up to date on new posts! Please leave a comment telling us what you think.



I did the shackles and wet bolt kit on my 5th wheel nice upgrade.