Are the odors from your RV’s black tank nauseating, especially after you dump it? I know ours were. We would dump our black tank and the sewer odor would be horrible. It would take filling the tank with a few gallons of water and chemicals to calm it down. Then it would soon be dump time again. But that all ended when I installed a black tank rinse.

During our big renovation before we launched full-time, I was not able complete all the projects we had on our list. One of those projects was a black tank rinse. I had ordered all the pieces I needed. Other projects were more important to complete, though. So, we launched with that project still on the to-do list.
Getting Our Priorities In Order
That decision to put off the project was not one of our best. Before going full-time RV living. We would usually stay at a park a few days, dump our tanks on go home. The Tin Can would stay pretty smelly for a while after these trips. But we weren’t living it, so we dealt with it.
Now things were different, the first few times we dumped, the smell was horrible. We tried using the Geo Method, we bought some Happy Camper. While I believe they helped, those methods did not eliminate our RV sewer odor. It was definitely time to install the tank rinse. And boy what a difference it made!
A Happy Family
Immediately after installing this tank rinse things got better. I turned it on and let it run for about 10 minutes. It washed tons of crap out of our black tank! And best of all our RV sewer odor was immediately gone!! The whole family was happy! imagine that, a whole family being happy about something! Anyway, let’s move on.
The Valterra No-Fuss Flush
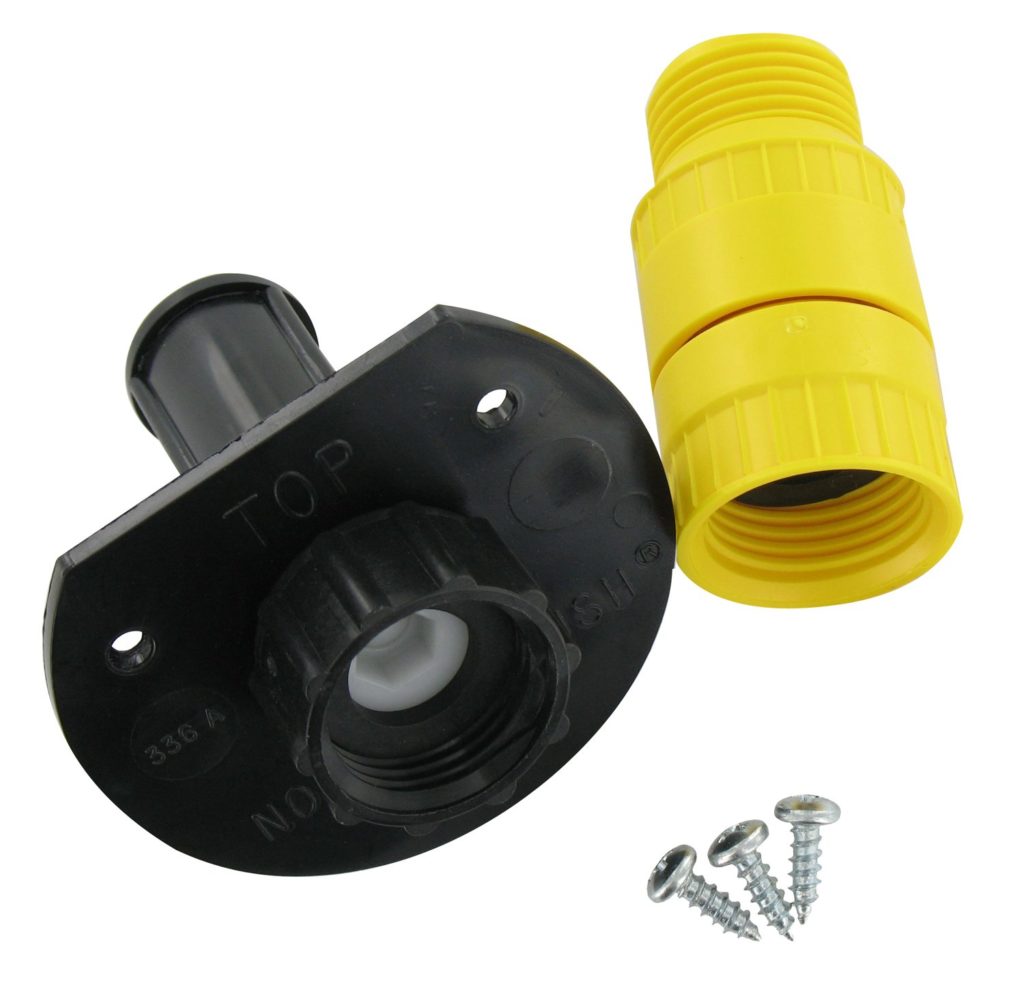
The tank rinse I bought was the Valterra No-Fuss Flush. It’s a spray nozzle that you install in the side of the black tank. Yeah, it sounds a little scary and gross, to drill a hole in the side of your black tank. But, no fears, it’s not that bad. Just be sure to dump the tank first! Then it could get ugly. The No-Fuss Flush is well-designed. It sprays in all directions, without the use of moving parts. Some other nozzles spin around, which sounds good, but in a black tank environment. I just don’t know how long that would work properly. The No-Flush Flush also has a built-in check valve to keep the black water from back flowing through it.
Other Parts For The Job
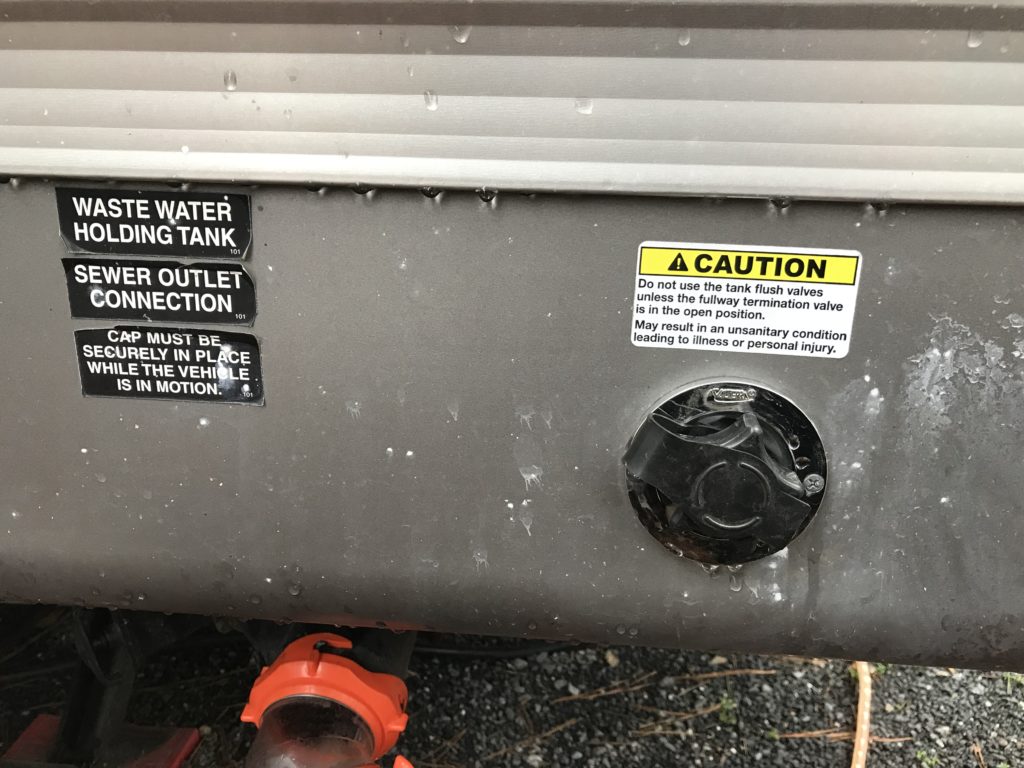
Along with the nozzle I purchased the No-Fuss Flush Accessory Kit. The kit comes with a chrome water hose inlet. An adaptor to couple the inlet to a water hose. And 2 male hose ends with clamps to connect the nozzle to the inlet. There is also a nice little caution sticker to place on your RV. The only other thing needed is a water hose. Though the accessory kit is pricey it makes for a nice install. Without having to go out and hunt down all the needed pieces separately.
Installing The Tank Rinse
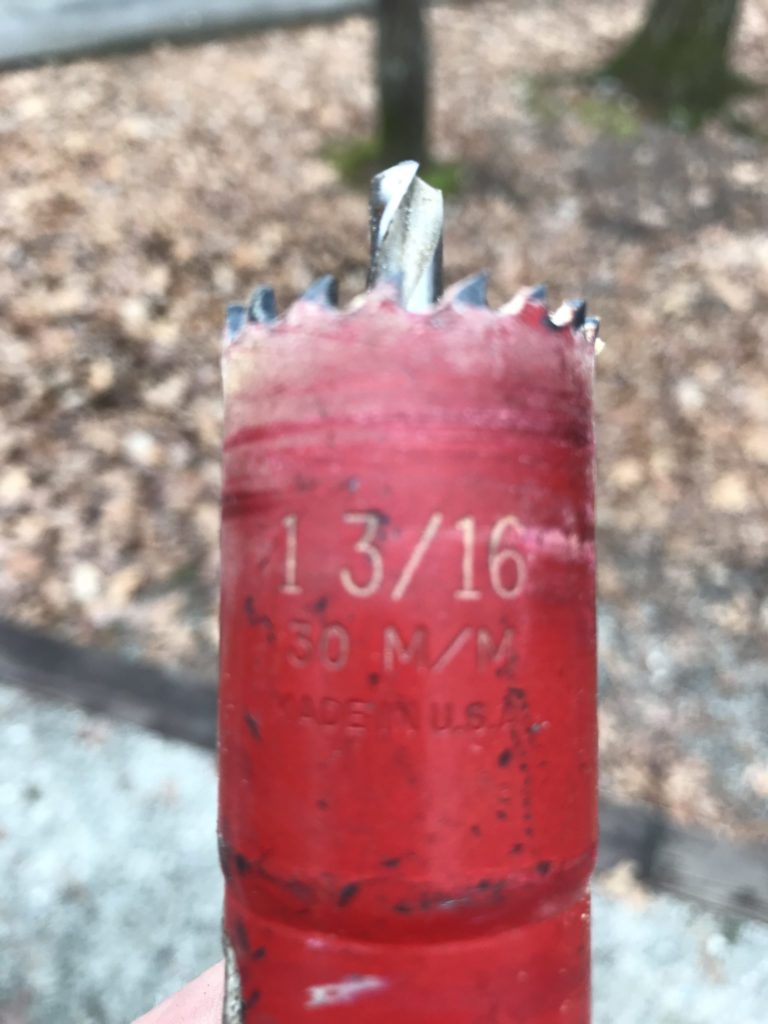
Installing the No-Fuss Flush is fairly simple. There are 2 holes that have to be drilled with a hole saw. The instructions call for a 1-inch hole saw but I had a 1 3/16-inch instead that worked fine. Plus a few 1/8-inch pilot holes have to be drilled for screws. Some silicone is also used to seal the nozzle on the black tank.
First Things First
To install the No-Fuss Flush, the very first thing to do is dump the black tank. This a very important step! Yeah… Next is to figure out where to place the nozzle in the tank. Ideall you would want the nozzle on the end of the tank opposite the outlet. And you also do not want it directly in line with the toilet inlet. The pipe from the toilet can block the spray.
Some Educated Guess Work
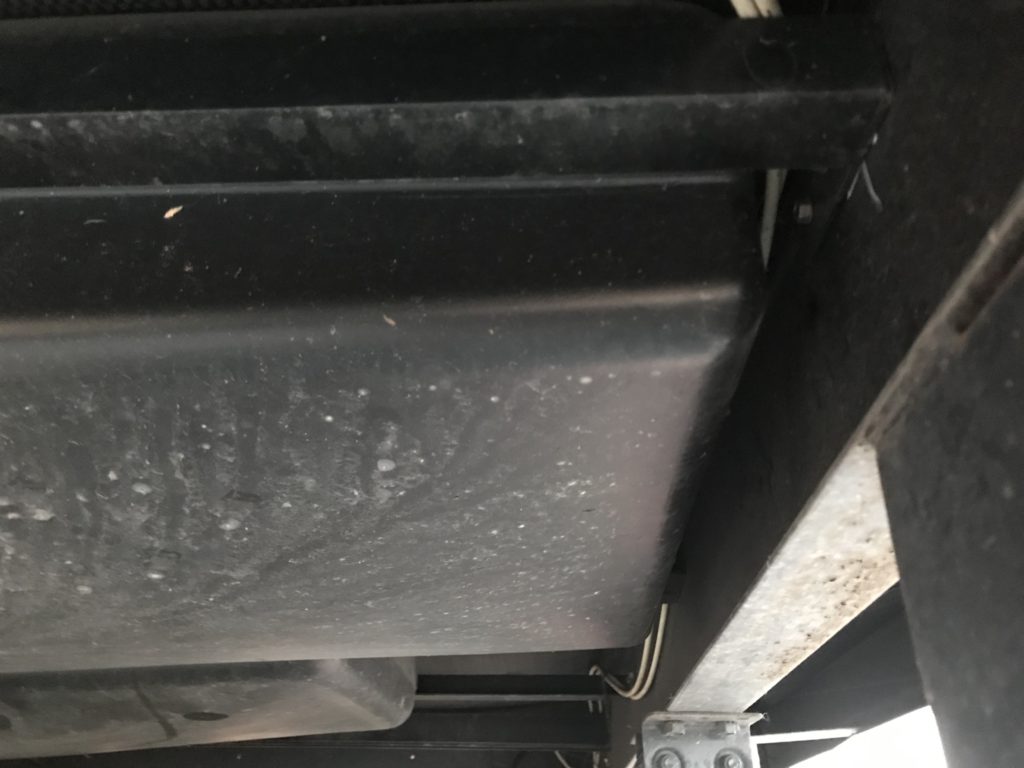
On my install, I guesstimated the toilet inlet by going inside the trailer and measuring from the toilet hole to the side and back walls of the trailer. Then went under the trailer and measured the distance from the same walls to guess its location. Sadly, for me, I was not able to put mine on the end of the tank, due to the trailer frame. So instead I had to settle for installing it on the side of the tank close to the center. Fortunately, it was clear the toilet inlet. Then I measured to where the top of the nozzle would fit just below the tank’s mounting rail and marked my location.
Let’s Drill This Hole Already!
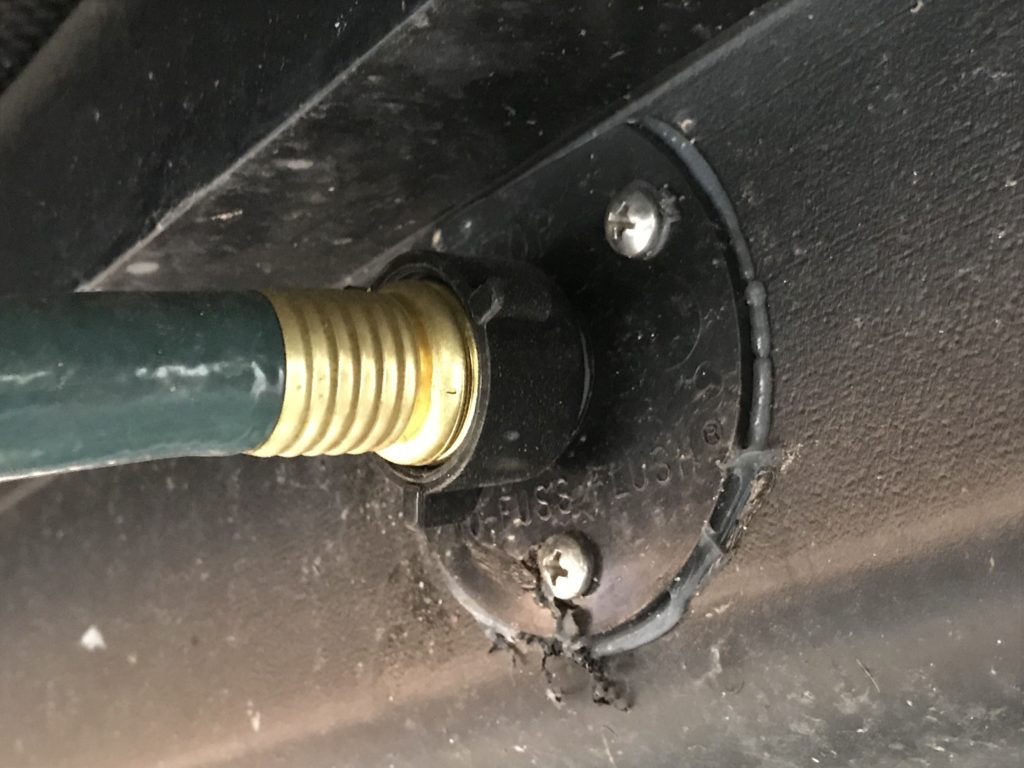
With my location marked I got my drill and hole saw and carefully drilled the hole. I took it fairly slow as not let the hole saw catch or hit anything inside the tank. Thankfully the hole drilled out nice and clean, well as clean as a black tank can be. Then got a 1/8-inch drill bit to make pilot holes for the screws. I applied some silicone to the flange of the nozzle and placed it in the hole making sure I had the flat end on top. Using the drill, I made the pilot holes and fastened the nozzle with the screws.
The Water Inlet
The water inlet was installed on the skirting of the trailer near the dump valves. I used the same hole saw that I used on the tank to make a hole in the aluminum skirting. And again, drilled some 1/8-inch pilot holes for the screws. But before attaching the water inlet to the side of the trailer I connected the water hose.
Making The Connections
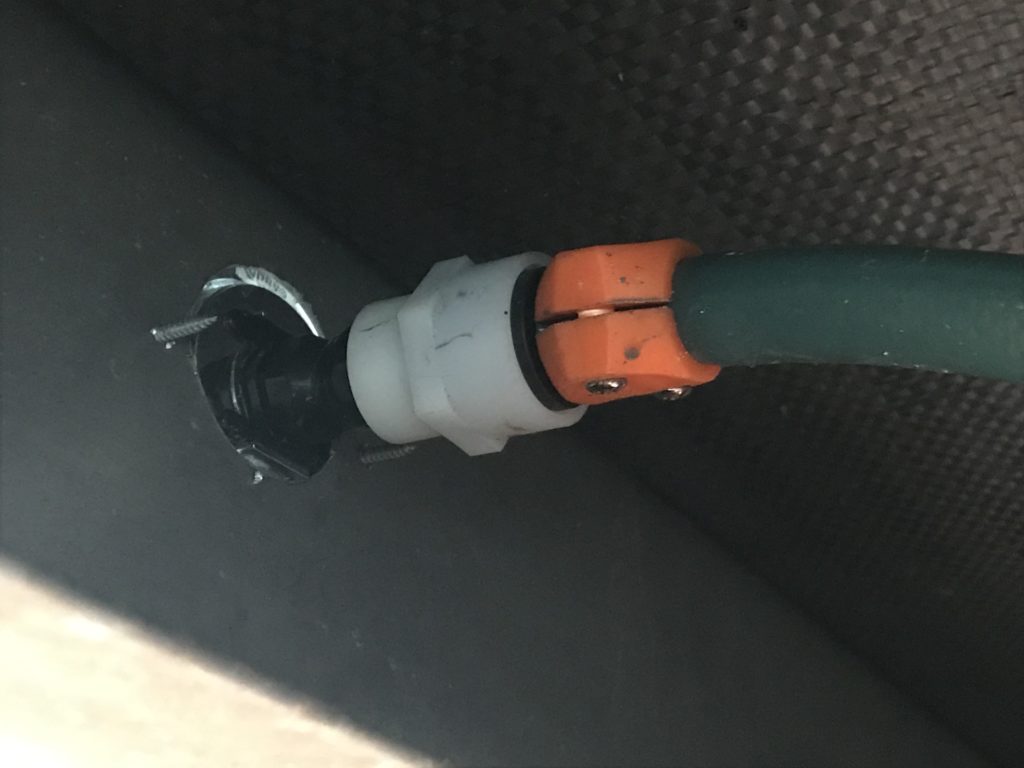
Taking a short inexpensive water hose, I connected the male end to the No-Fuss nozzle. Then routed the hose to hole I made for the water inlet. On the water inlet, I screwed on the water adapter with some Teflon tape on the threads. Then I screwed one of the hose ends into the adapter. With all the fittings hand tightened, I cut the hose and clamped it the hose end. Now I was able to fasten the water inlet to the trailer and everything was done.
I Hope This Part Doesn’t Haunt Me
One big thing that the instructions call for that I did NOT do is plumb a siphon break in the water line. I know there are more ways to make one than in the instructions for the No-Fuss Flush. But for right now, anyway, I’m choosing to just trust the check valve in the nozzle. And the little bit of residual water in the 3 foot of hose shouldn’t be a problem. I may have to revisit this part one day, I’ll keep my fingers crossed.
The No-Fuss Flush Performance
The No-Fuss Flush has performed flawlessly so far. Though I wouldn’t recommend walking too far away from it while flushing. One time the tank outlet got plugged up and the tank got pretty full. I got the water shut off and avoided a disaster thankfully. But I had to take a long weed I pulled and run up into the tank to break the clog loose. I had loosened the dump hose so I could quickly pull the weed out and retighten the dump hose. There again another disaster avoided, this could have been way better reading.
Conclusion

But anyway, the tank flush has been our best improvement. No, it’s not really cool or flashy. It has done its job very well though. The Tin Can is a much better smelling place due to it. That by itself is huge, no more RV sewer odor! If you are thinking of adding a tank flush to your RV, I highly recommend the Valterra No-Fuss Flush. It works fantastically!
By the way, I still use Happy Camper in our black tank. But it is used more as an aid in keeping everything broke down. Not as a necessary ritual to keep the RV smelling better.
You can also check out our post here. Read about some of the other things we learned early in our full-time adventure.
Please Like and Share us on social media! Also, subscribe to our email list to stay up to date on new posts! Please leave a comment telling us what you think.


