Who doesn’t need good internet these days? I know we sure use a lot of it and living in sticks and bricks, in a metro area, gets you spoiled on fast internet speeds. In the past two years
Post contains affiliate links.
You Need A Good Hotspot
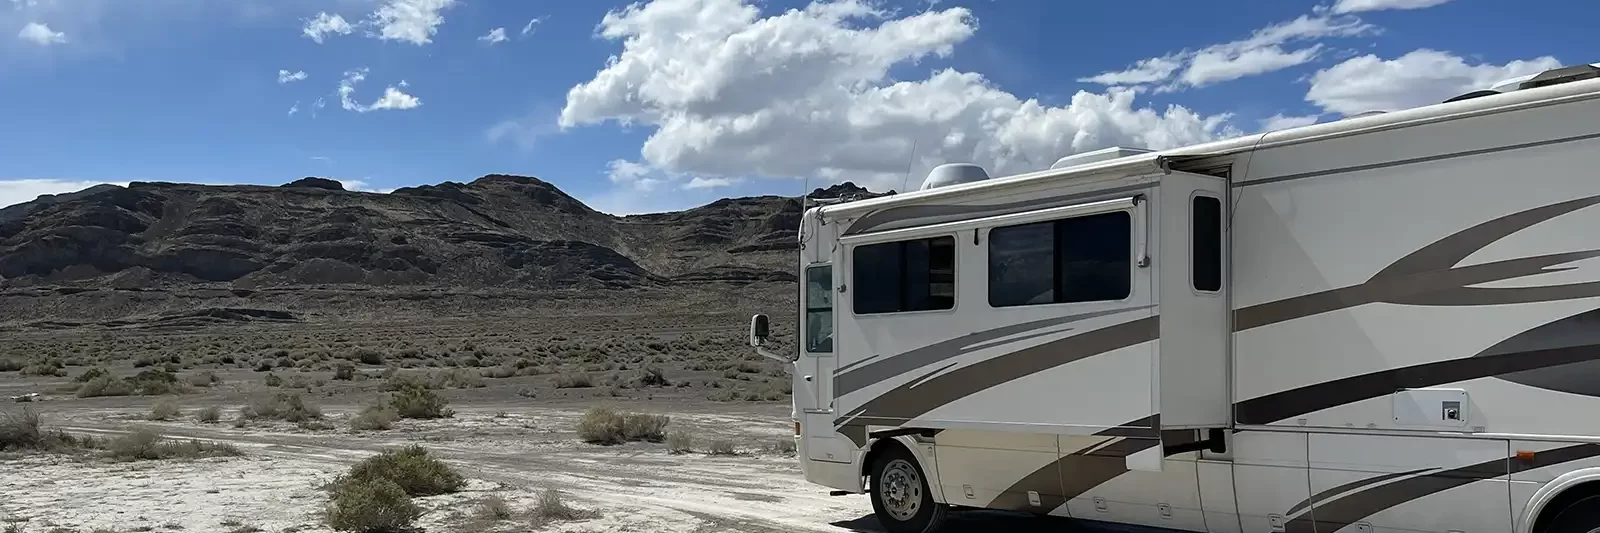
When we started preparing to head out full-timing we knew that connectivity would, at times, be a challenge in The Tin Can. We also realized those days of having a 100 Mbs connection would definitely be a thing of the past. But I could try to be prepared to get the best connection for where we planned to be traveling. Here are the steps we have taken to have an internet connection in our RV.
Our first purchase was a Verizon hotspot. We purchased the Verizon Jetpack 7730L along with a grandfathered unlimited data plan. This is the most crucial piece of our internet setup. And I would dare to say, one of most any full-timers first purchases. To help the hotspot pull in a better signal, we connected a Netgear directional MIMO antenna to it. This gave it a couple more bars of signal strength and improved our streaming experience.
Camp WiFi
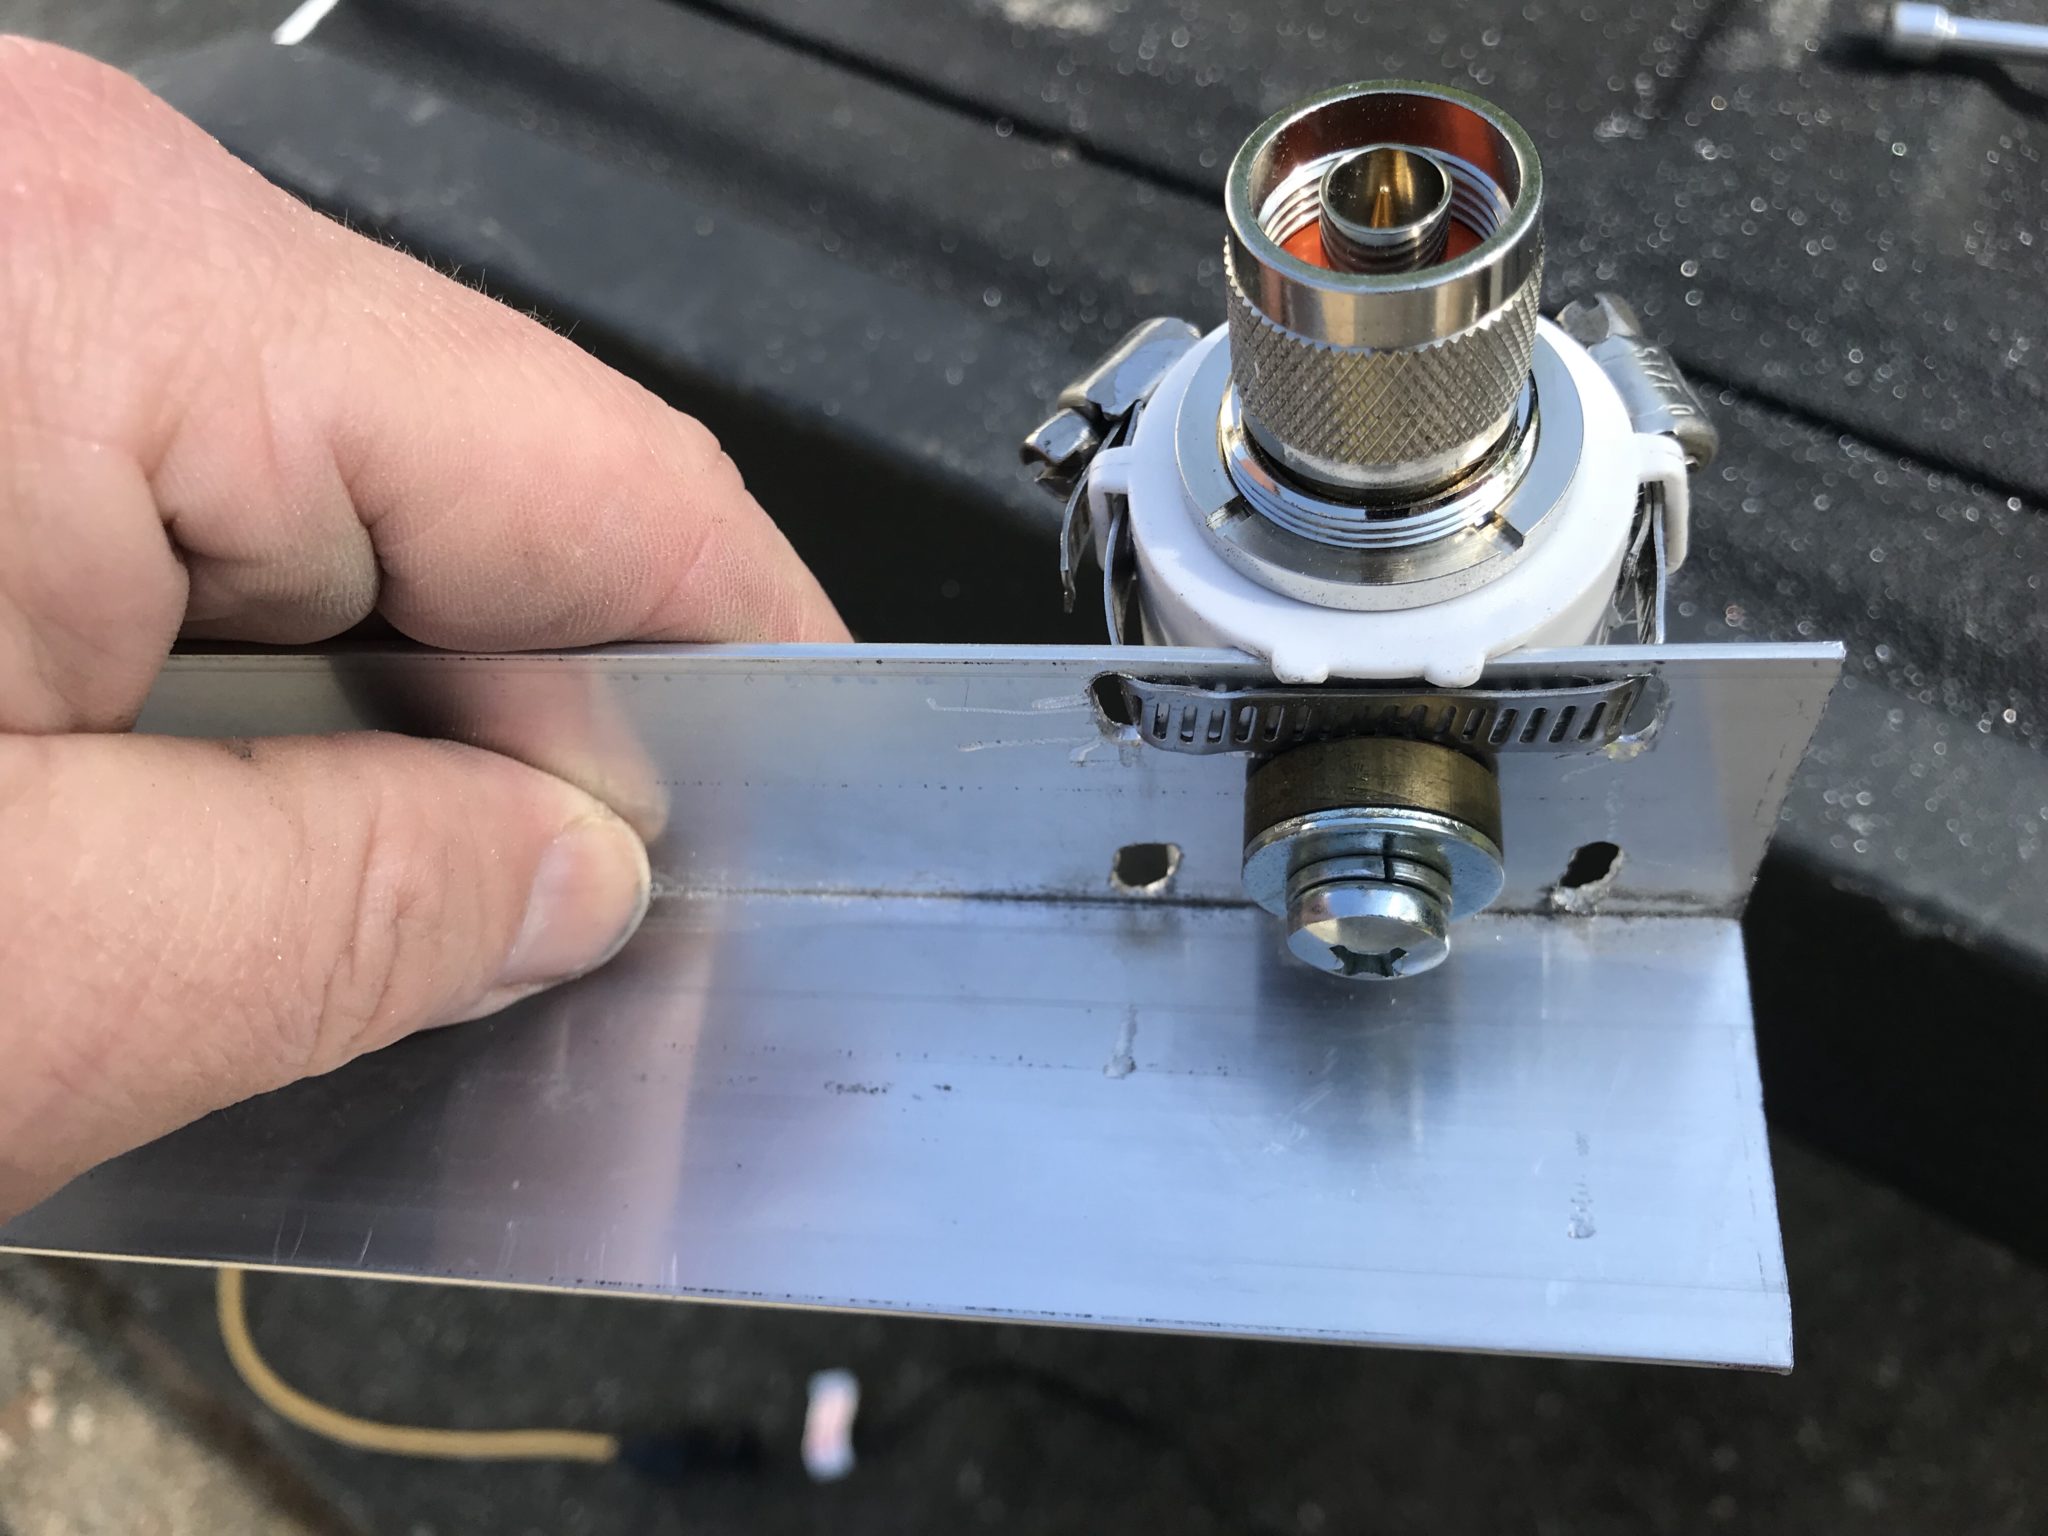
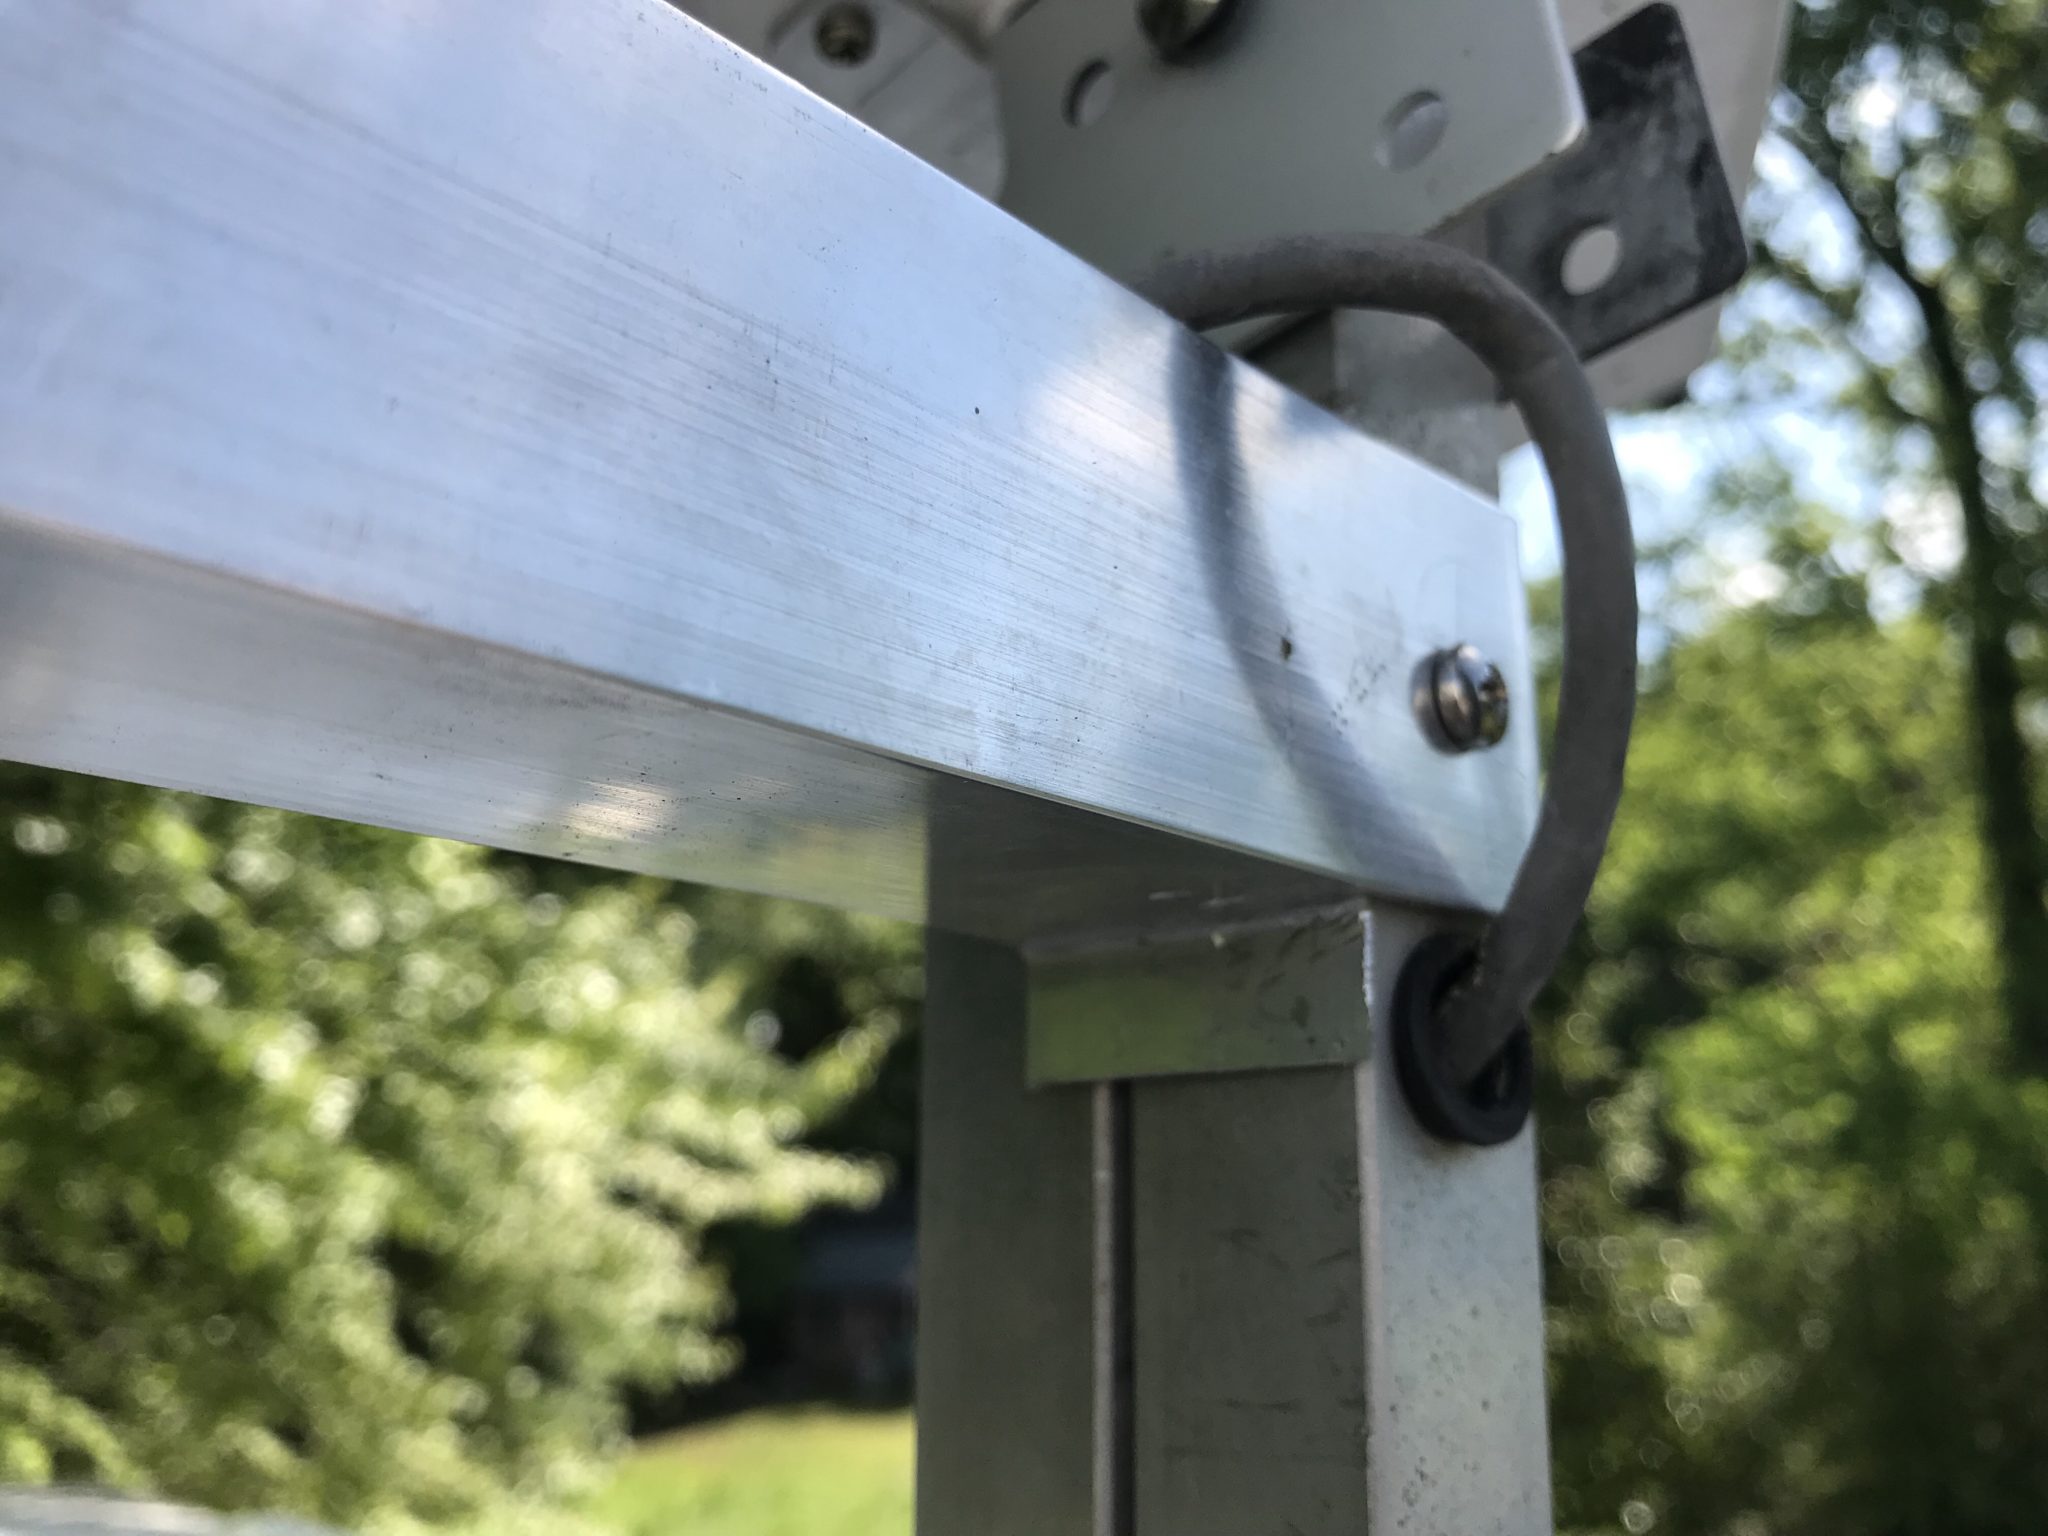
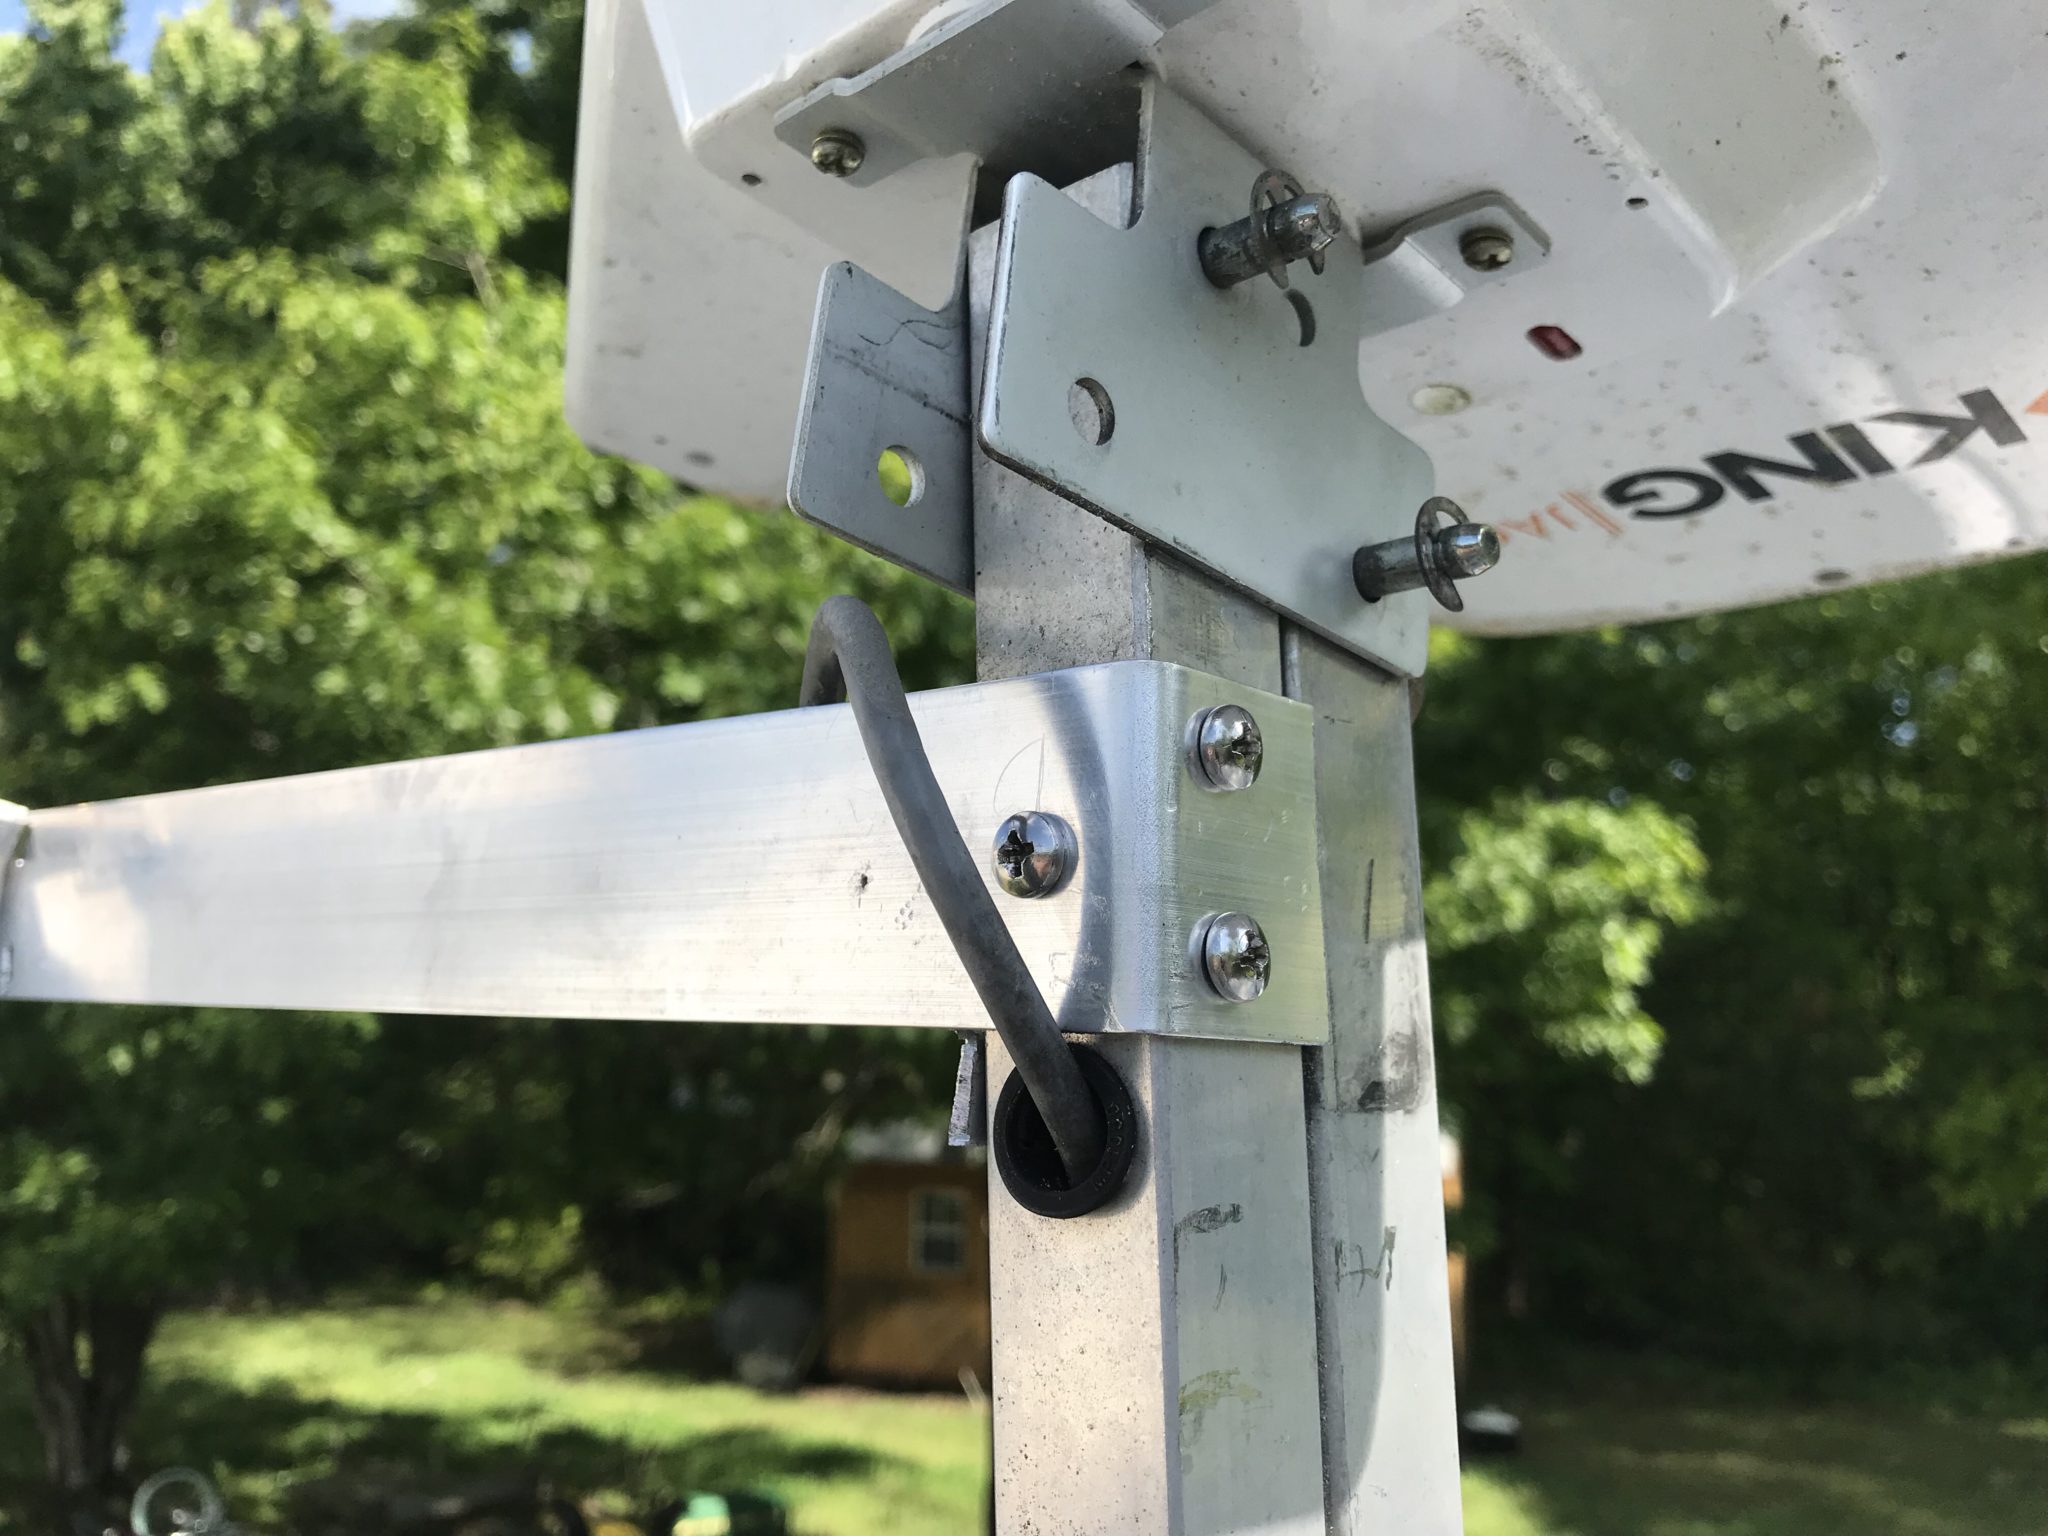
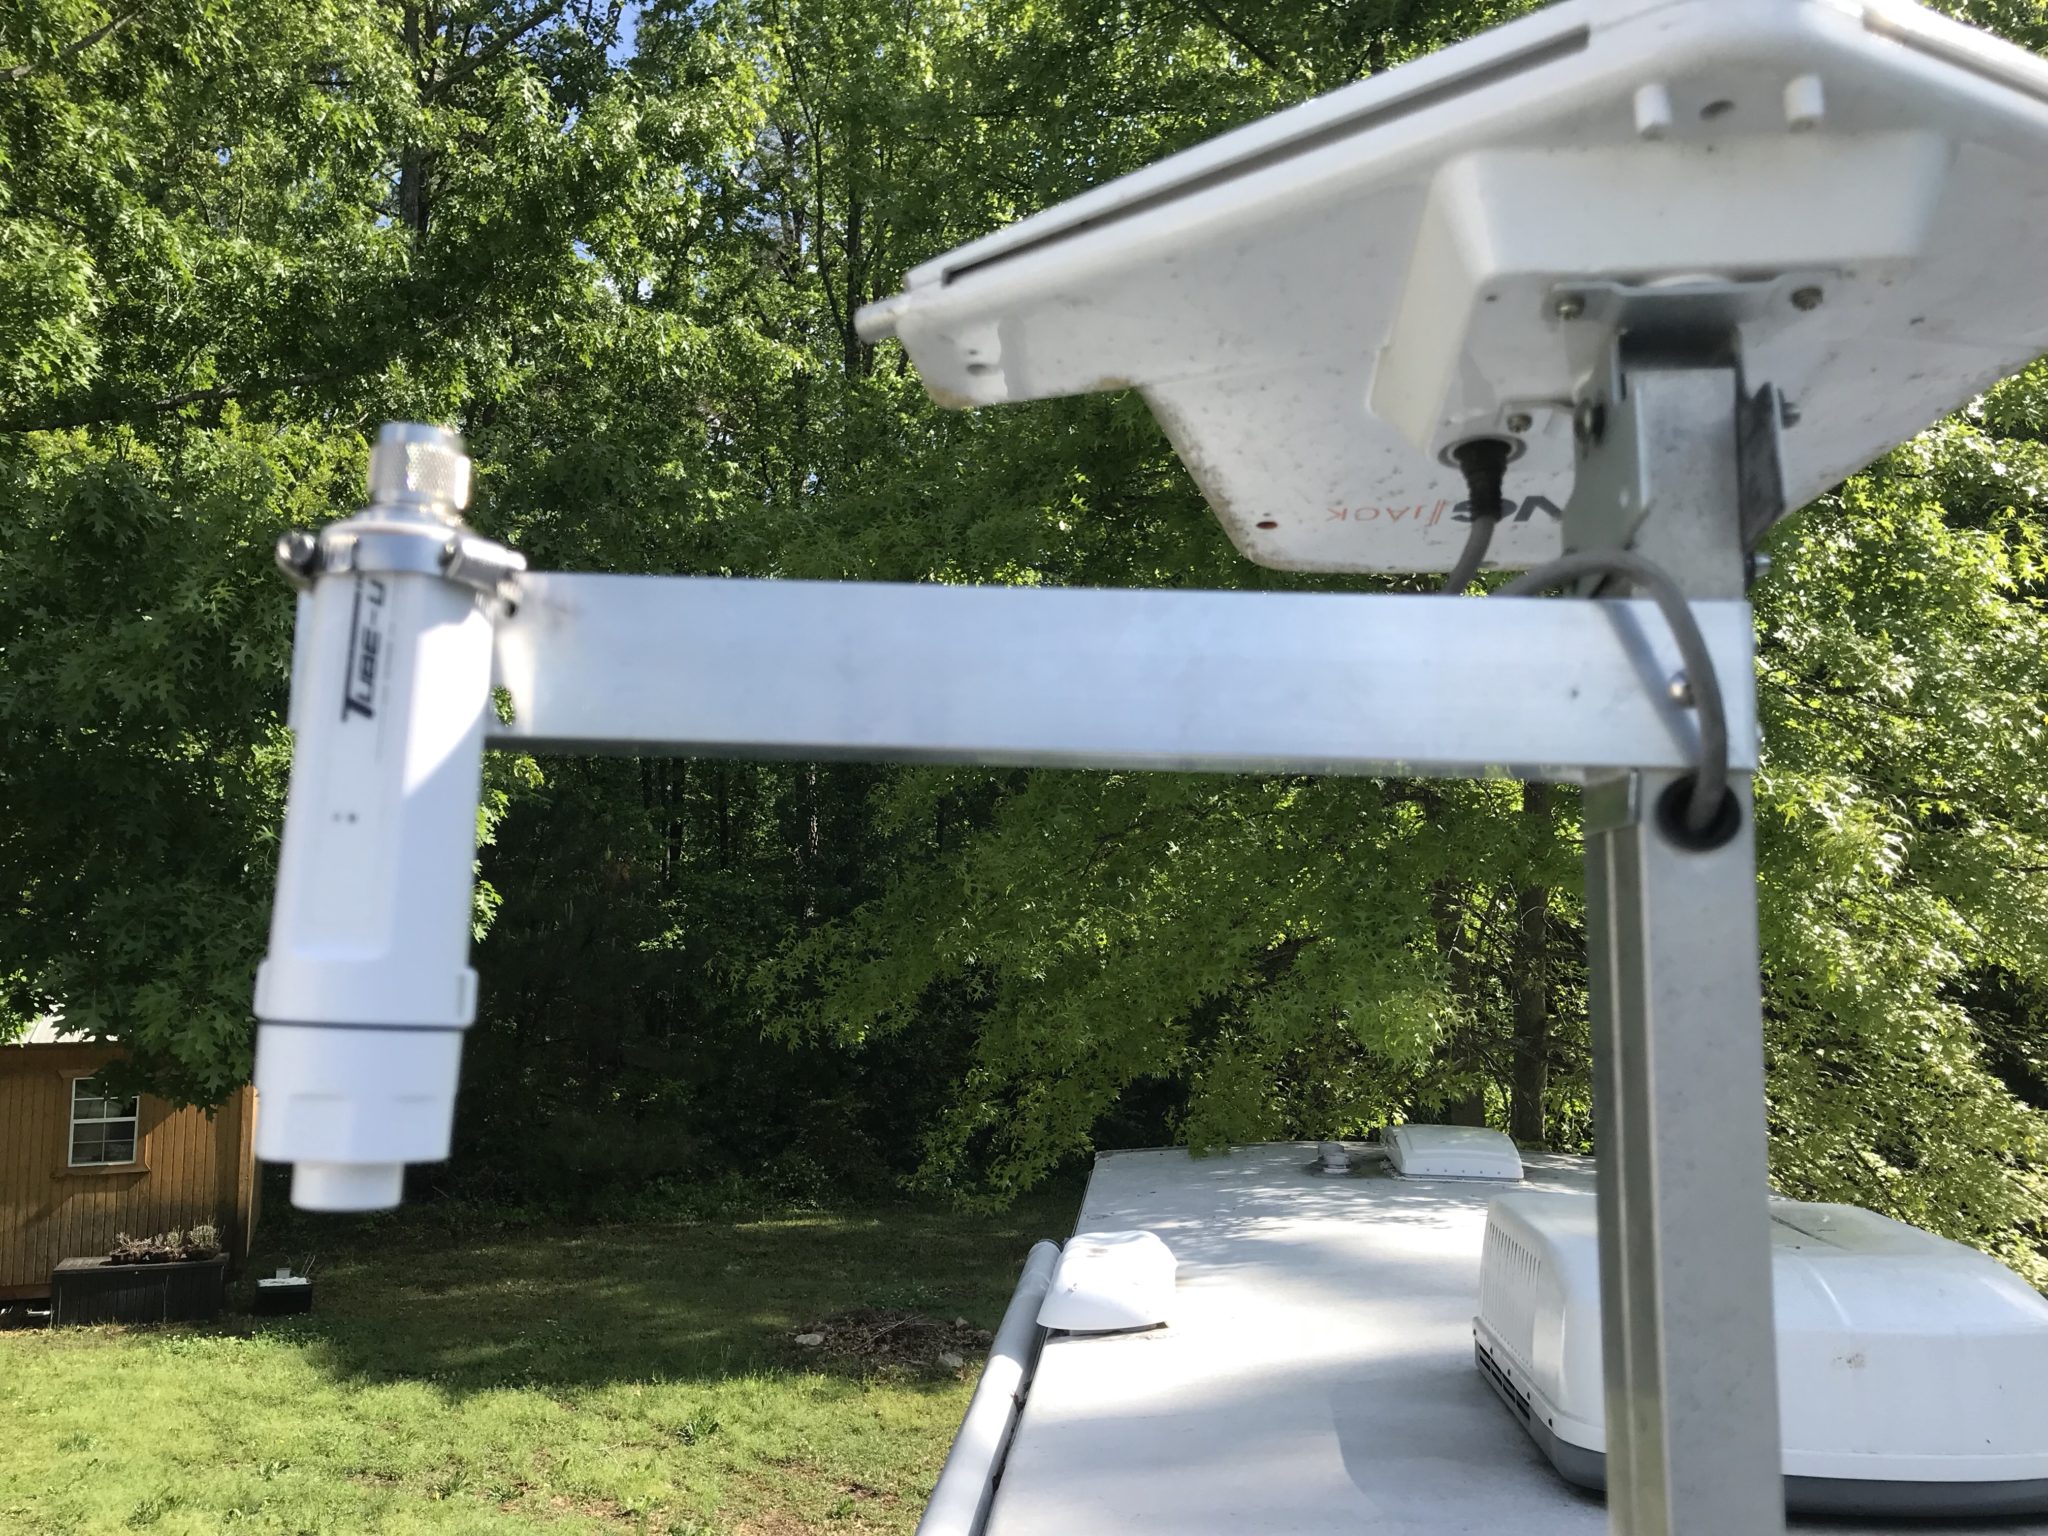
The next part of our RV internet setup was the Alfa WiFi Camp Pro. I wanted the ability to pull WiFi in, but I also didn’t want to spend the amount of money upfront for something like a WiFi Ranger. This is especially true when I consider the WiFi signals I would most likely be pulling in, campground

Antenna base tube attached to arm Left side of antenna arm Right side of antenna arm WiFi antenna arm
We Needed A Boost
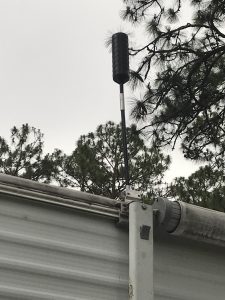
After a little over a month at our first park full-timing, we were really getting frustrated with the signal reception on our phones. Connecting all our phones, computers and Apple TVs to the hotspot was just too much. So we finally pulled the trigger and bought a weBoost Drive 4G-X OTR. I mounted its antenna to my rear awning bracket. At a Fulltime Families rally, we attended is few months before launching full time, a weBoost was advised by an experienced
Electronics Hideaway
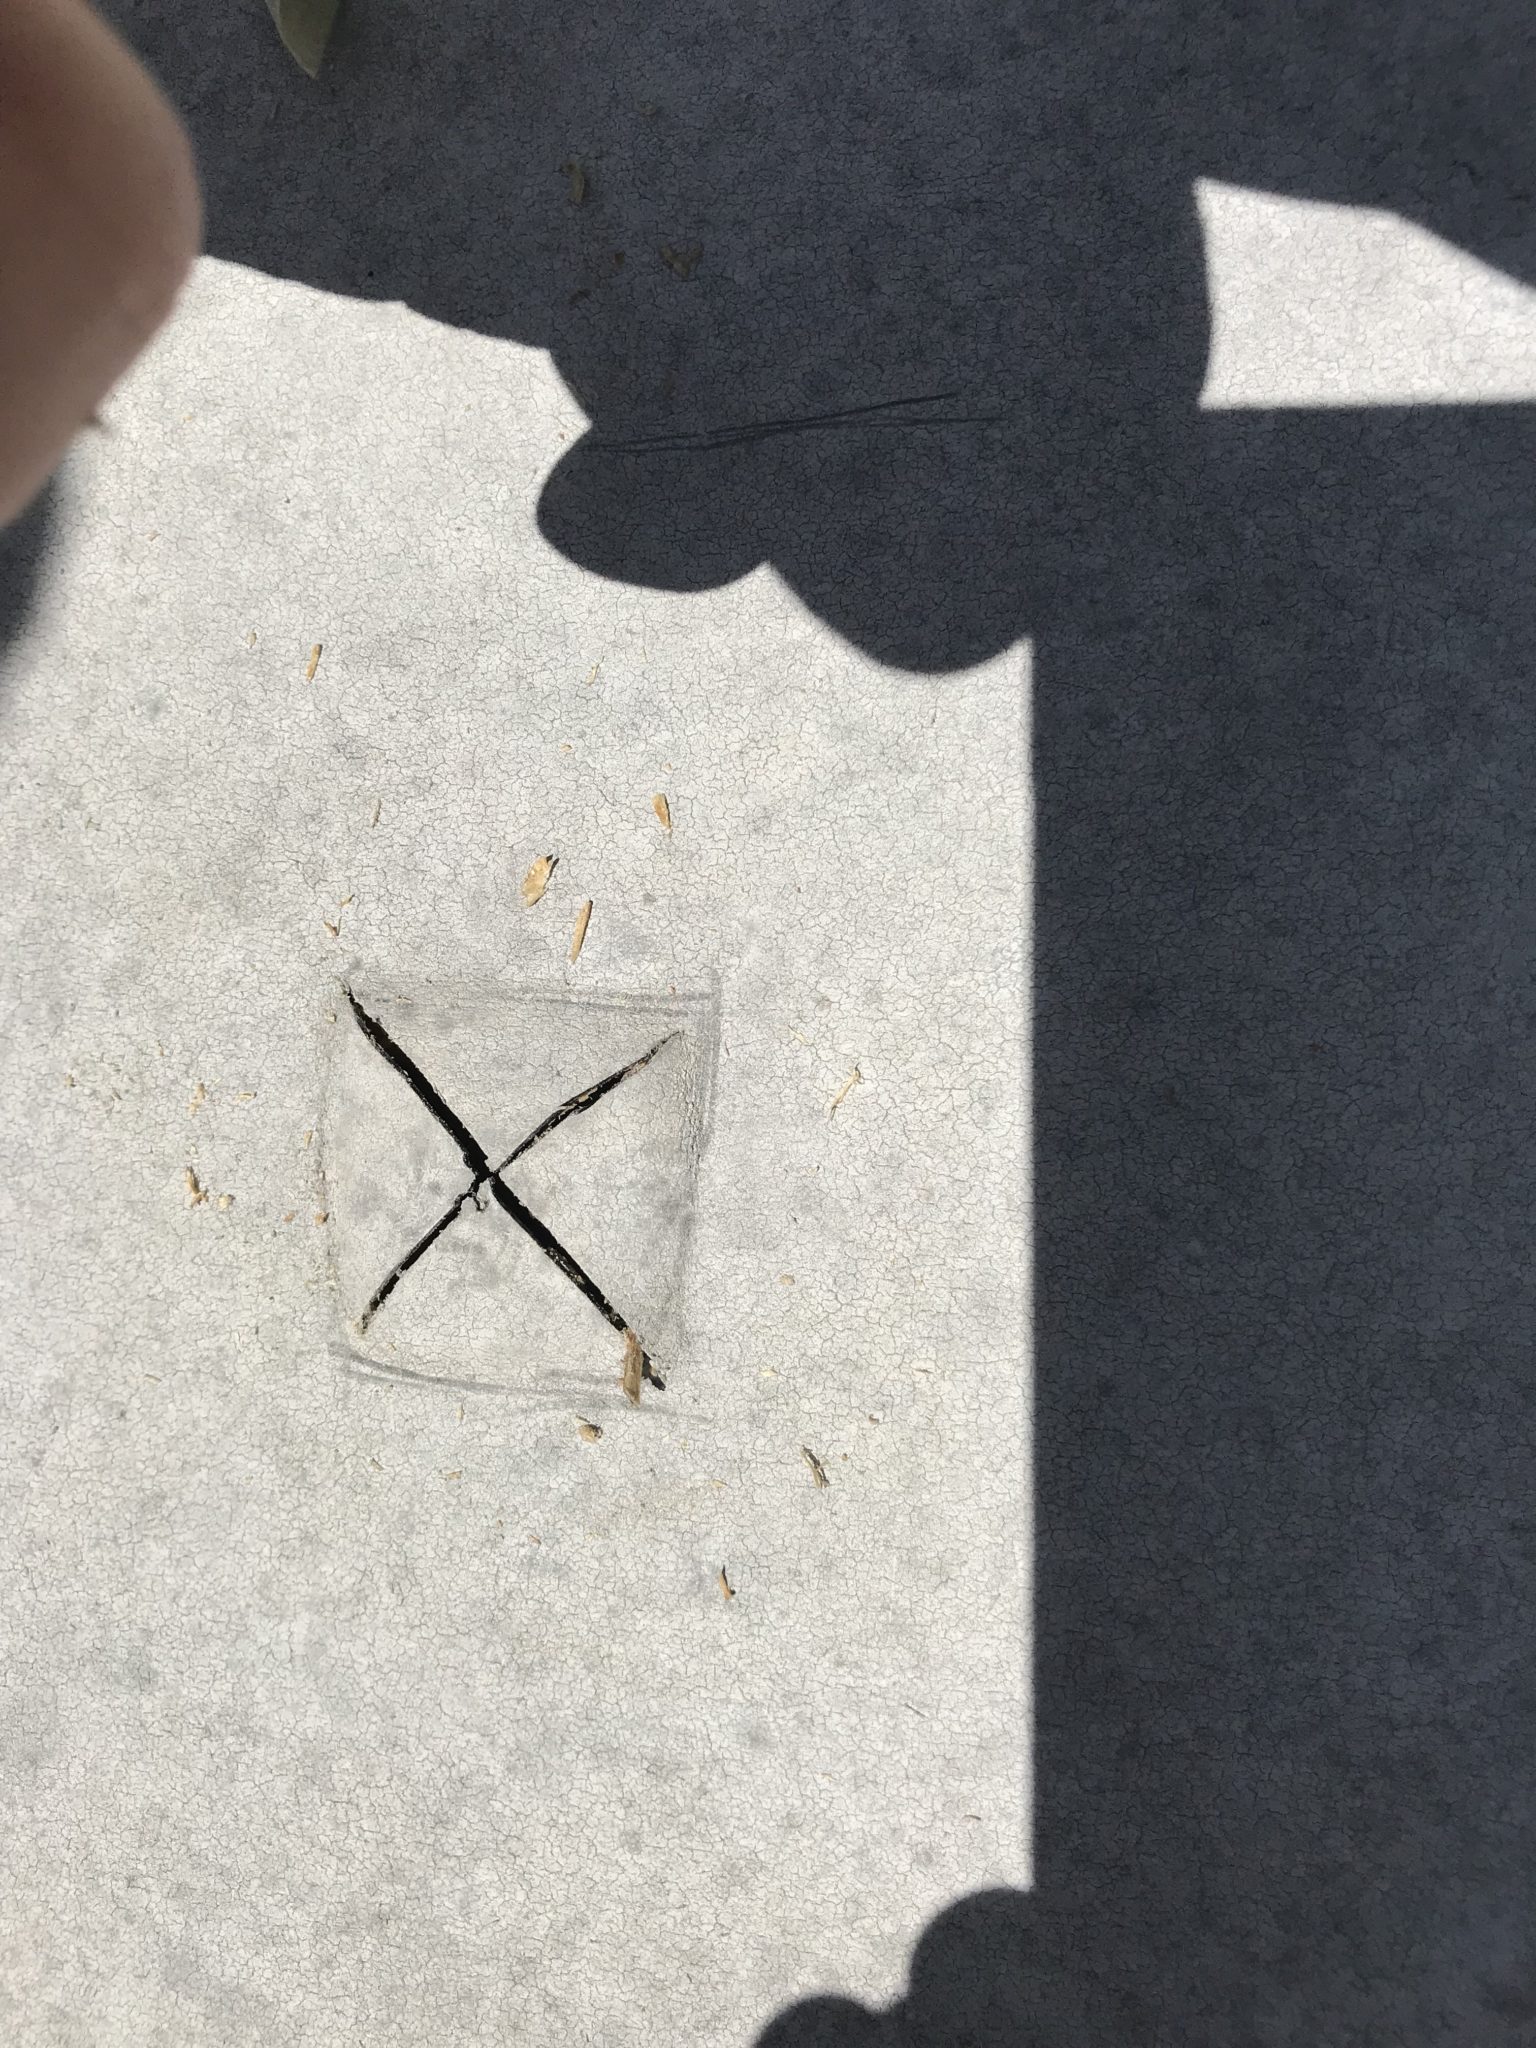
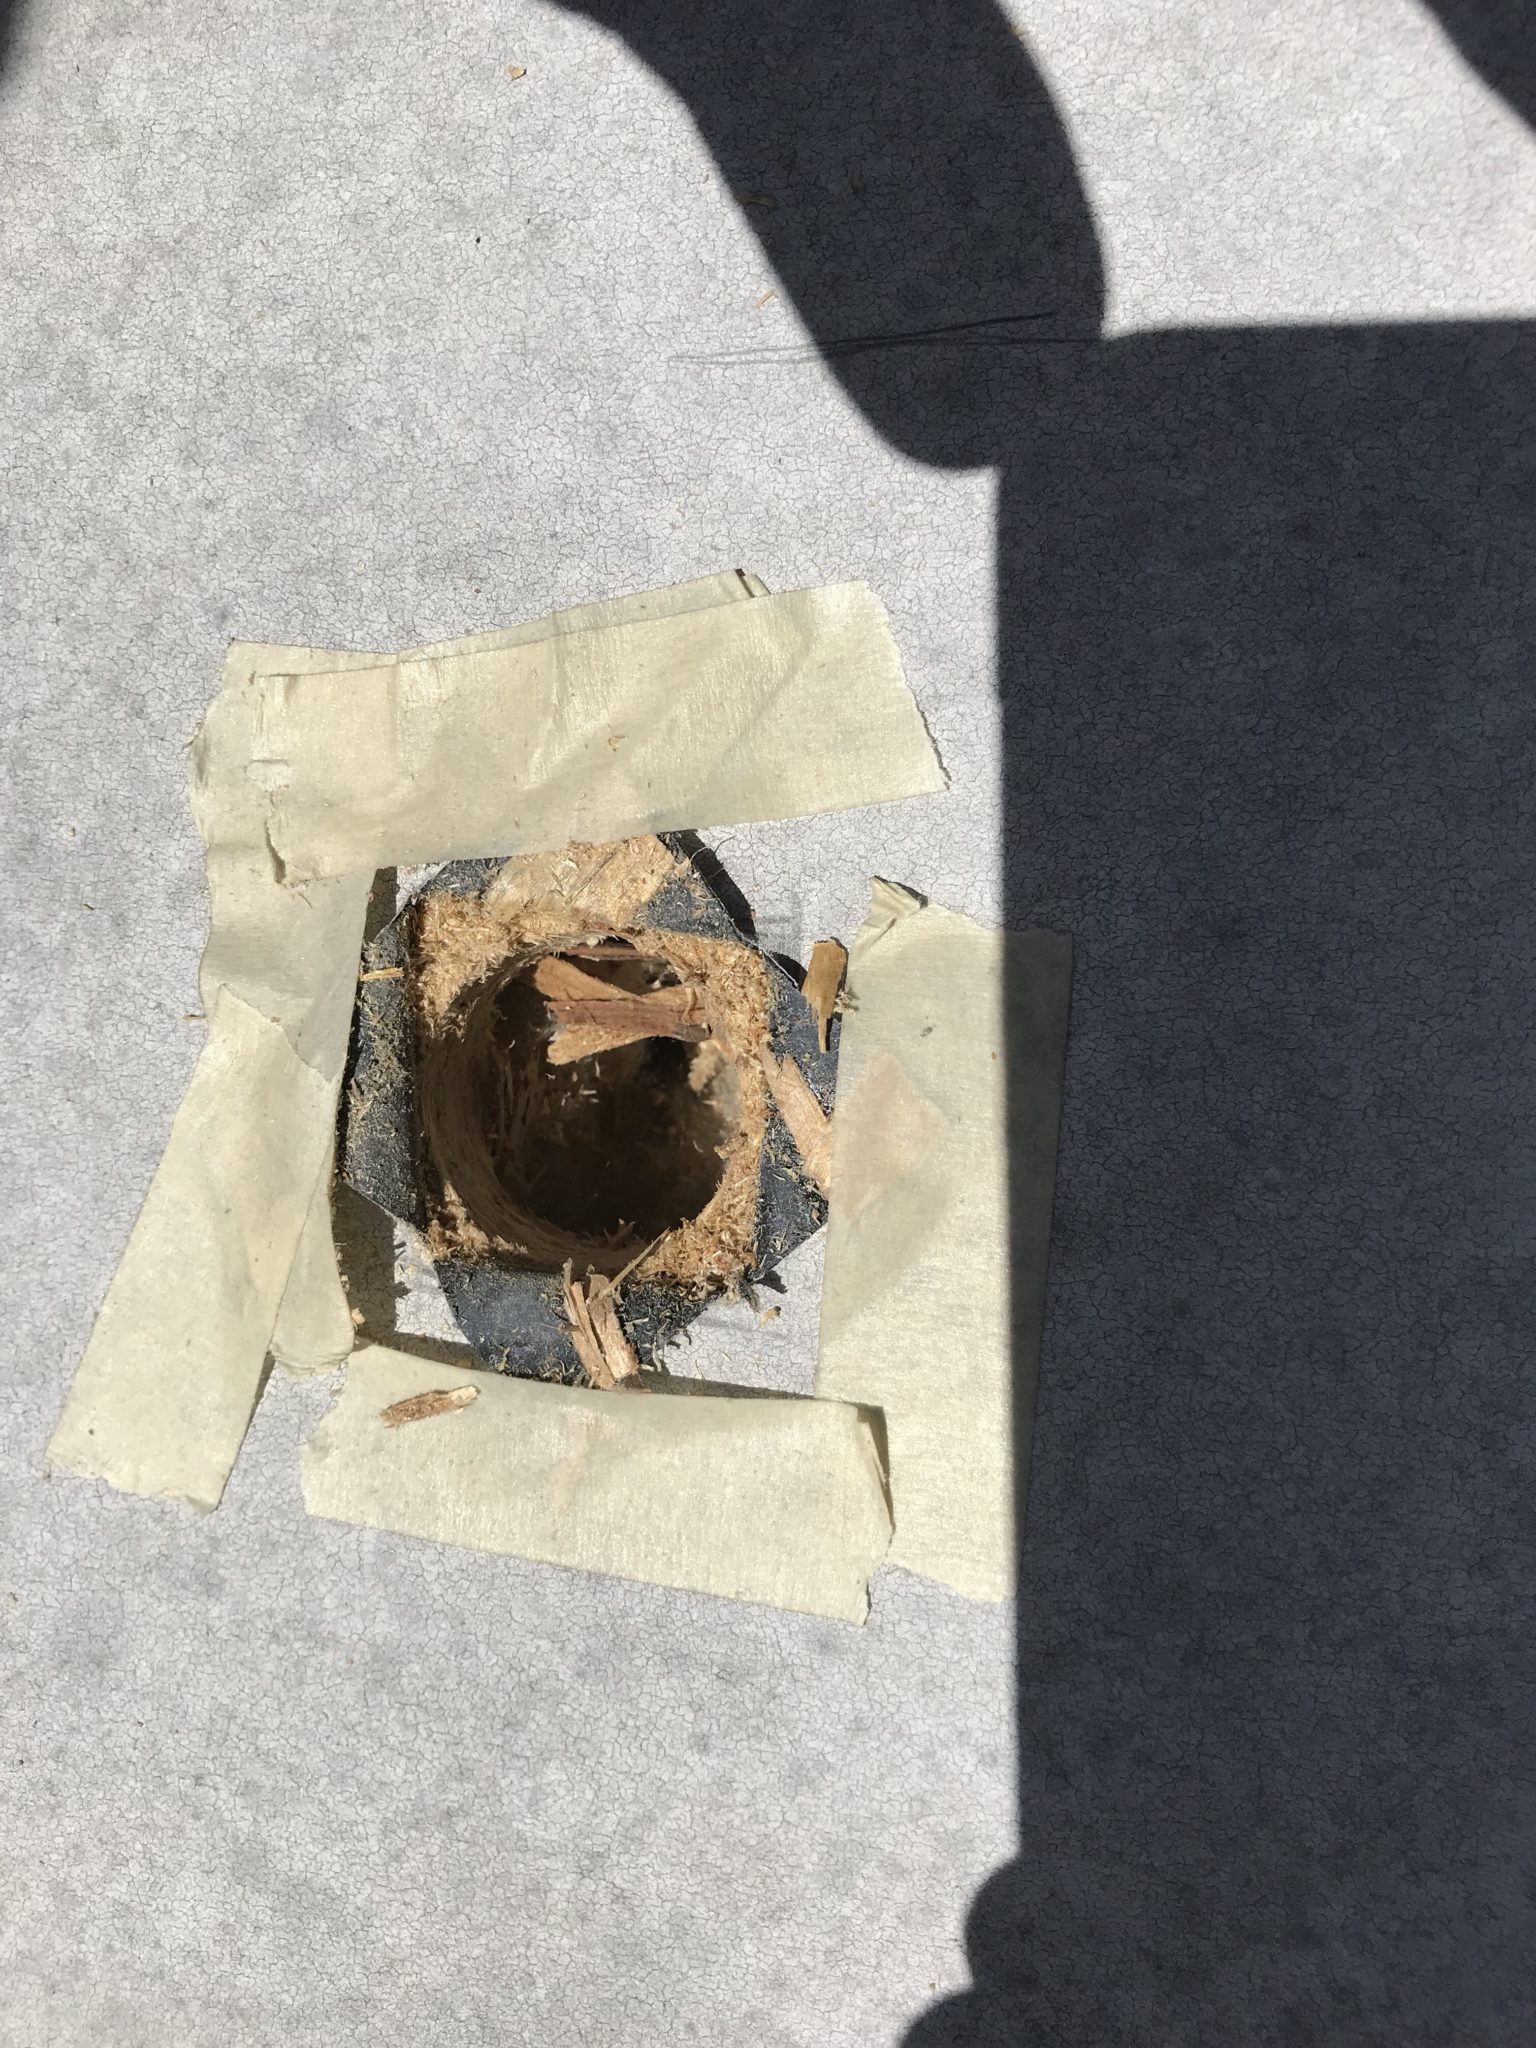
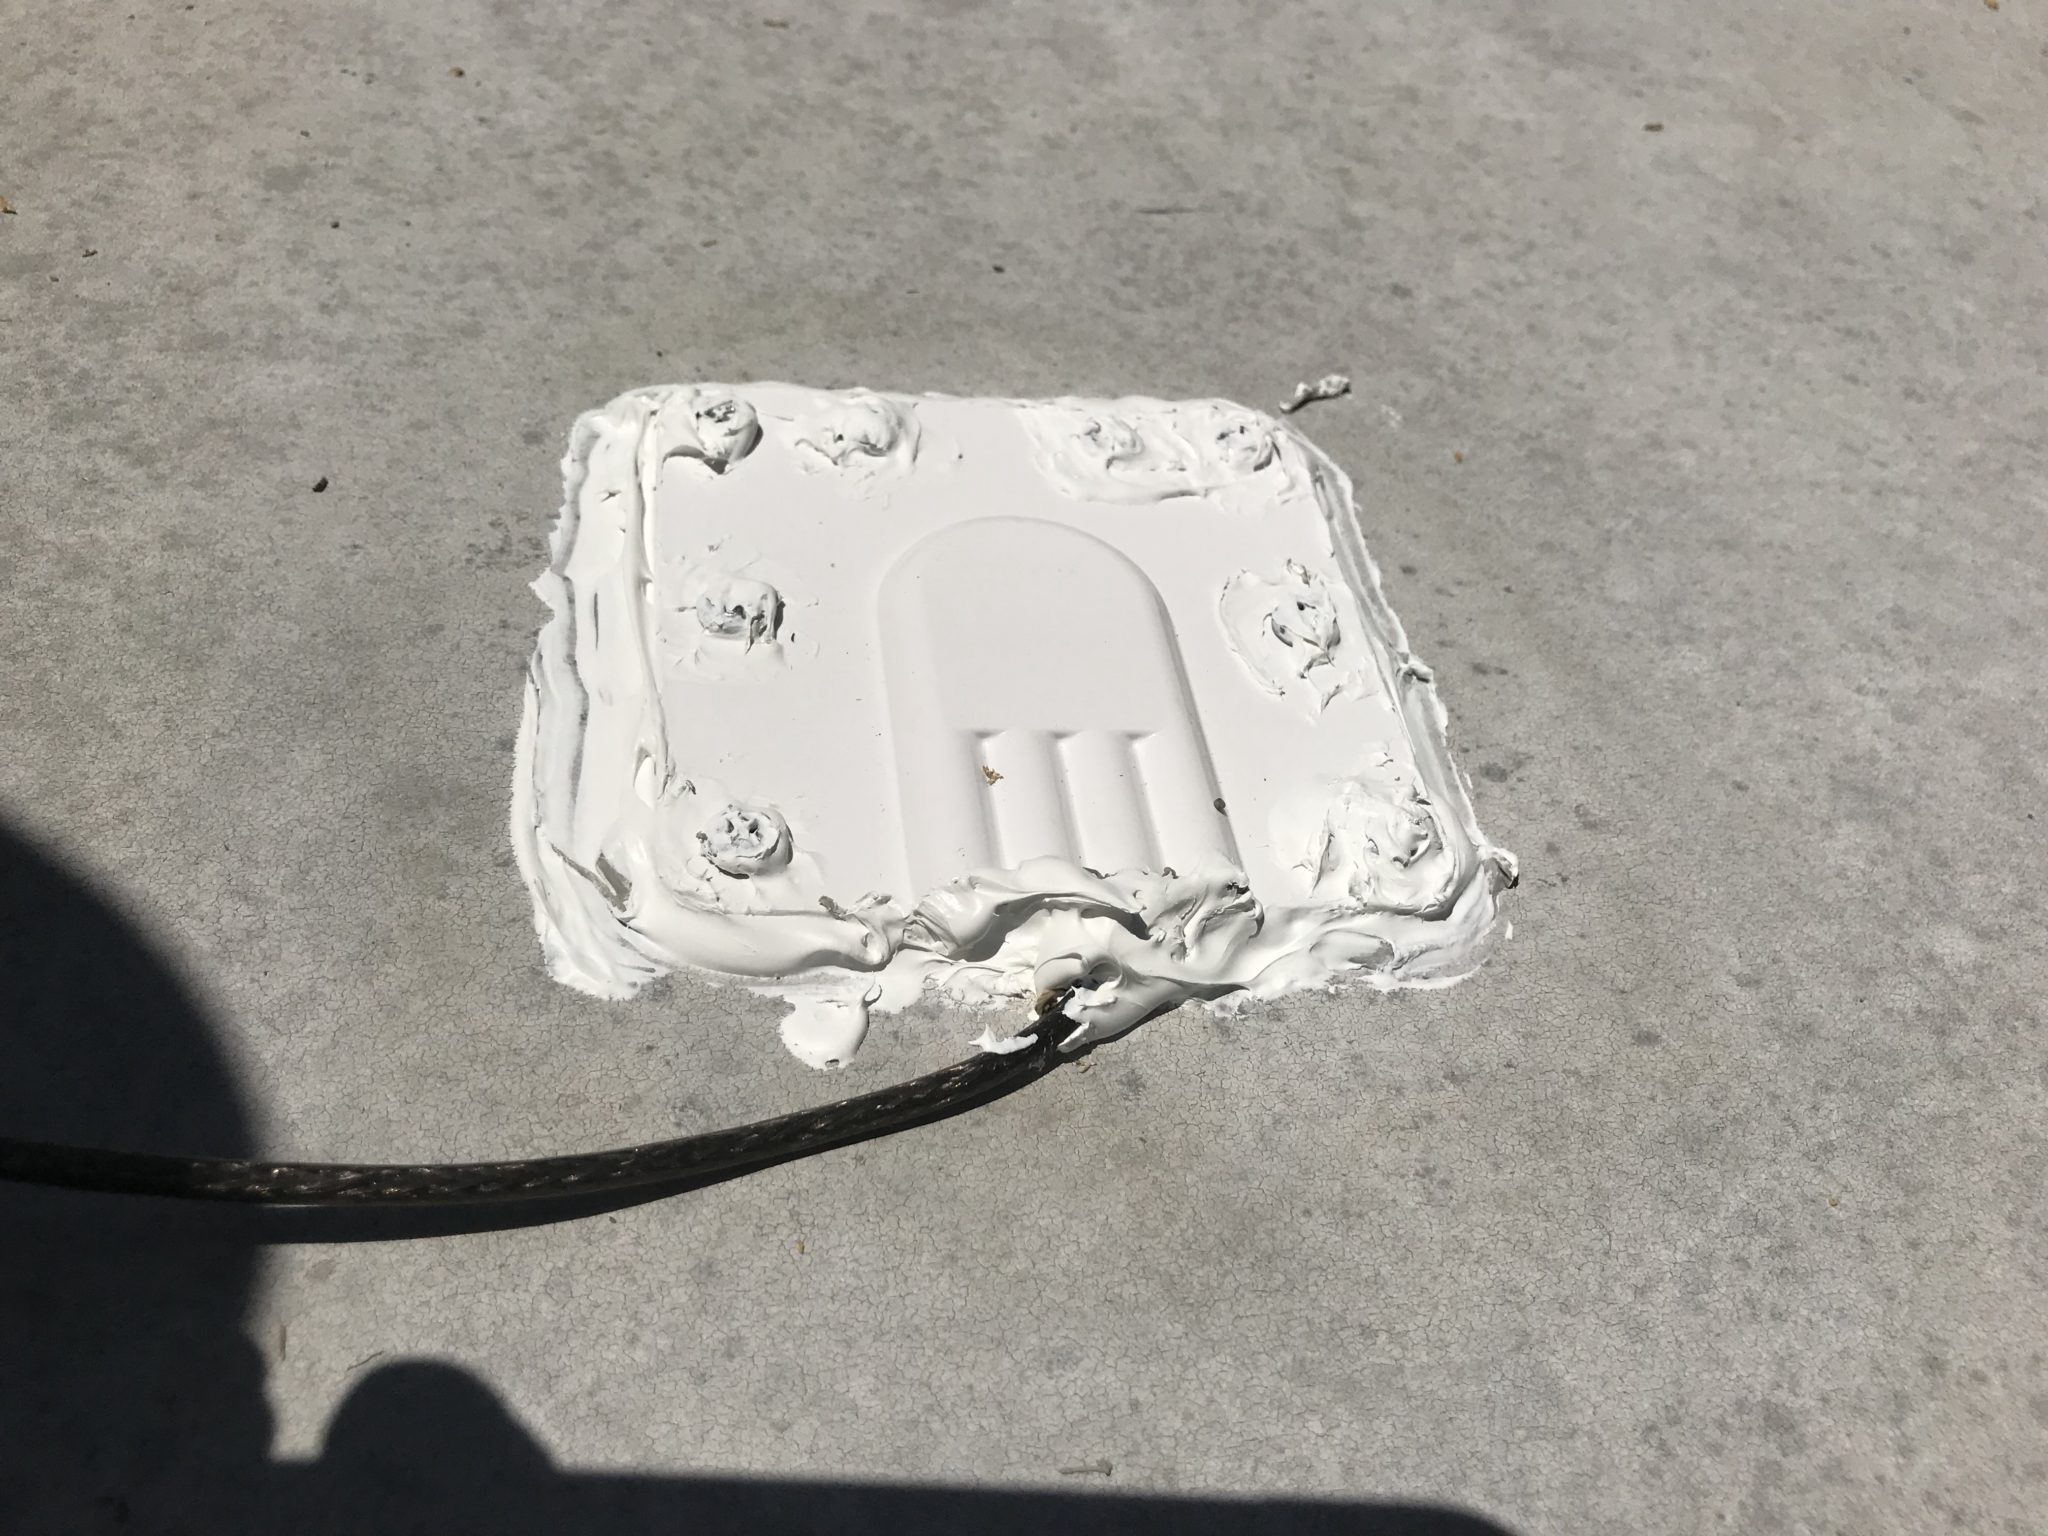
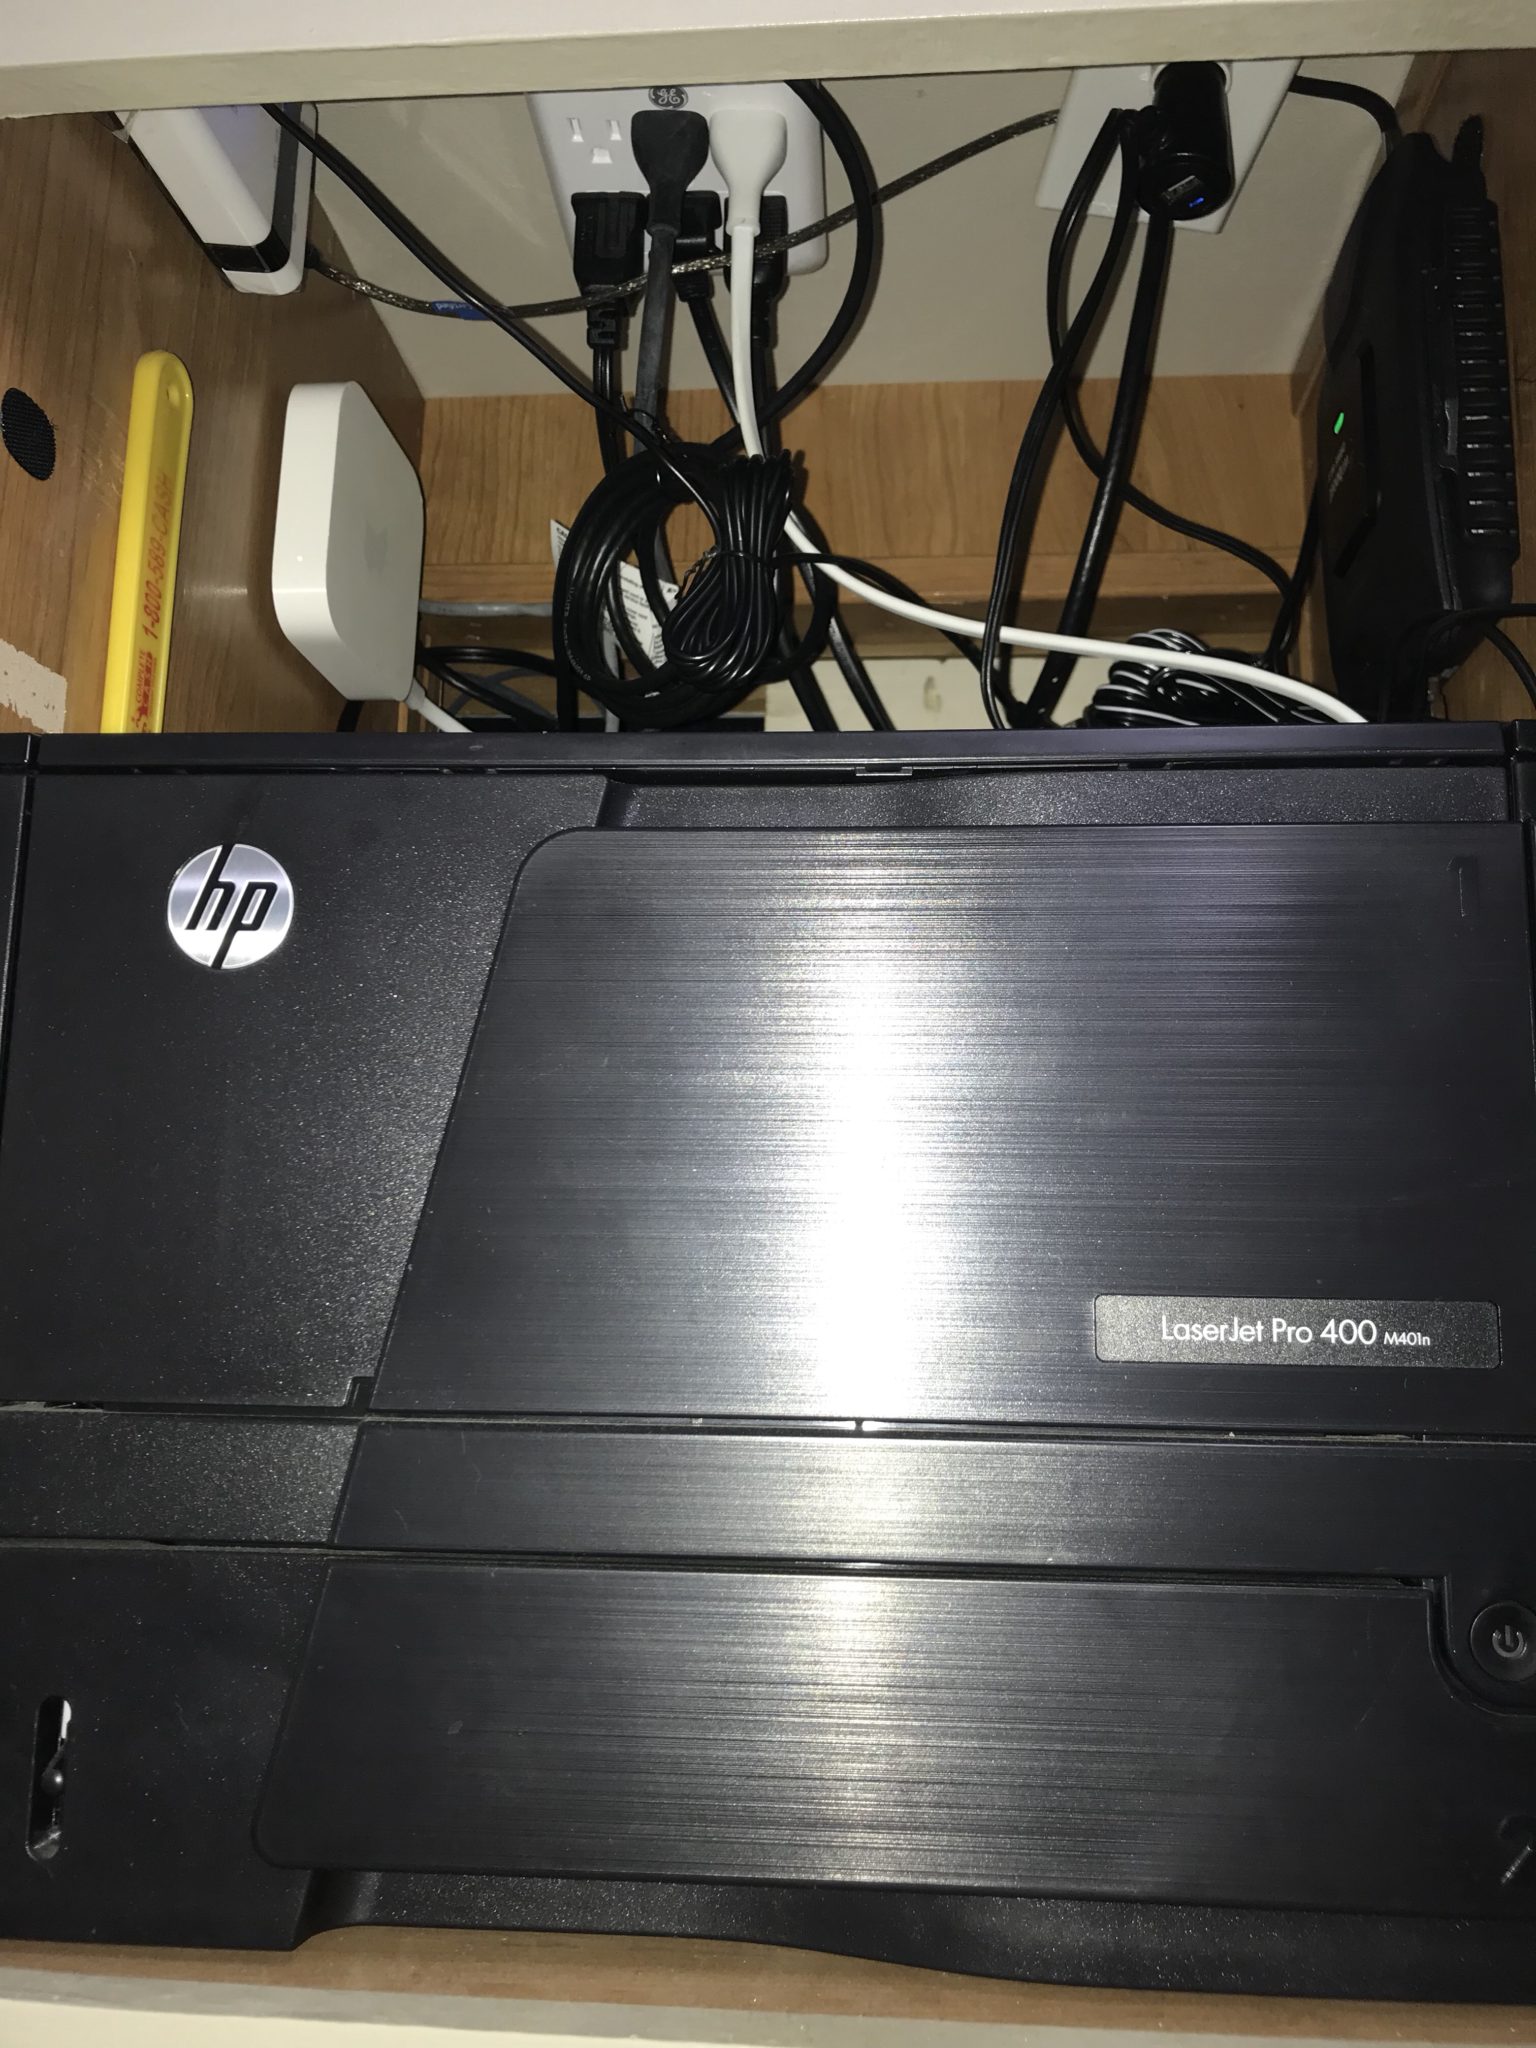
I have stuffed all of my equipment in one of the cabinets above our entertainment center. Along with Angelica’s laser printer that fit perfectly in there. I drilled a hole in my roof above the cabinet to run my antenna wires down through and covered the hole with a Winegard Cable Entry Plate. The hole was made by first drilling a small pilot hole through the roof from inside the camper, that I accessed by temporarily removing a 12V socket that was in the ceiling. Leaving the drill bit sticking through the roof I marked the location and cut an X in the roofing material to provide a big enough hole for my 1 3/16-inch hole saw. I was afraid that the hole saw might grab and tear the roofing. With the hole drilled, I was now able to run any wires I may need down into the cabinet. With the cover in place and some Dicor caulk applied, it is sealed from the weather.
X cut in roofing. Hole drilled in roof. Cable entry plate installed and sealed. Lowered 12V socket to access roof. Electronics cabinet

Of Course , I Had To Add An Apple
Another piece I have added to our set up is an Apple AirPort Express, that I already had on hand. Right after we went full time, the whole family was working on a big yearly print project we do. While working on this project, we transfer a lot of files around between computers. Even though we were doing transfers from computer to computer and not over the internet, transfer times were really slow. I wondered if the router that came with the WiFi Camp Pro was up to the task. So I connected the Apple router to it and used it to broadcast out WiFi signal in hopes that it may handle traffic a little better. In the future, I may experiment with this more and see if it is worth keeping.
In conclusion, we feel like we have finally got a fairly decent internet setup going. I know it could probably be better and we may still tweak it some. But as
Please Like and Share us on social media! Also, subscribe to our email list to stay up to date on new posts! Please leave a comment telling us what you think.
