When we purchased our vinyl flooring planks, I had no idea of all the places we were going to use them. As I wrote about in our article We Are Down With This Flooring!, Angelica and I chose Style Selections 6-in x 36-in Driftwood peel and stick vinyl flooring. She liked the look of it so much that she kept finding places in The Tin Can that she wanted to use it. Here are the DIY projects we came up with.
Kitchen Backsplash
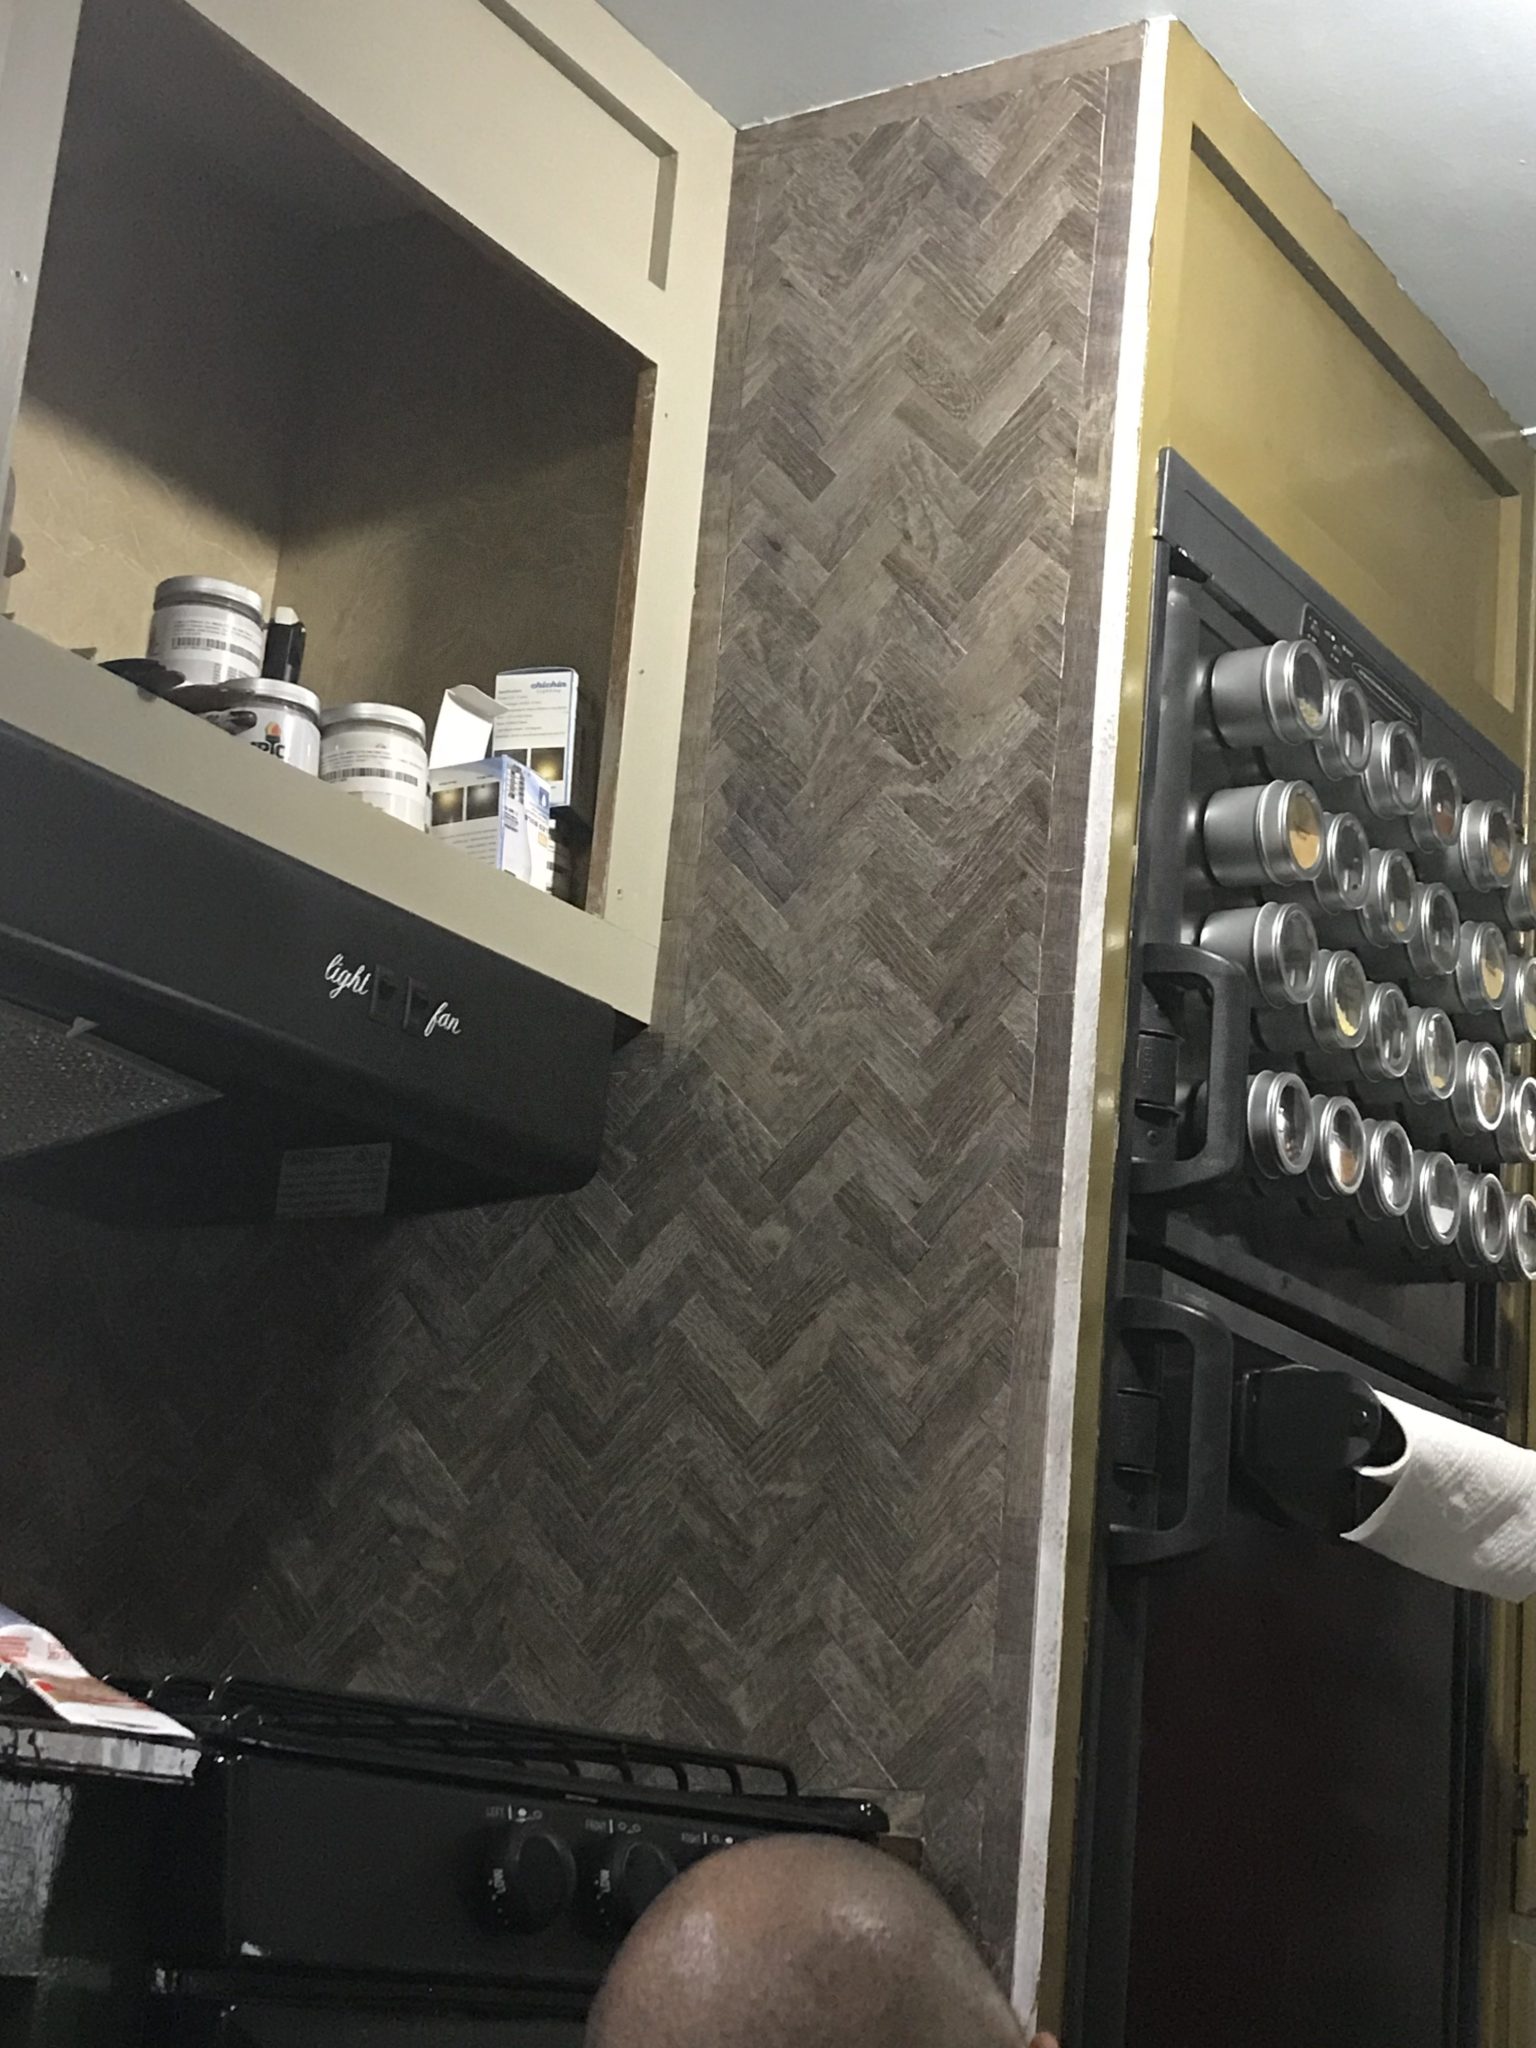
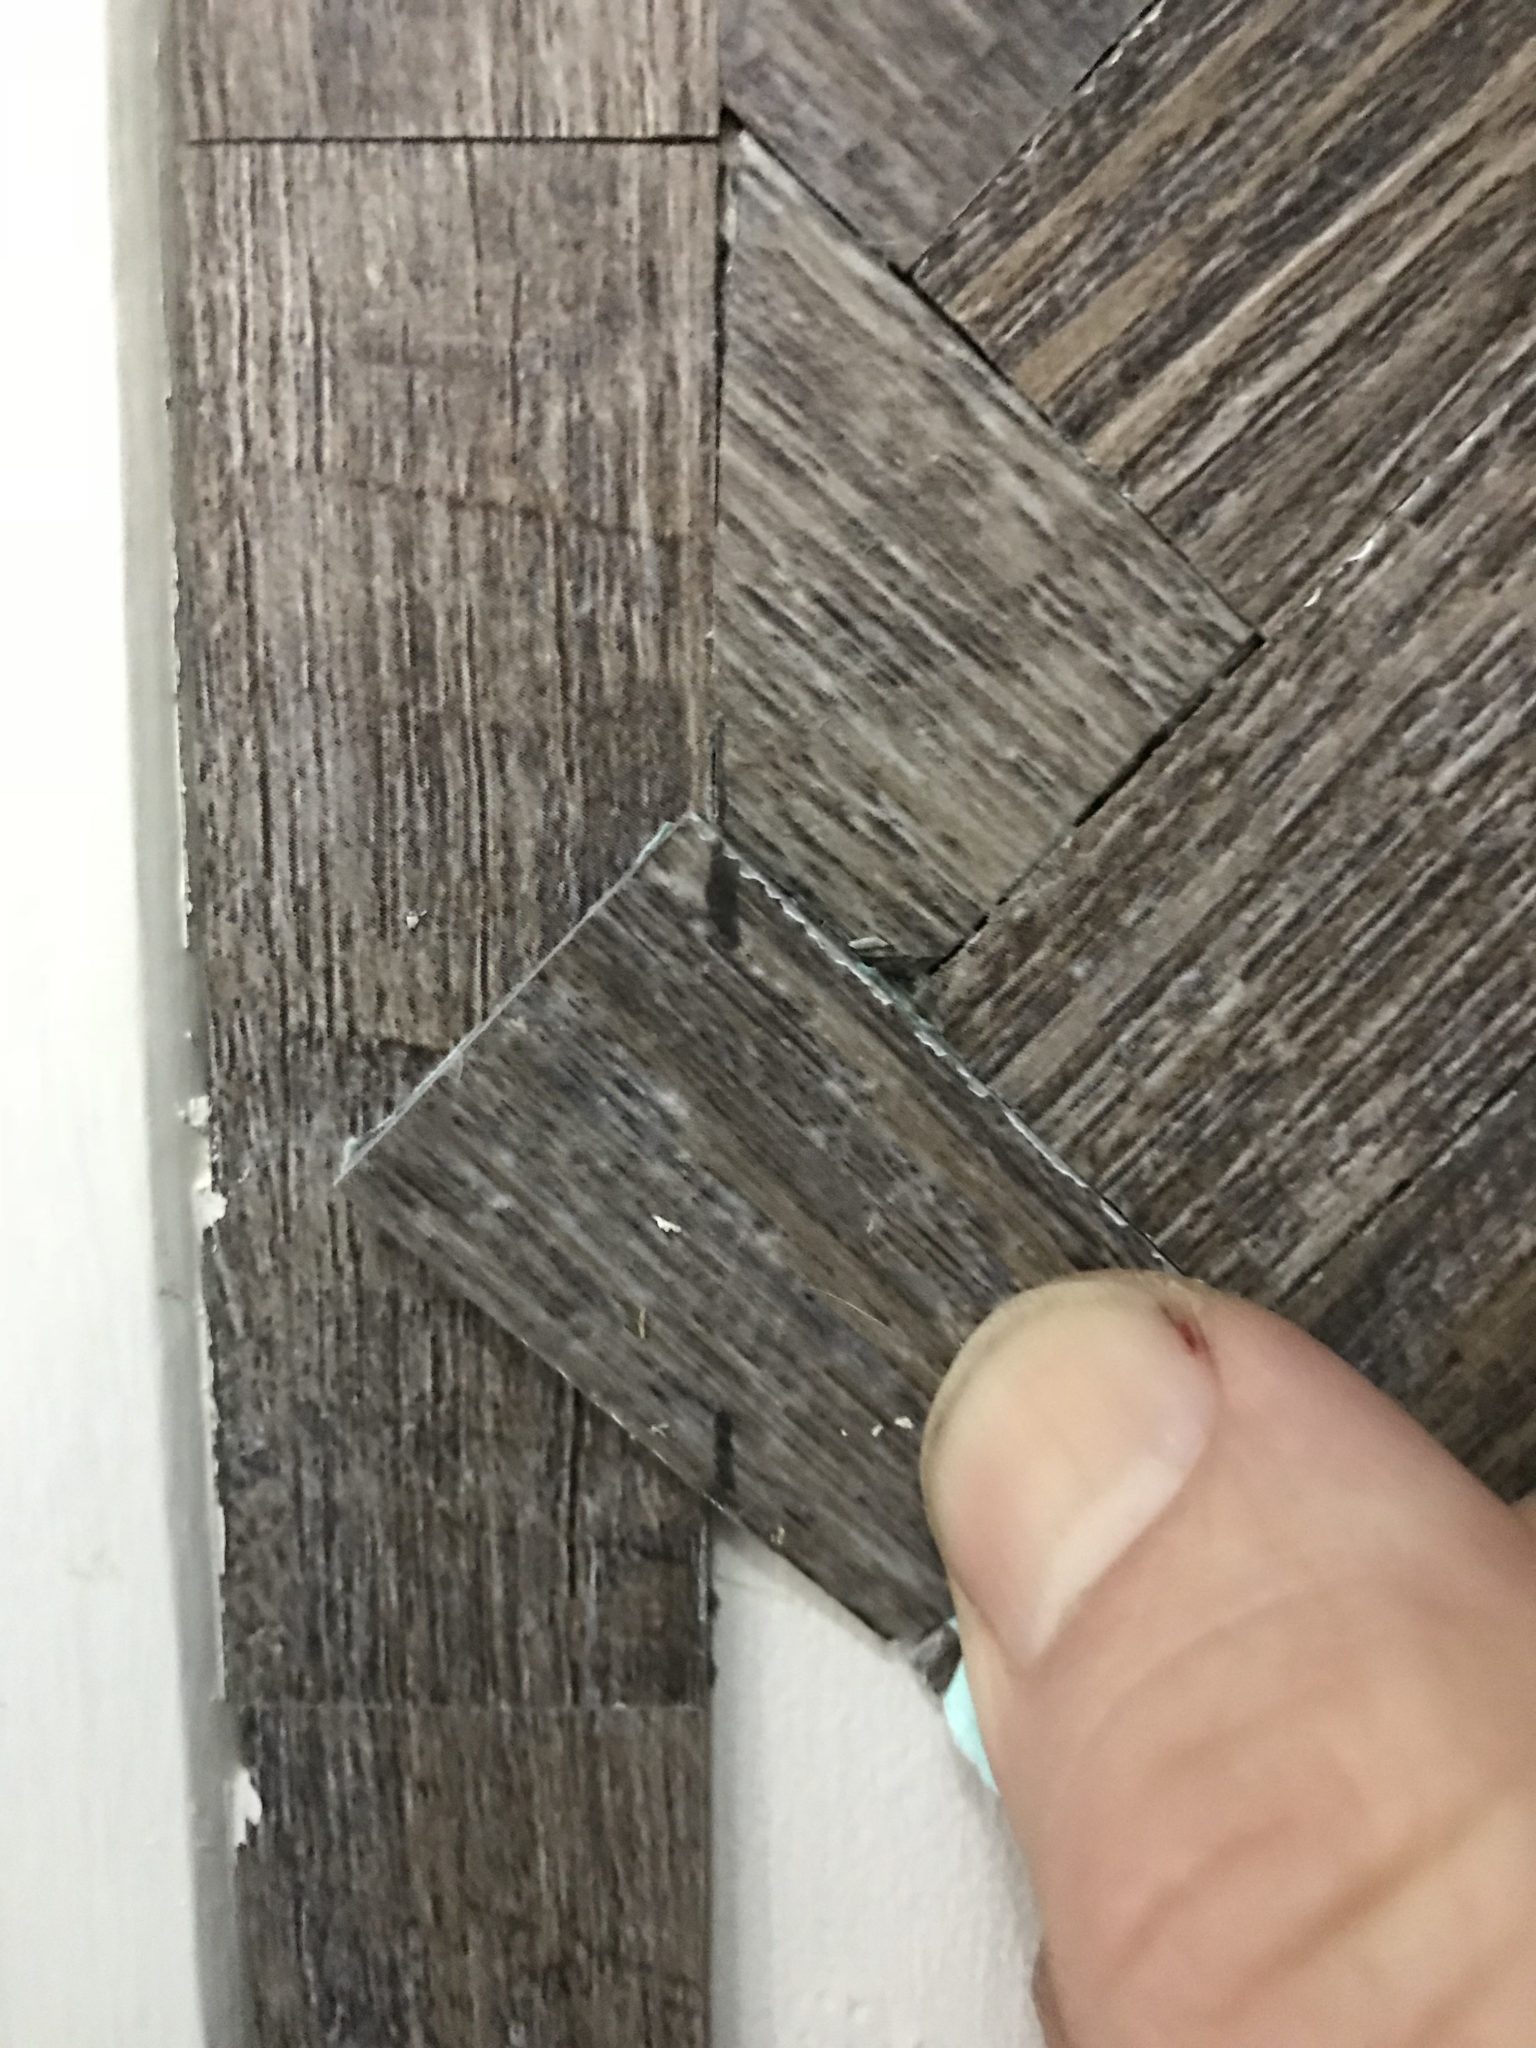
The first project that Angelica chose to use the flooring planks in was a herringbone backsplash in the kitchen. And it wasn’t just behind the stove that she wanted the backsplash. It was all the walls of the kitchen area. To make the backsplash, I ripped the 6-inch wide flooring planks into 1 inch wide strips. Then I put Angelica on the miter saw cutting the strips into 3 inch long pieces. After we cut several planks up, we applied a border around the entire kitchen wall. With the border in place, I went about laying out the herringbone pattern. To start the pattern, I drew a vertical line down the middle main wall, then drew another line at a 45-degree angle pointing up off of the vertical line. Then I lined up the long side of my first piece along the line. The second piece was then stuck with the bottom of the long side butted up against the bottom short side of the first piece. I continued this up to the border I had laid out and then expanded the pattern out in both directions from there, spaying the back of each piece with 3M Hi-Strength 90 spray adhesive. It seemed like a slow tedious process after that. The edges were the most challenging and time-consuming. Using a pair of tin-snips I would trim the pieces that butted up to the border. First I would hold a piece up to the wall and mark it where it would touch the border. Then I would cut it to fit with the snips. Sometimes I would have to use a knife to trim it a little more. Most of the pieces were pretty easy to fit until it got down to the really small ones. Cutting out tiny triangles, applying adhesive to them and trying to stick them to the wall, all the while getting the adhesive all on your fingers. It could get quite messy. But in the end, it came out looking pretty good, not perfect by any means, but pretty good.

Marking vinyl piece. 
Trimming piece. 
Laying out the kitchen pattern. 
Kitchen wall backsplash in progress.
Bathroom Backsplash
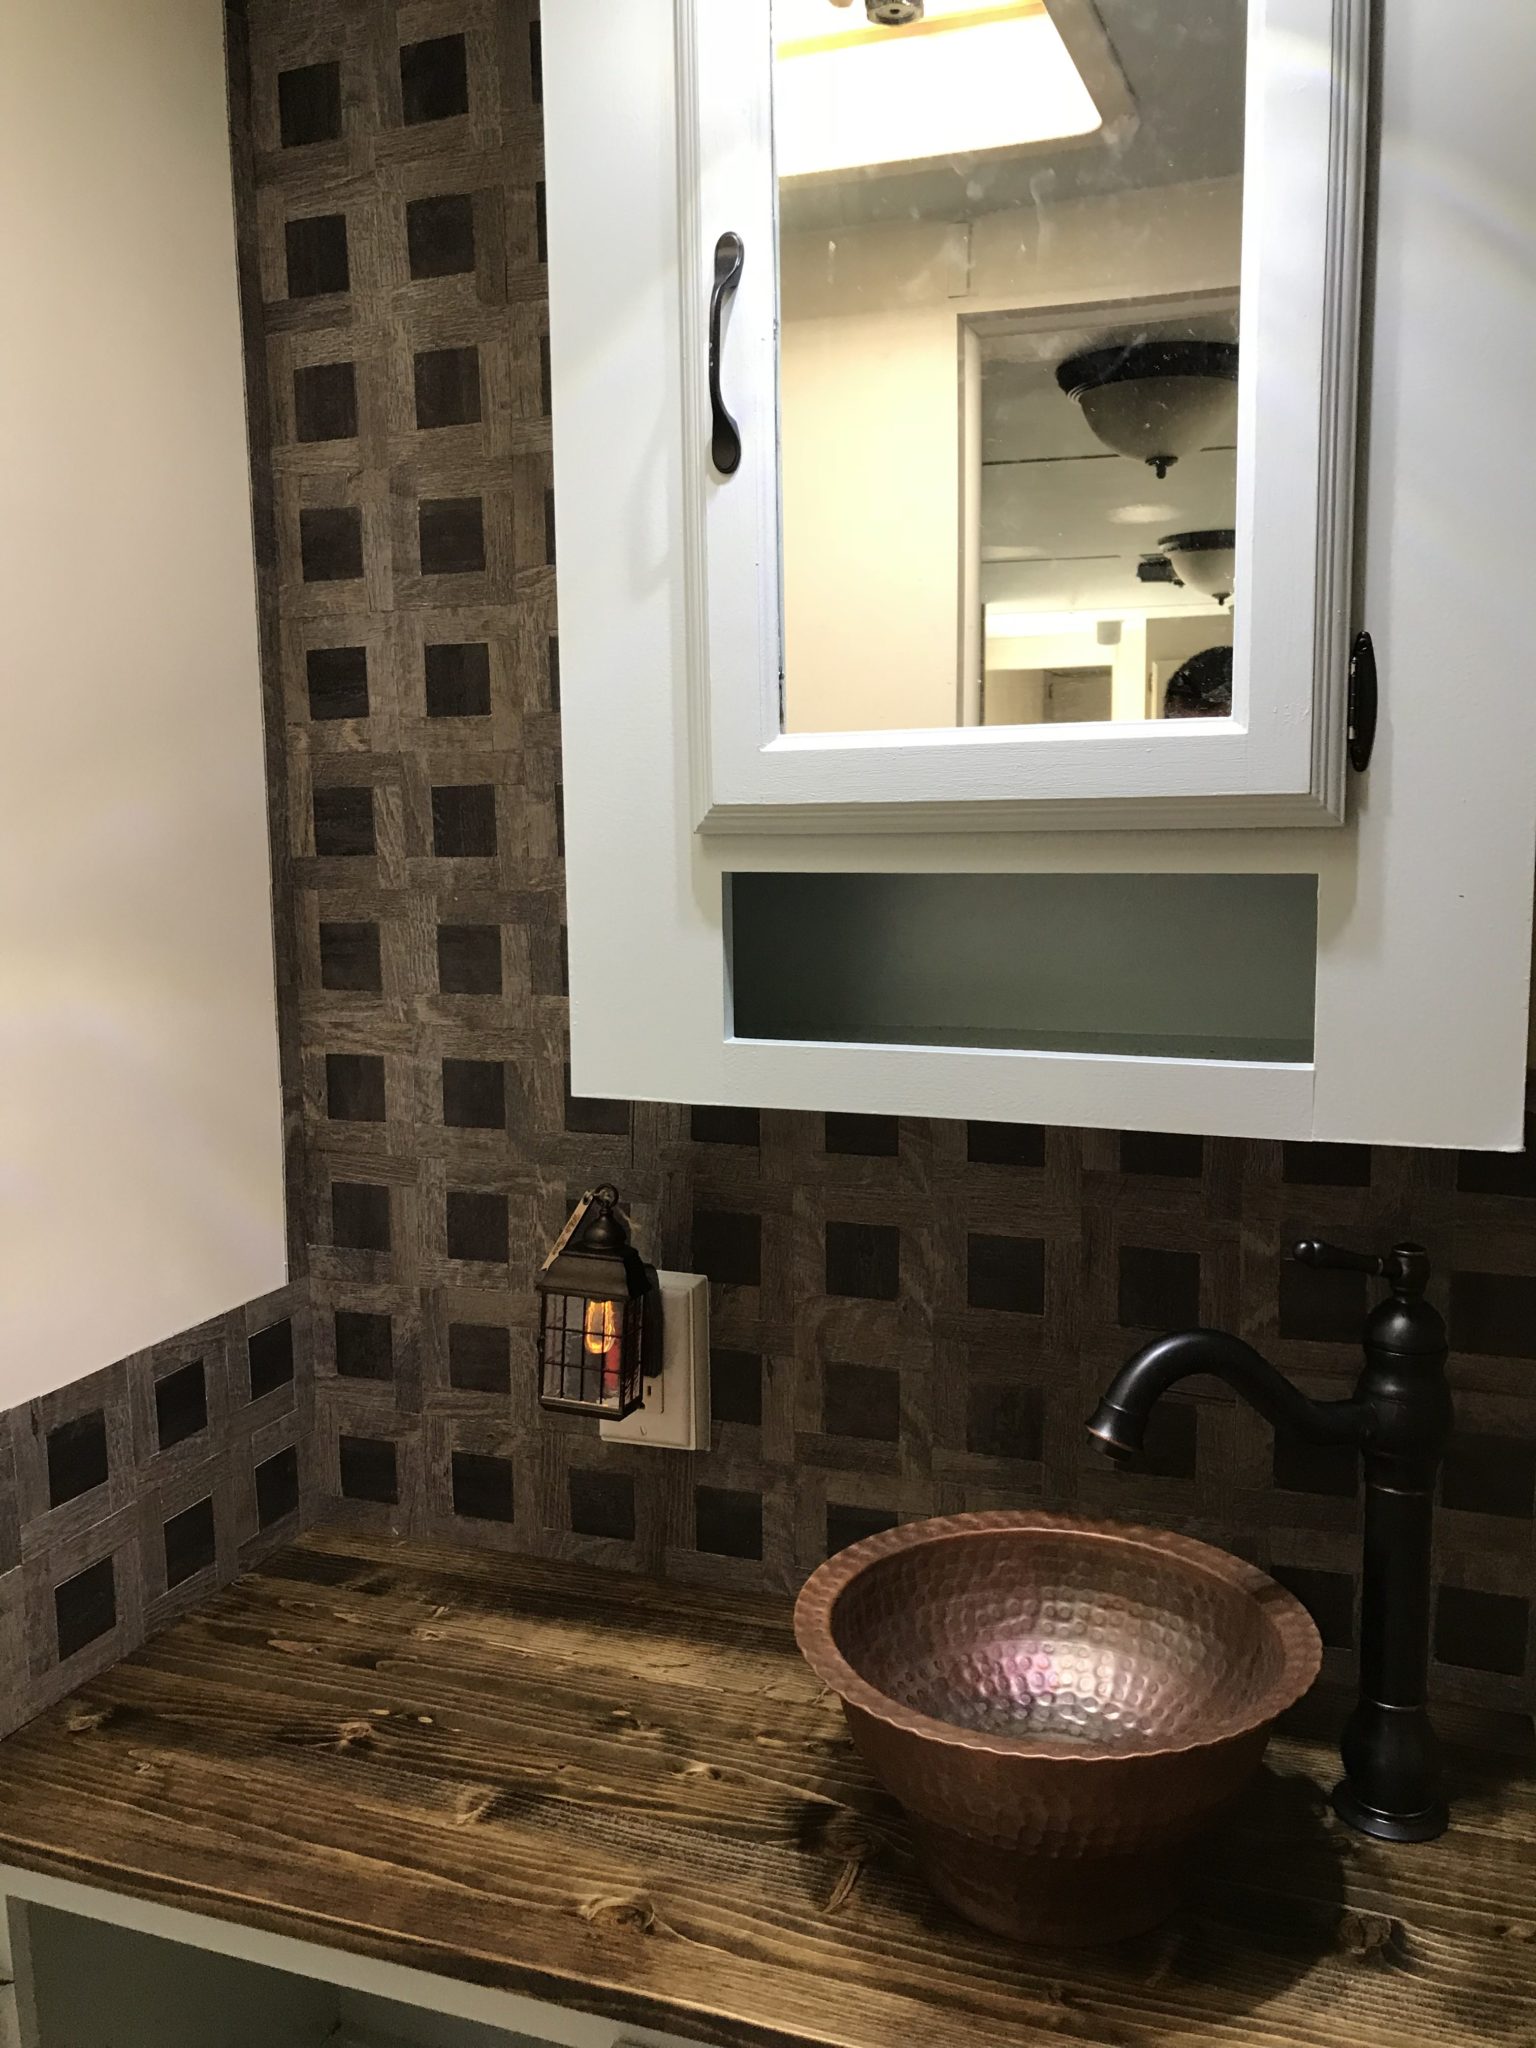
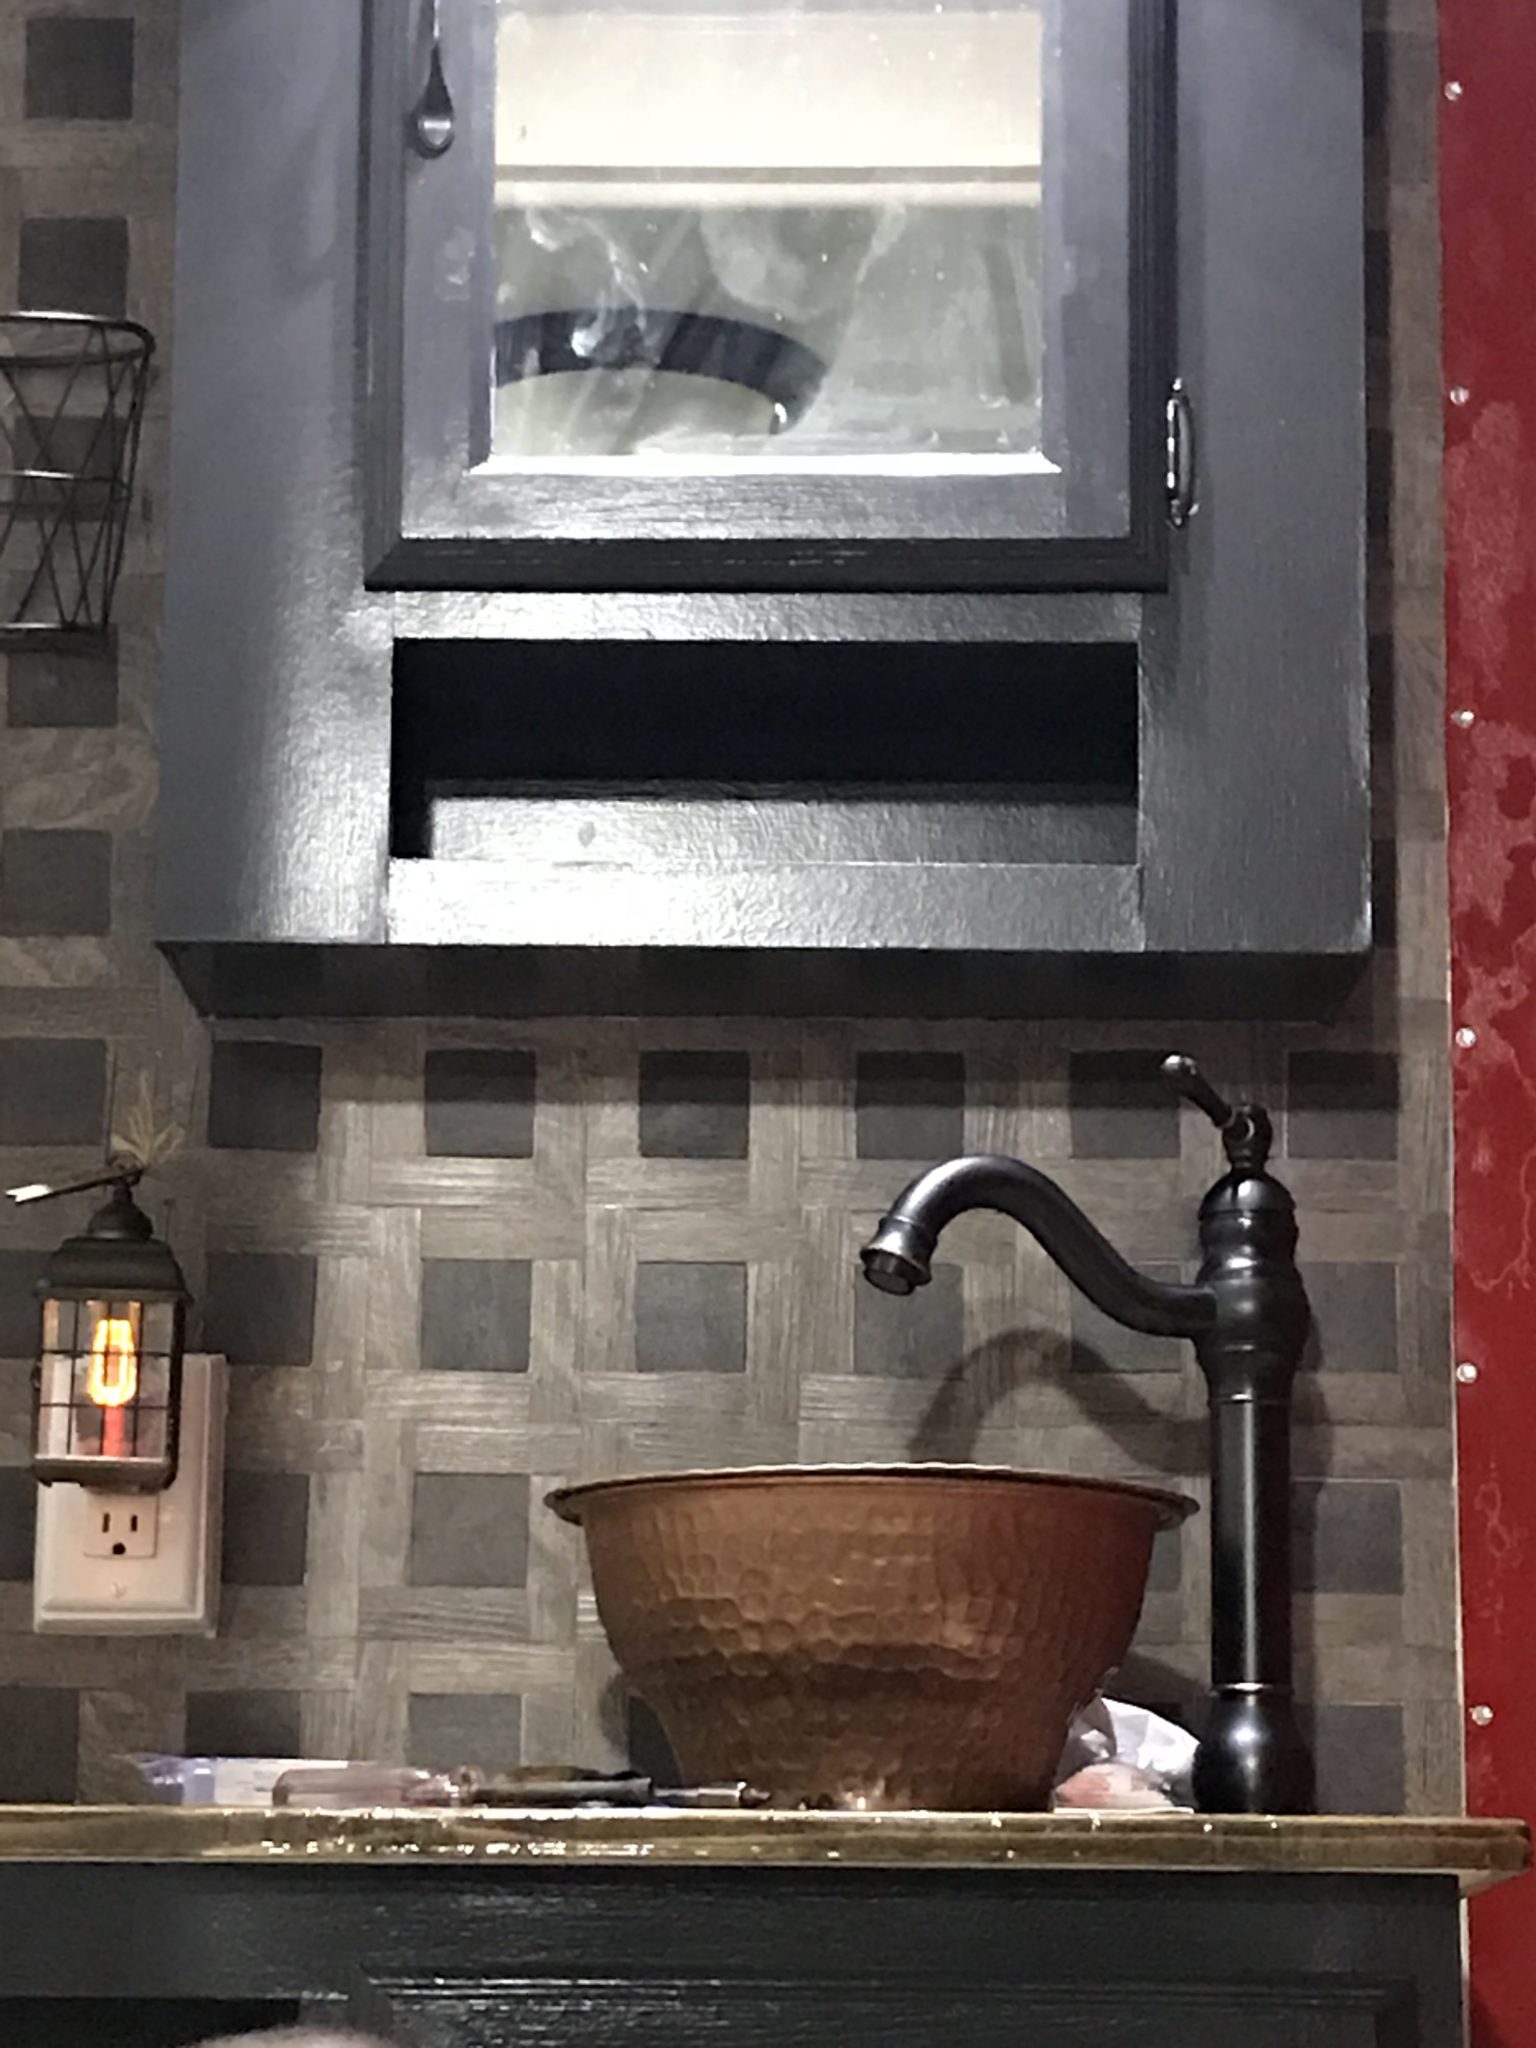
After the kitchen backsplash was underway, we got the idea to also do a backsplash in the bathroom also. But I wasn’t going to do another herringbone, that was for sure. So Angelica came up with this square pattern. That used a darker square piece, cut from Casa Italia Peel-and-Stick Concrete Vinyl Tile, that were cut into 2-inch squares. These were then bordered with the 1 X 3-inch pieces we had cut for the kitchen backsplash. This proved to be a much easier project to do. Angelica handled most of this job. She just started laying them out along the countertop and the corner of the wall and went from there. Again using the 3M Hi Strength Spray Adhesive to make sure they stuck good. I’m not sure how many cans of this we used in all our projects, but it was quite a few.
Headboard
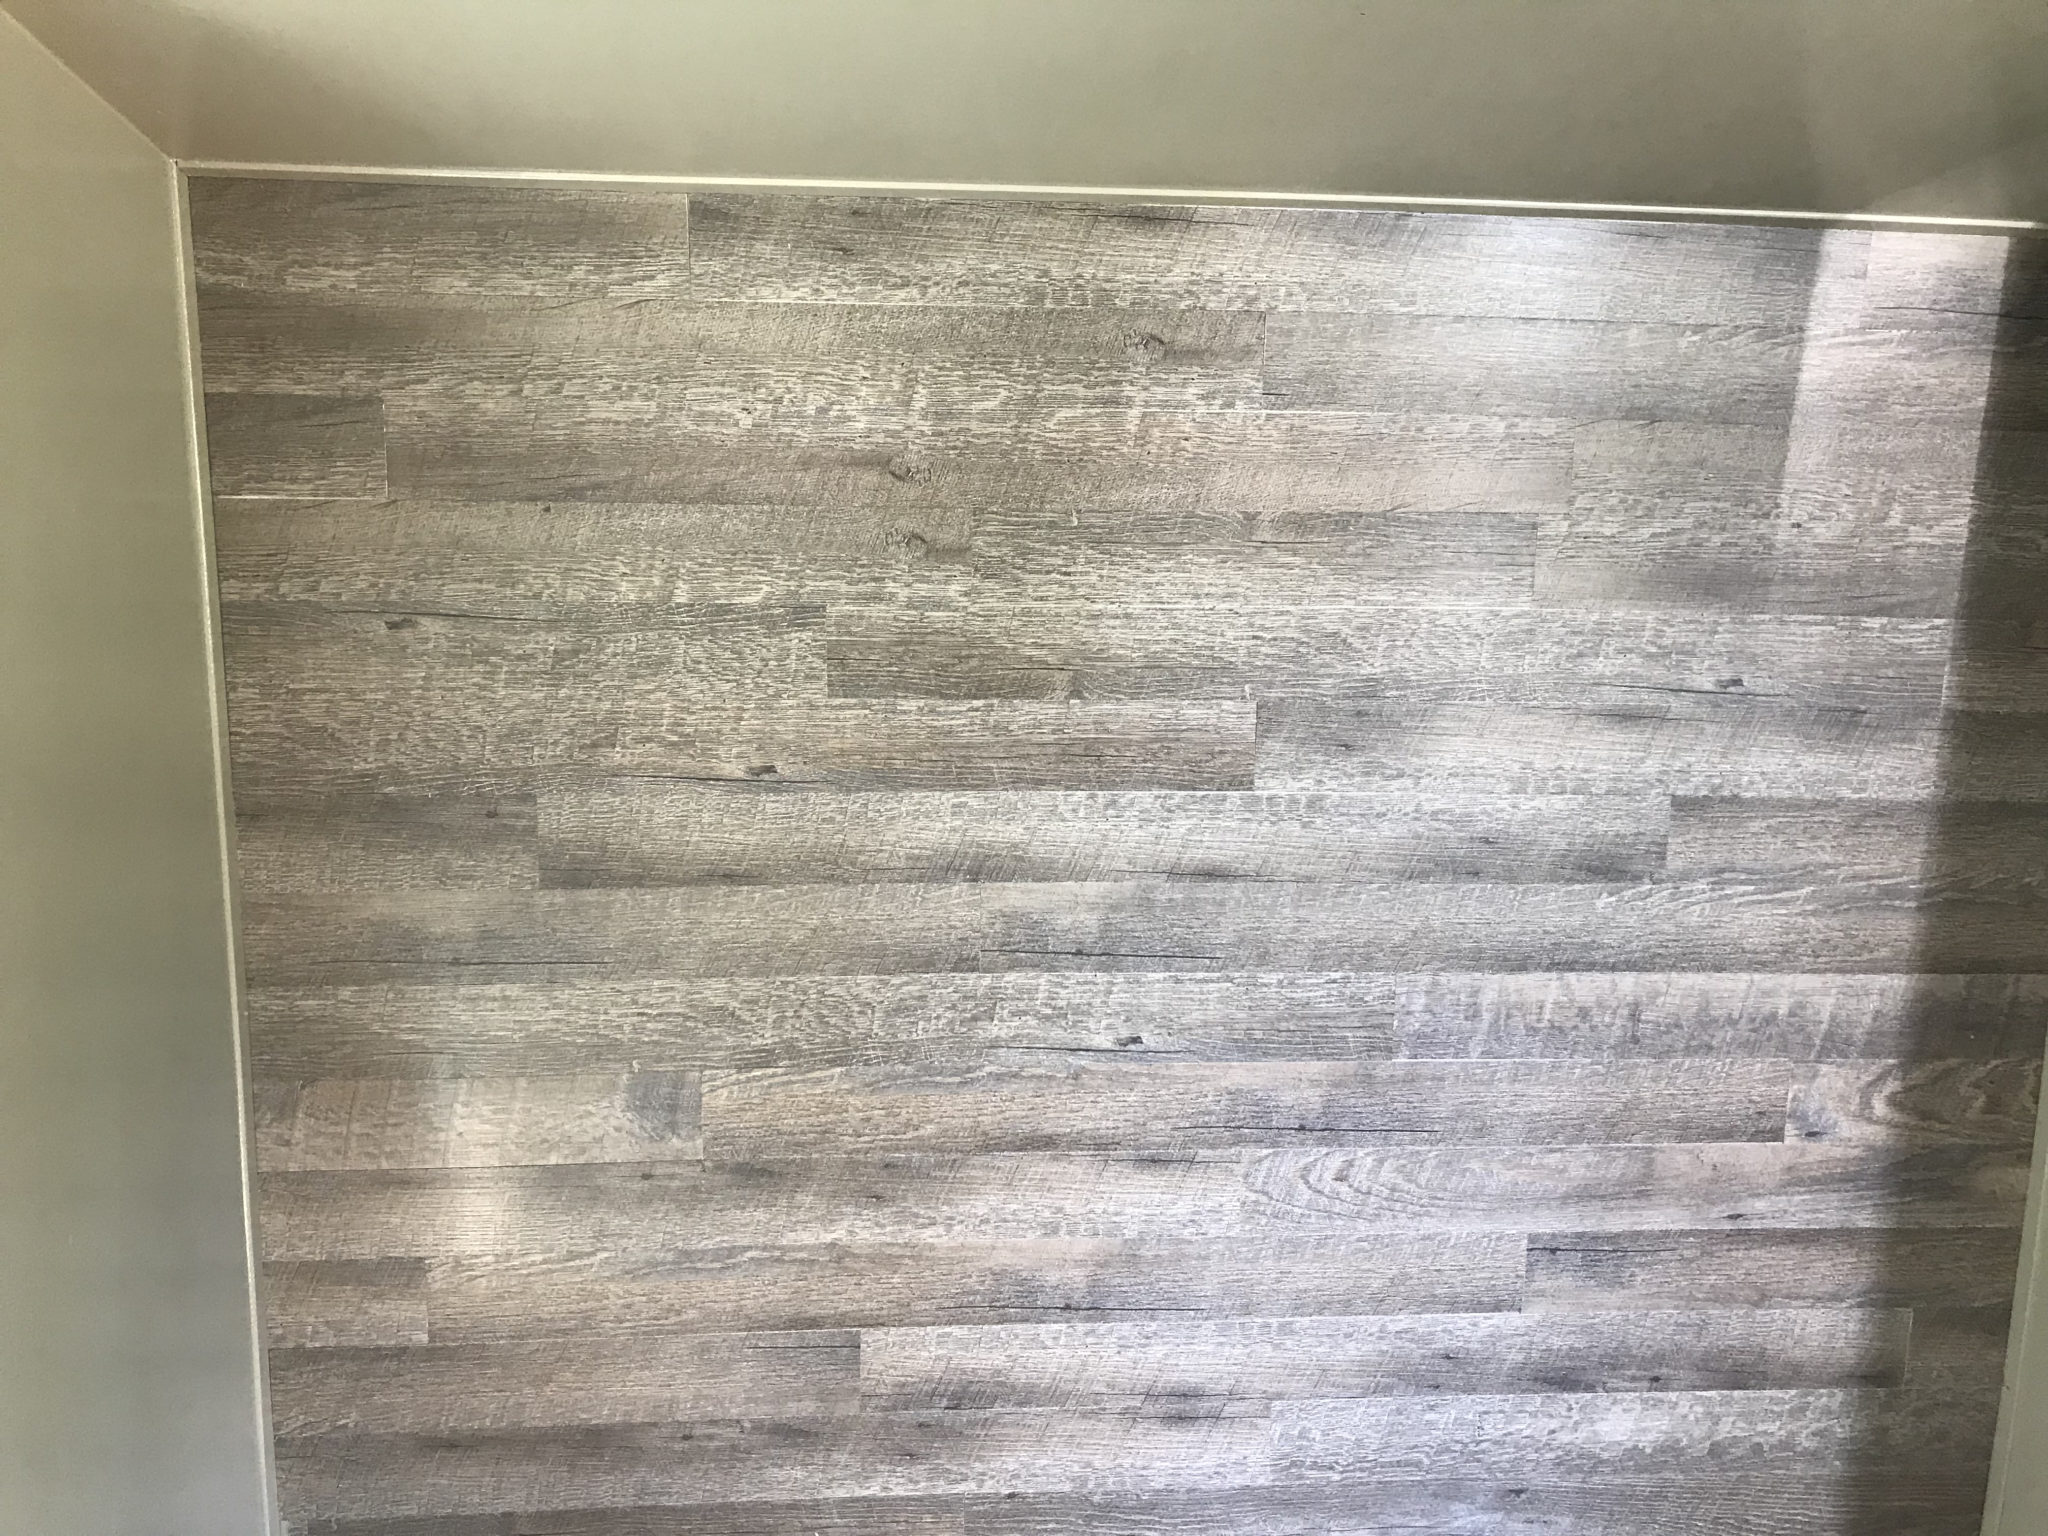
One of our earliest projects, using peel and stick vinyl flooring planks, was a headboard in the bedroom. For this one, we ripped the planks into 3 inch wide strips. Starting a little below the where to top of the mattress comes to, we attached them horizontally to the wall. A long piece was attached first then another shorter piece was cut to fill the gap. Then on the next row, we started out with a short piece that was left over from the previous row, followed by a full piece. We kept this process up, making sure that all the joints were staged by at least a foot or so.

Headboard created with 3 inches wide strips.
Nightstands
Yet another place we used the flooring planks, was on our nightstands. For these, we also used some leftover pieces of the Casa Italia Peel-and-Stick Concrete Vinyl Tile from the bathroom backsplash. On the top of the nightstands, we laid 3 inch wide strips running parallel to the mattress. With 2 narrower strips of the darker, Casa Italia vinyl, spaced out with one 3 inch strip in the middle. For the front of the nightstand, we attached the 3-inch strips horizontally. We really like how the nightstands turned out, we even cut holes in them and installed cup holders in them.
What Have You Come Up With?
These are some of the uses we have come up with for peel and stick vinyl floor planks. I am sure there are many more out there. What are some uses you have come up with? We would love to hear about them, please leave a comment below sharing your projects and ideas.
Please Like and Share us on social media! Also, subscribe to our email list to stay up to date on new posts! Please leave a comment telling us what you think.







BEAUTIFUL! Ya’ll are good!