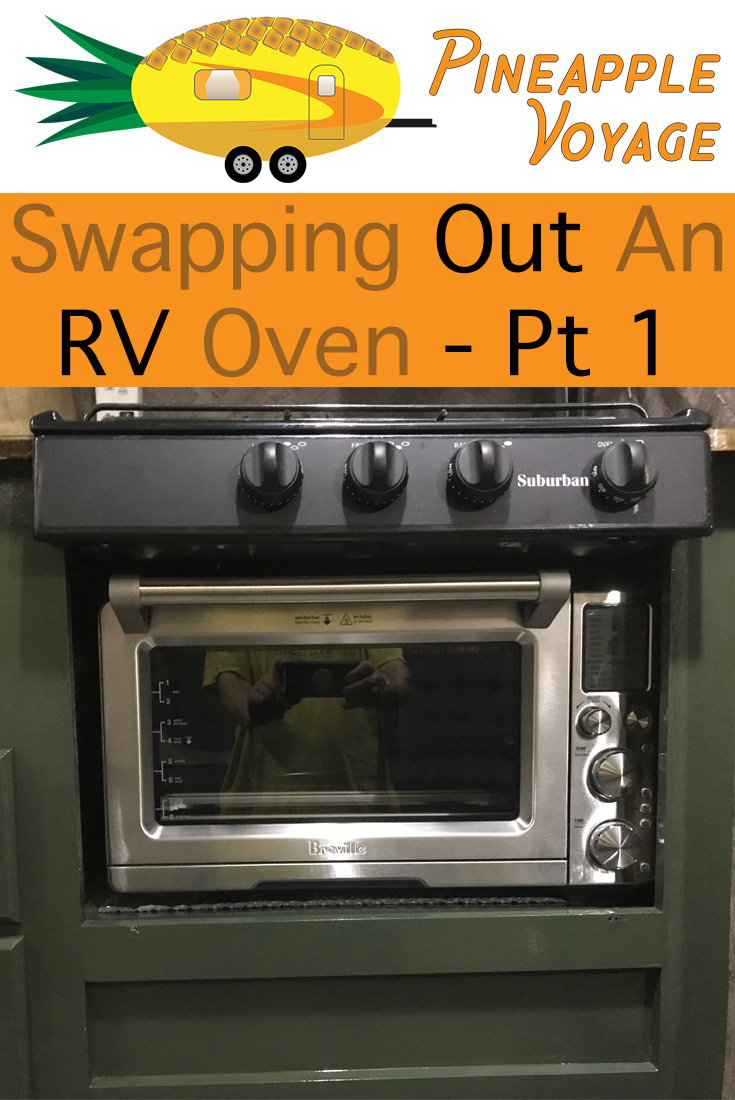
Swapping out a gas RV oven is not as difficult as you might think. Even though the stove top and oven appear as one piece, they can be separated by removing a couple of screws and detaching some gas lines. I know it sounds intimidating, messing with gas lines and such. Actually, it’s really simple, just take some

I will show you how I swapped our gas RV oven and replaced it with an electric convection oven. As a disclaimer, I am not a professional RV mechanic, electrician or propane gas expert. I do however have a good knowledge of how things work and I am familiar with working with electricity and gas lines. Of course, you have to be careful when working with gas and electricity. Please take proper precautions, turn off propane and disconnecting electricity, when doing this type of work.
Let’s Take This Thing Out!
The first part of the swap was removing the stove/oven combo from the kitchen counter. Before trying to remove anything, turn off the propane at the tank! Now we’re ready to start taking out the RV oven. With the stove cover removed, I first disconnected the gas line from the stove. Then I moved on to removing the unit. It is held in place with about 6 screws, 4 under the stove-top cover and 2 below the oven. With the screws removed I was able
Coming Up With A Plan
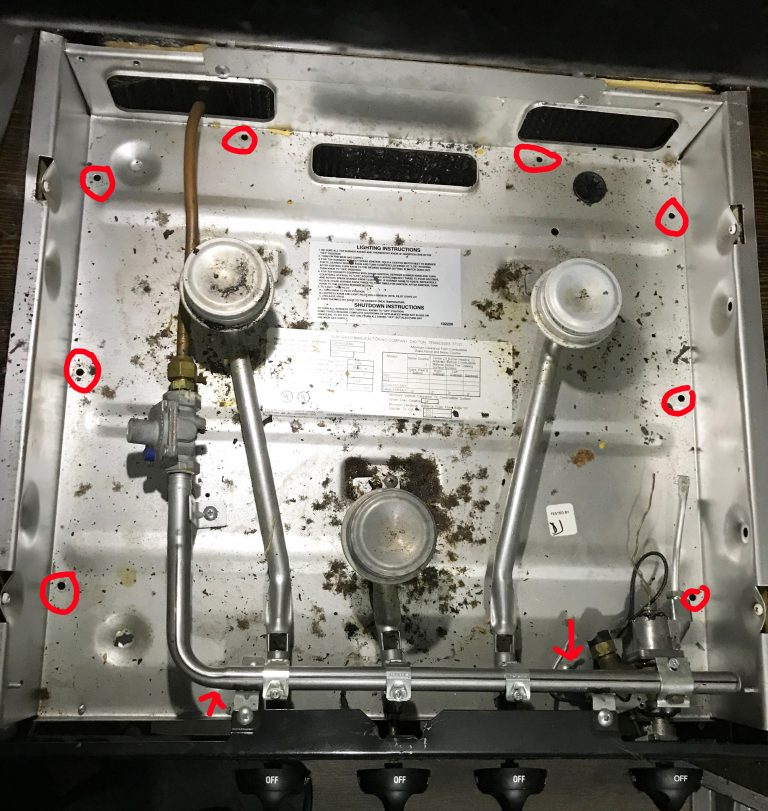
With the RV oven removed and sitting on the floor where I could work on it, I went about separating the stove from the oven. First thing I did was pull the knobs off the front of the stove and remove the cover hiding the control valves. This gave me a good look at how everything was put together and how I wanted to proceed. Removing the oven control vale from the unit didn’t appear to be a good option since I had no way to seal the holes in the line supplying gas to the valve. Leaving the valve in place was the better option and as long as the valve remained off there should be no issues with gas leaking. Attached to the control valve are 2 gas lines, a pilot light thermocouple wire
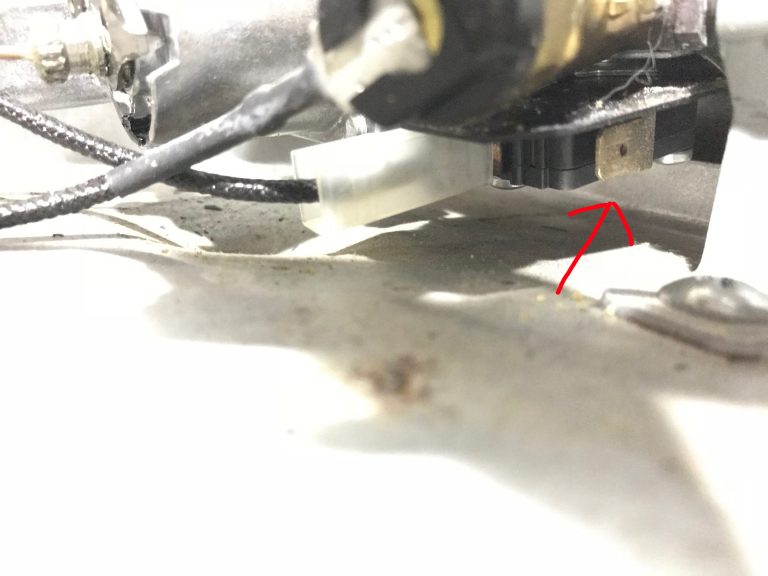
Unplug The Thermocouple
The thermocouple wire just unplugged from the valve, easy enough. I tried for a moment to remove the thermostat from the valve, but it was just way easier to cut the copper line off. If you didn’t want to cut off, you could just pull the thermostat probe out of the oven and just leave it under the stove-top cover.
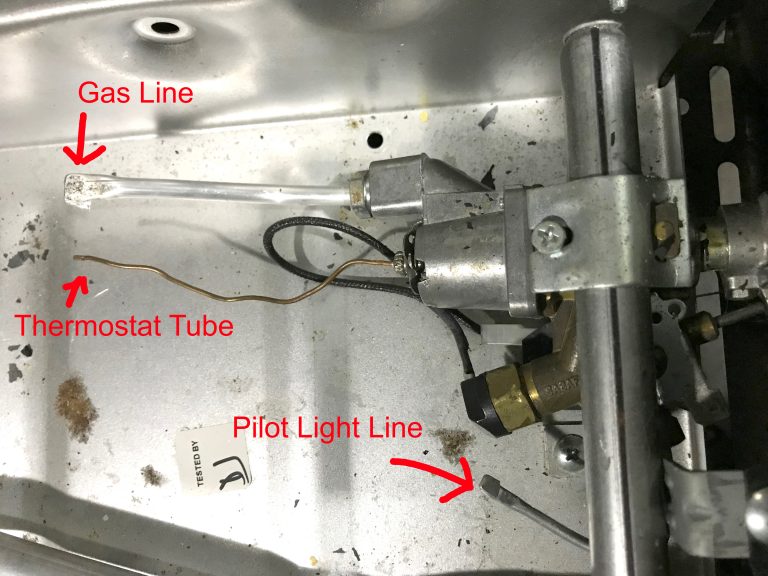
Dealing With The Gas Lines
Next was disconnecting the 2 gas lines, one for the pilot light and the other for the burner. You could get some plugs and screw them into the valve, which should provide the best seal. I chose, however, to cut a few inches of the original lines off. Then I bent the ends over with some pliers and flattened them down with a hammer. Now I just reattached these back to the control valve. There shouldn’t be any issues with gas leaking out. For gas to be supplied to the burner the pilot light thermocouple would have to be heated, I removed that. The pilot light line is only live when
Get It
Separated
Now, with all the lines detached, the RV oven and stove could be separated. This part was super easy. The 2 pieces are held together with a few screws, that were removed with the stove-top cover off. With the screw removed I was able to pull the stove off the oven. Then I reattached the control valve cover and put all the knobs back on. The stove-top was now ready to reinstall, but we had to prep for our new electric oven before that could happen.
Be sure to check out Swapping Out An RV Oven – Part 2, where I cover all the work we did to install our Breville Smart Oven Air.
Please Like and Share us on social media! Also, subscribe to our email list to stay up to date on new posts! Please leave a comment telling us what you think.

How is your oven working out so far? I am hoping to put mine in a future van build as I don’t currently use it at home but would LOVE a way to make some lasagna or muffins on the road.
I had planned to put mine on a slider/pullout for when it’s in use but if I can build it in like you have and not have any issues with heat/burning down my van, I’d prefer that.
We are not in the TT anymore, but it worked really well. I never felt I had an issue with heat. We did have the refectix on all sides and the bottom. The only issue was trying to run the oven on the 30amp service. I ended up running a 20amp pigtail hanging out the bottom of the trailer and running a cord to the 20amp shore power socket. It could be run on 30amp service but you can’t run much else while it’s on.
Did you have any issues with the stove top not staying lit
I have the same combo and separated it
We didn’t seem to have any trouble. I have noticed in our motorhome that since I installed our dishwasher under the stove. If you mess with the dishwasher door the flame will flare a little bit. And one day it went out while on low, not sure if the dishwasher door did it or not.
I removed the oven section from our truckcamper. I kept the stove top and the outer frame of the oven to reinstall them. I took the glass out of the oven door and replaced it with wood so I could reuse it. The stove top works like normal and I use the old oven section to store towels.
I am planning on removing my gas oven and replacing with an electric convection oven that I have been using most of the summer. I can’t get the oven to light and when I did last year it didn’t work well. I have found, that when the electric oven was on and the AC came on it would flip the main breaker, so I plugged an extension cord into the outlet on the pole and not plugged into a TT outlet inside, I ran extension cord into the TT where the power cord came in and would plug the oven into the extension cord while using the oven, thereby bypassing the TT electrical system completely. This works for me as a full timer.