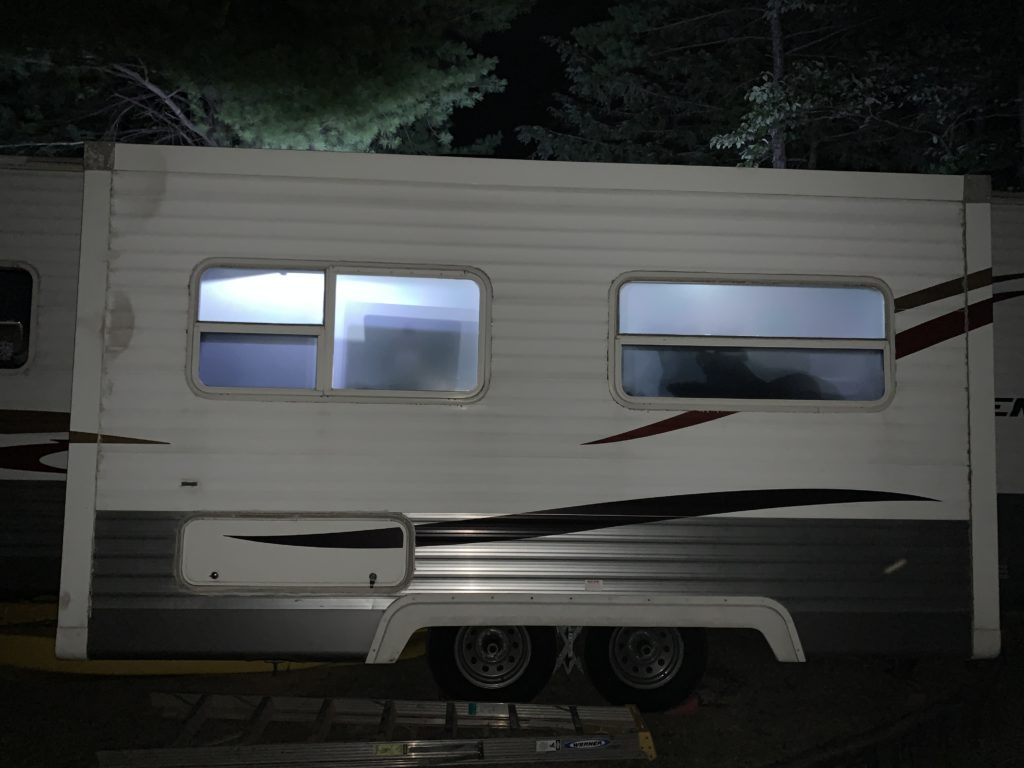
Would you like to cut down some of the sun’s heat from coming through your RV windows? Do you wish you could have privacy in your RV without the use of curtains, shades or blinds? Tinting your RV windows may be your solution.
The Problem
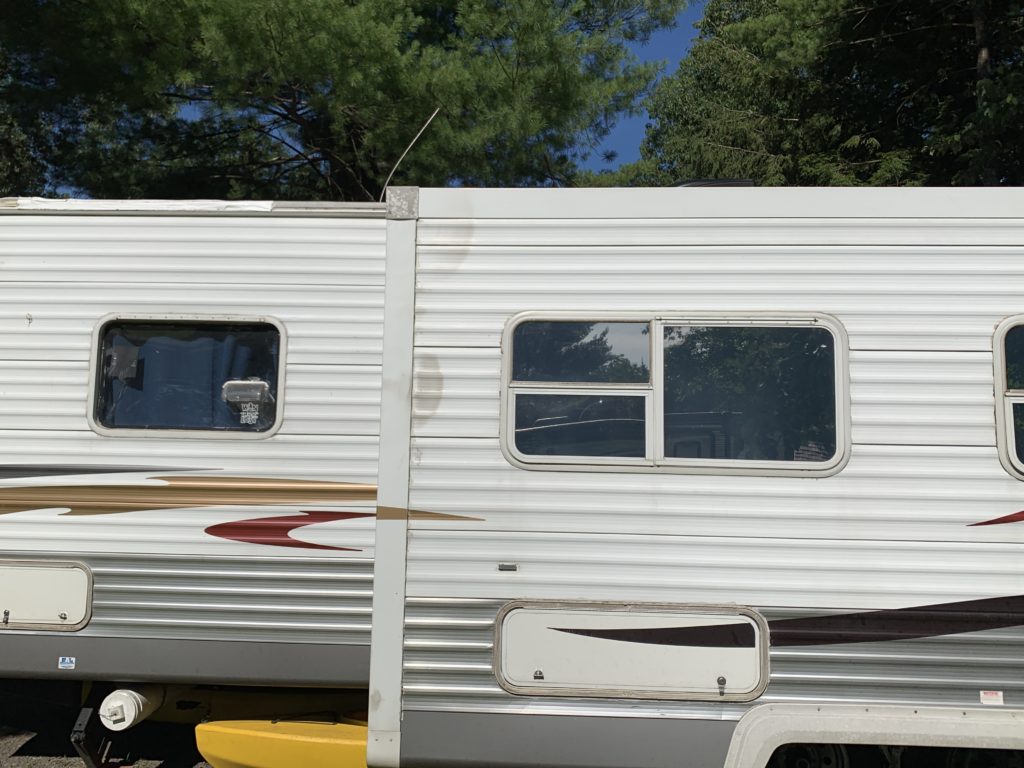
We were using Reflectix on our windows to block out some of the sun’s heat. Also, we were using some burlap coffee bags for curtains. These bags looked pretty nice on the inside but looked terrible from the outside. They were also next to impossible to open to let light in. We finally got fed up with this setup and decided to change things. We wanted to do away with our curtains, but we also wanted to have our privacy at the same time.
Finding A Solution
After talking to our friends, the Andersons, about it. They directed us to some heat-reflecting window tint they used on their RV. It has a mirror look on the outside during the day and makes a big difference in the amount of heat that comes through. But at night you can into the RV perfectly. This addressed part of what we wanted to accomplish.
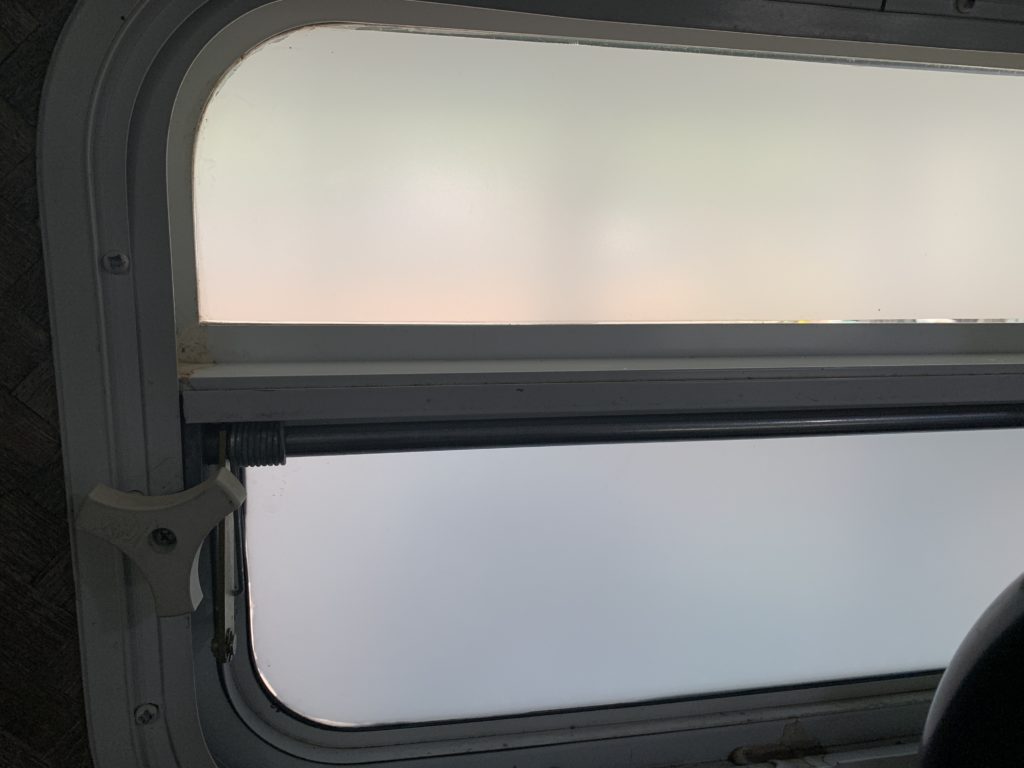
But to address the night time privacy, the only good option we could come up with was a frosted tint. This allows plenty of light in but at night gives you good privacy inside. The only way to really see anything is for it to be right next to the window. The downside to this is that you also can not see out the window. But our windows were always covered with curtains anyhow.
The Window Film
So, we went out and purchased a roll each of Gila Heat Control, Platinum window film and Gila Privacy Control, Frosted film. We also picked up an Installation Kit. Now on to tinting the RV windows.
Installing The Frosted Tint
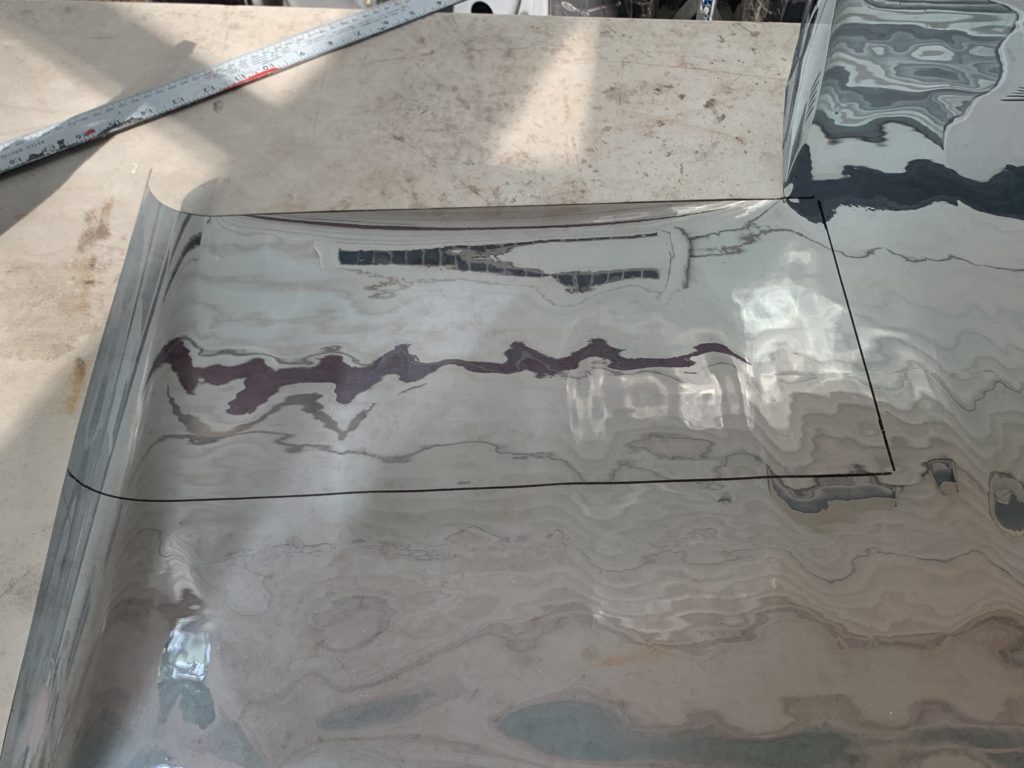
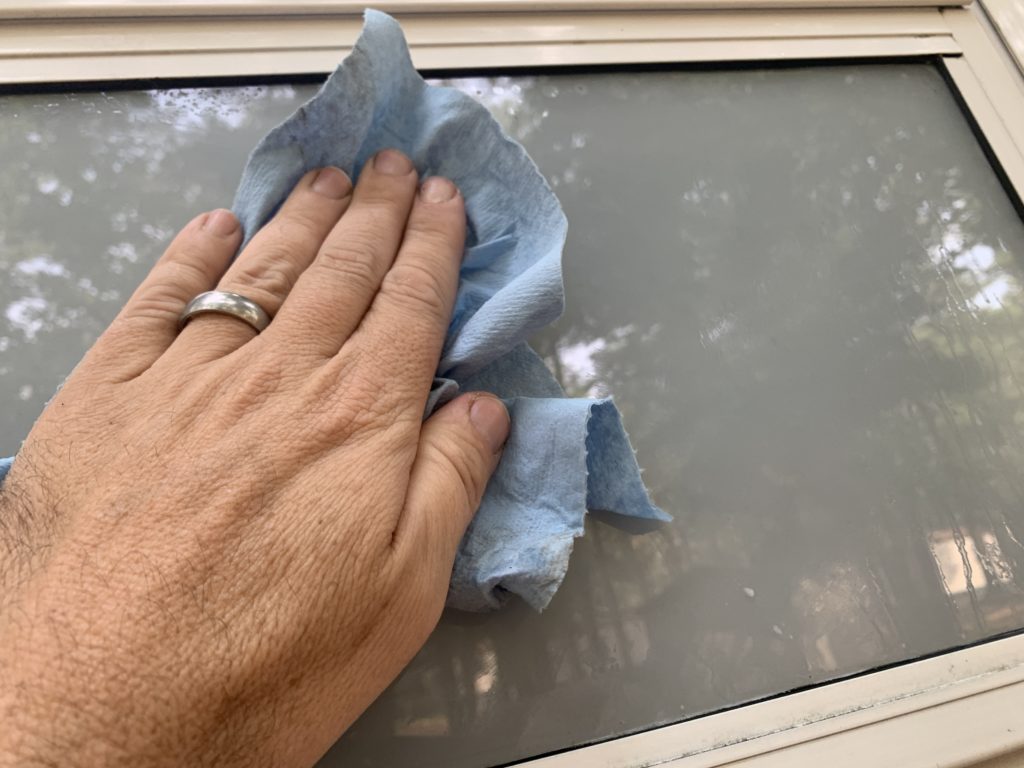
I started with the inside of the windows. This is where I applied the frosted tint. The first step was measuring the window and cutting out a piece of film that was a little bit bigger than the window. Next was thoroughly cleaning the window. I had to use a razor blade on some of the windows to remove some paint from them. You want to use a lint free cloth for this job.
Get It Separated
Now that the glass is as clean as possible. Take two small pieces of tape and put them on the front and back side of the window film. Making tabs with them to hold on to. Quickly pull the two pieces apart to separate the clear adhesive cover from the film. It usually took me several tries before I would get them to separate.
Spray It Down
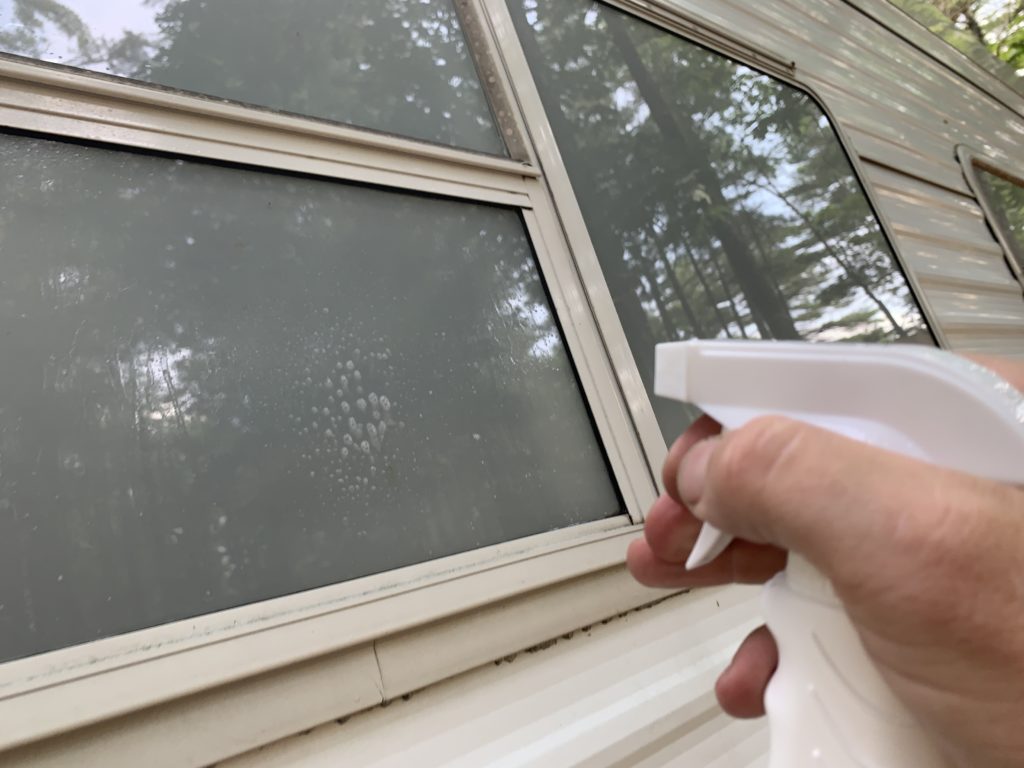
When I got the tow sides separated a few inches I sprayed the adhesive side of the film with the spray included in the installation kit. Then I sprayed the window down really good. You want the window completely wet.
Apply The Film
Now I took the end of the film I separated and stuck it to one end of the window. With everything sprayed down it will slide around very easily so you have to hold it in place. Then continue to peal the remainder of the backing off while sticking the film across the window. After the film is completely on the window, take the squeegee and work the wrinkles and bubbles out of the film until it is completely smooth. At this point, if any dirt for dust is under the film it’s pretty much stuck there for good.
Trimming The Film
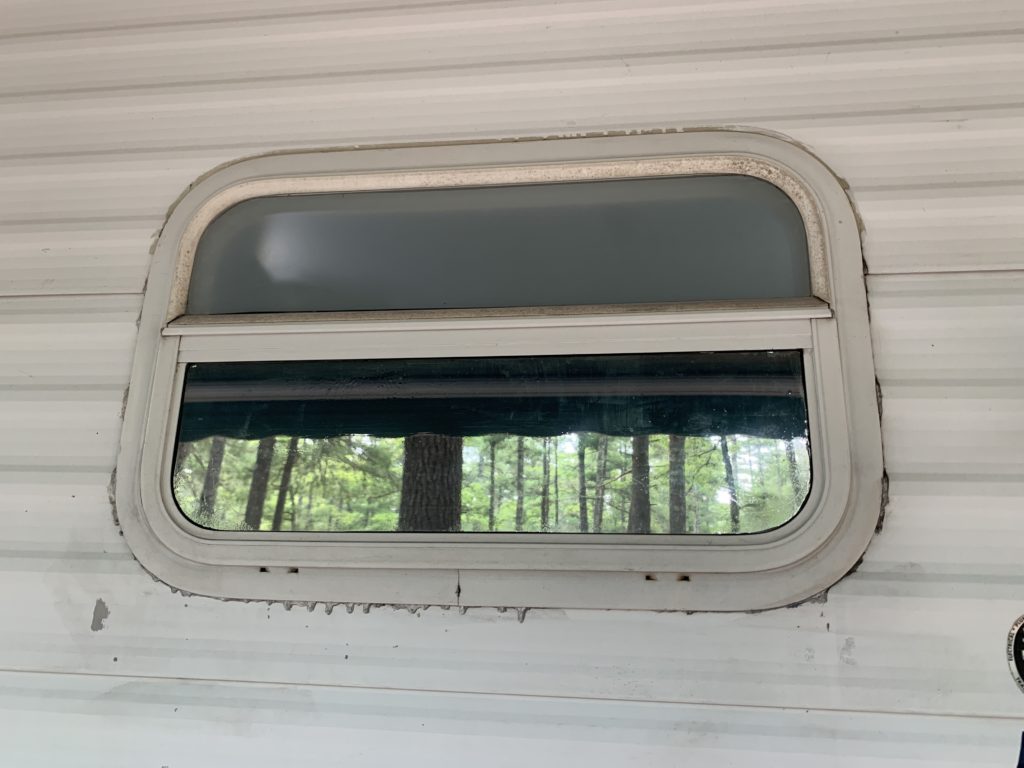
After I got the film as smooth as possible, I then took the trimming tool and trimmed off the excess film. I sometimes had to squeegee it some more after trimming it.
The frosted window film was fairly easy to apply and trim. It is pretty thick, so it resists tearing. But is still easy to trim. The more windows I did, the better I got at it. A good many of my windows were left with a few bubbles. With the film being frosted it doesn’t stand out though.
Installing The Heat Film
I installed the heat reflecting window film on the outside of our RV windows. The steps to install this film were the same as the frosted film. The only difference was that being outside and in the heat. I had to use more spray to keep the window wet. It tended to evaporate pretty quickly. Another difference was this film was a good bit thinner too. If you weren’t careful trimming, it would tear.
Conclusion
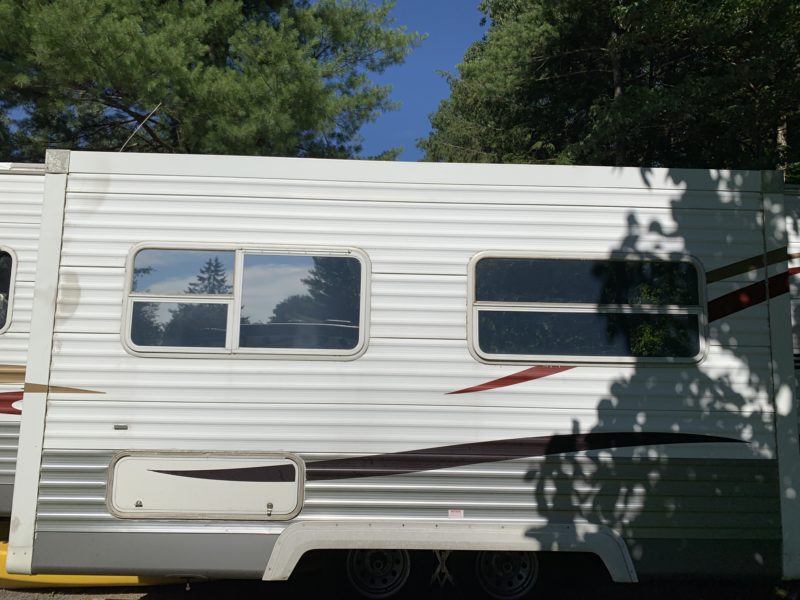
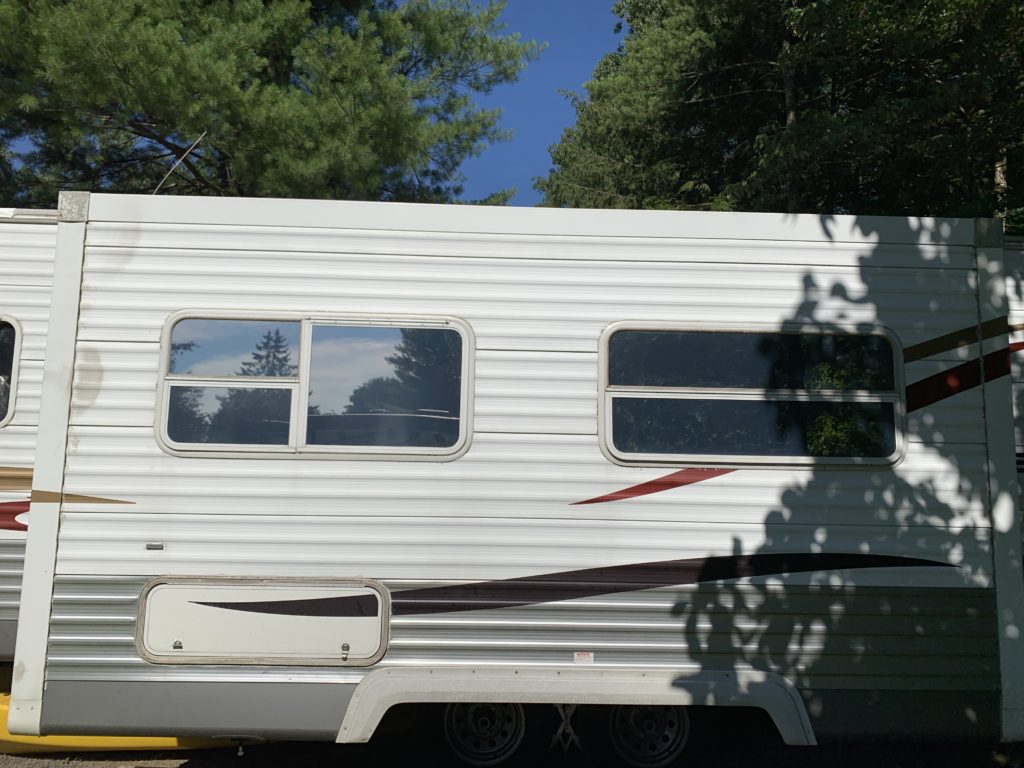
We love our new window look! We now have a lot more light in The Tin Can. It also makes the RV seem a lot bigger with the curtains gone. Also, with the reflective tint, the windows do not appear to be frosted from the outside. As a side note, I did not coat our bedroom windows. We have different curtains on them, and it gives us the ability to see out both sides of the RV. I may go back and put the heat tint on them later.
Though tinting RV windows is a little meticulous. It is not a hard job to accomplish. The main thing is to take your time and be patient.
Please Like and Share us on social media! Also, subscribe to our email list to stay up to date on new posts! Please leave a comment telling us what you think.


