A lesson in replacing a slide floor.
Doing a renovation yourself is rewarding and at times challenging. Like any renovation, you have dreams of applying paint colors, swapping out various fixtures for better ones, and other projects. All the while, trying not to think of the problems you may come across in the process. This is especially true
Disclosure: This site contains affiliate links. Which means we may receive a commission, at no extra cost to you, if you purchase a product or sign up for a service on this page. The products and services on this site are mentioned because we believe in them and feel that they may be of value to you.
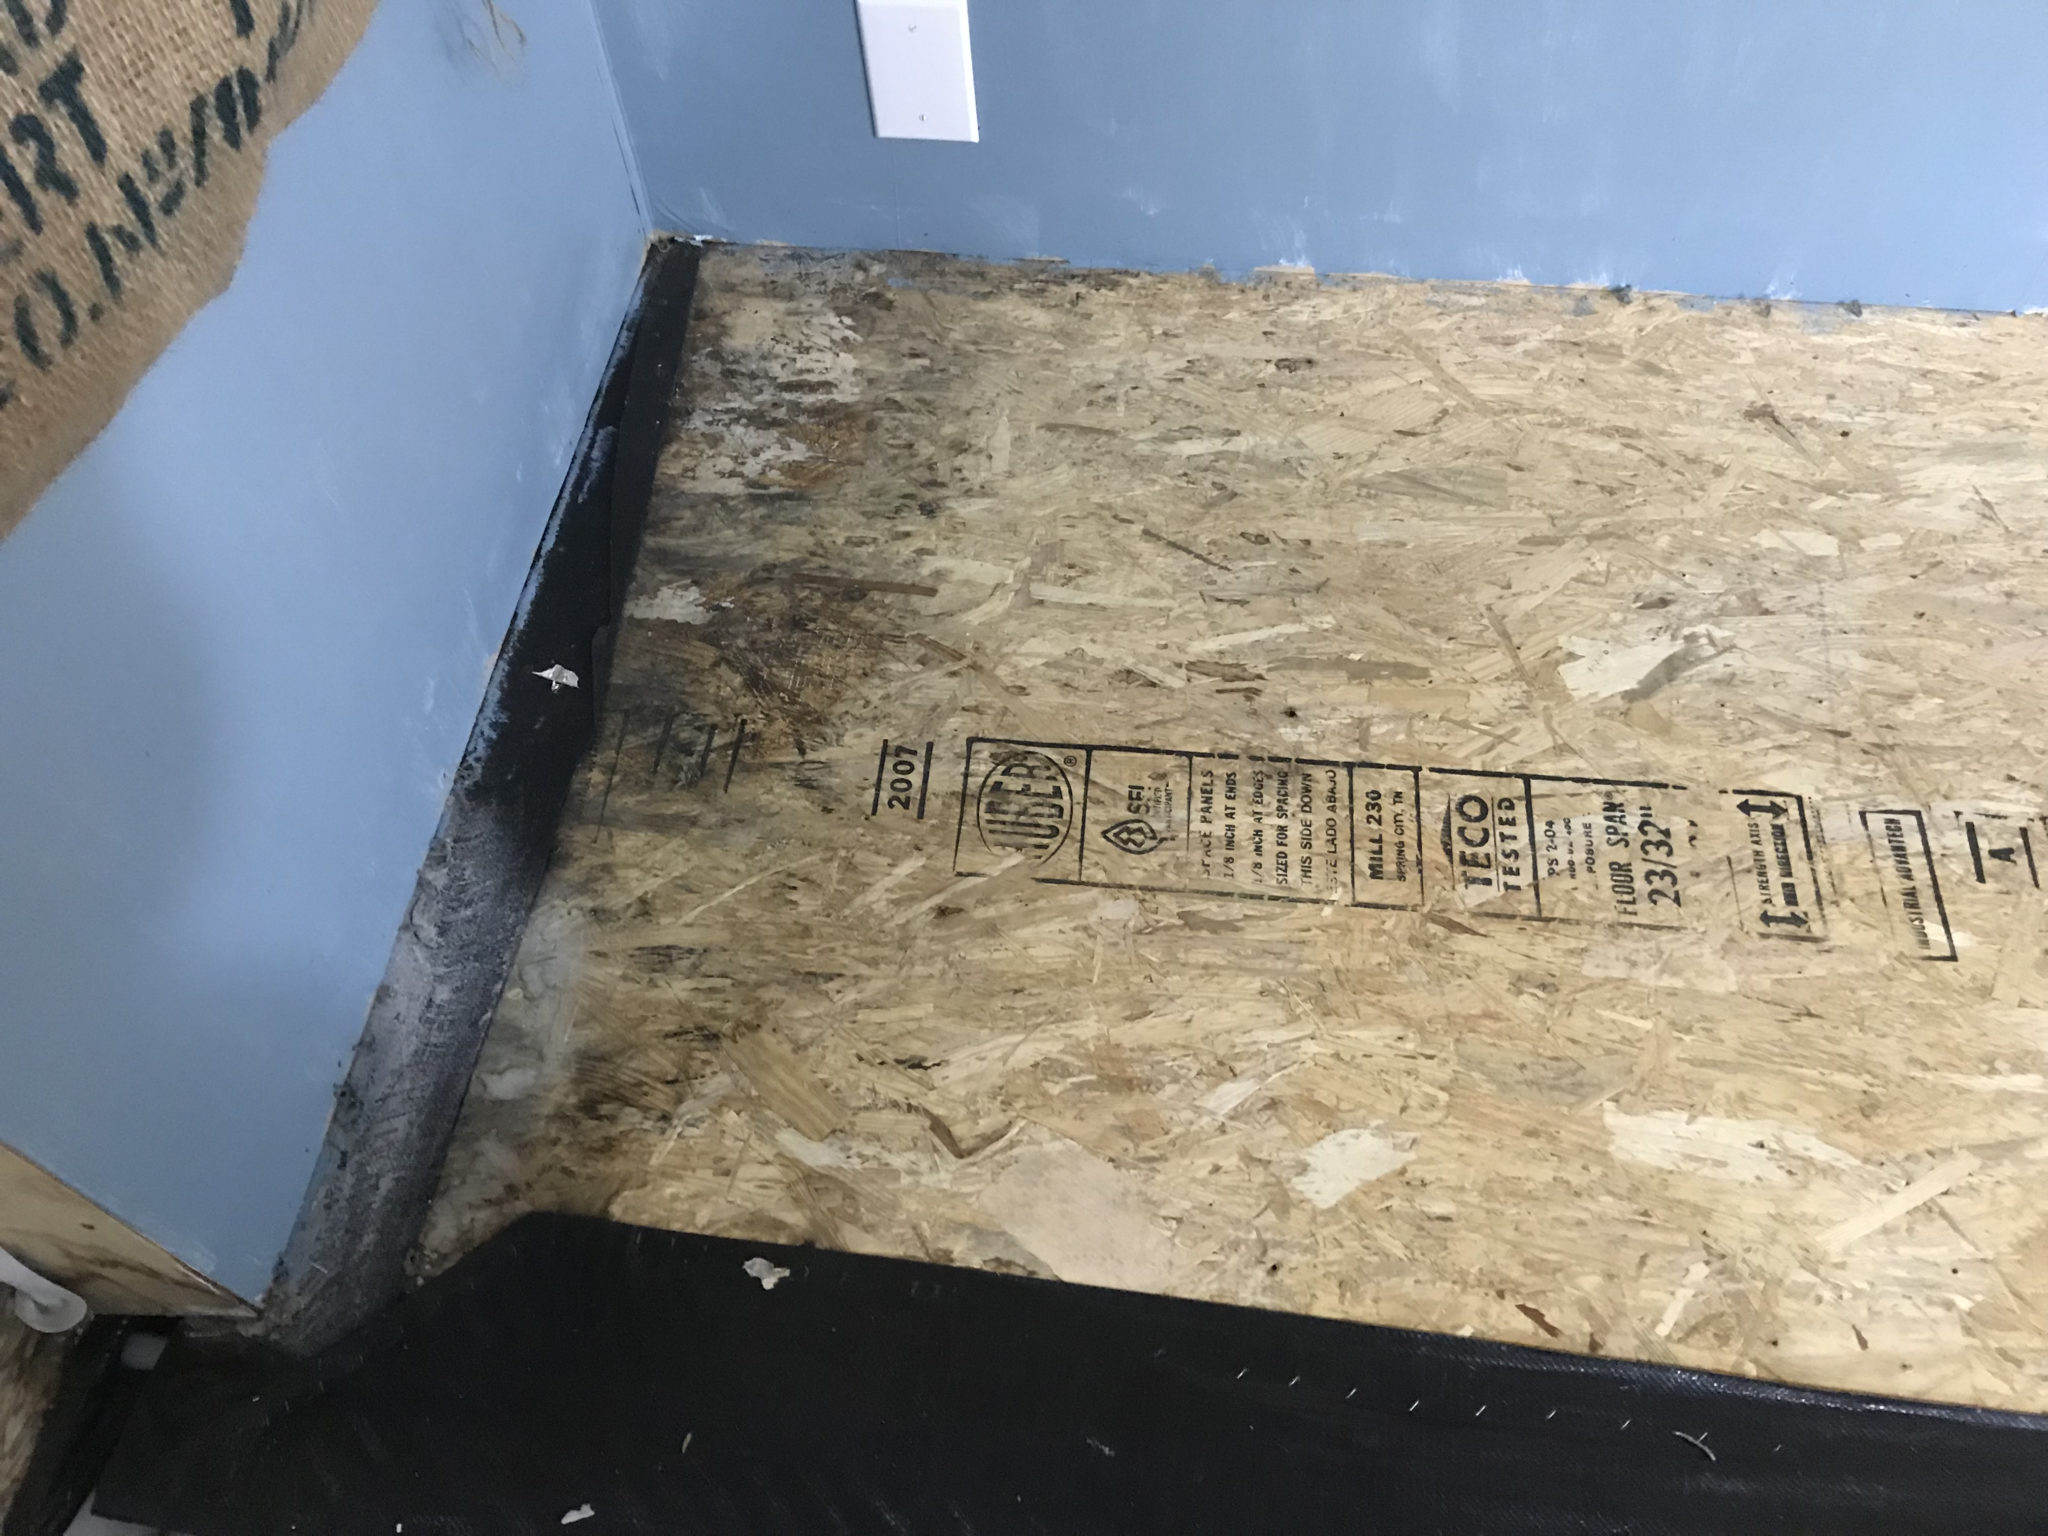
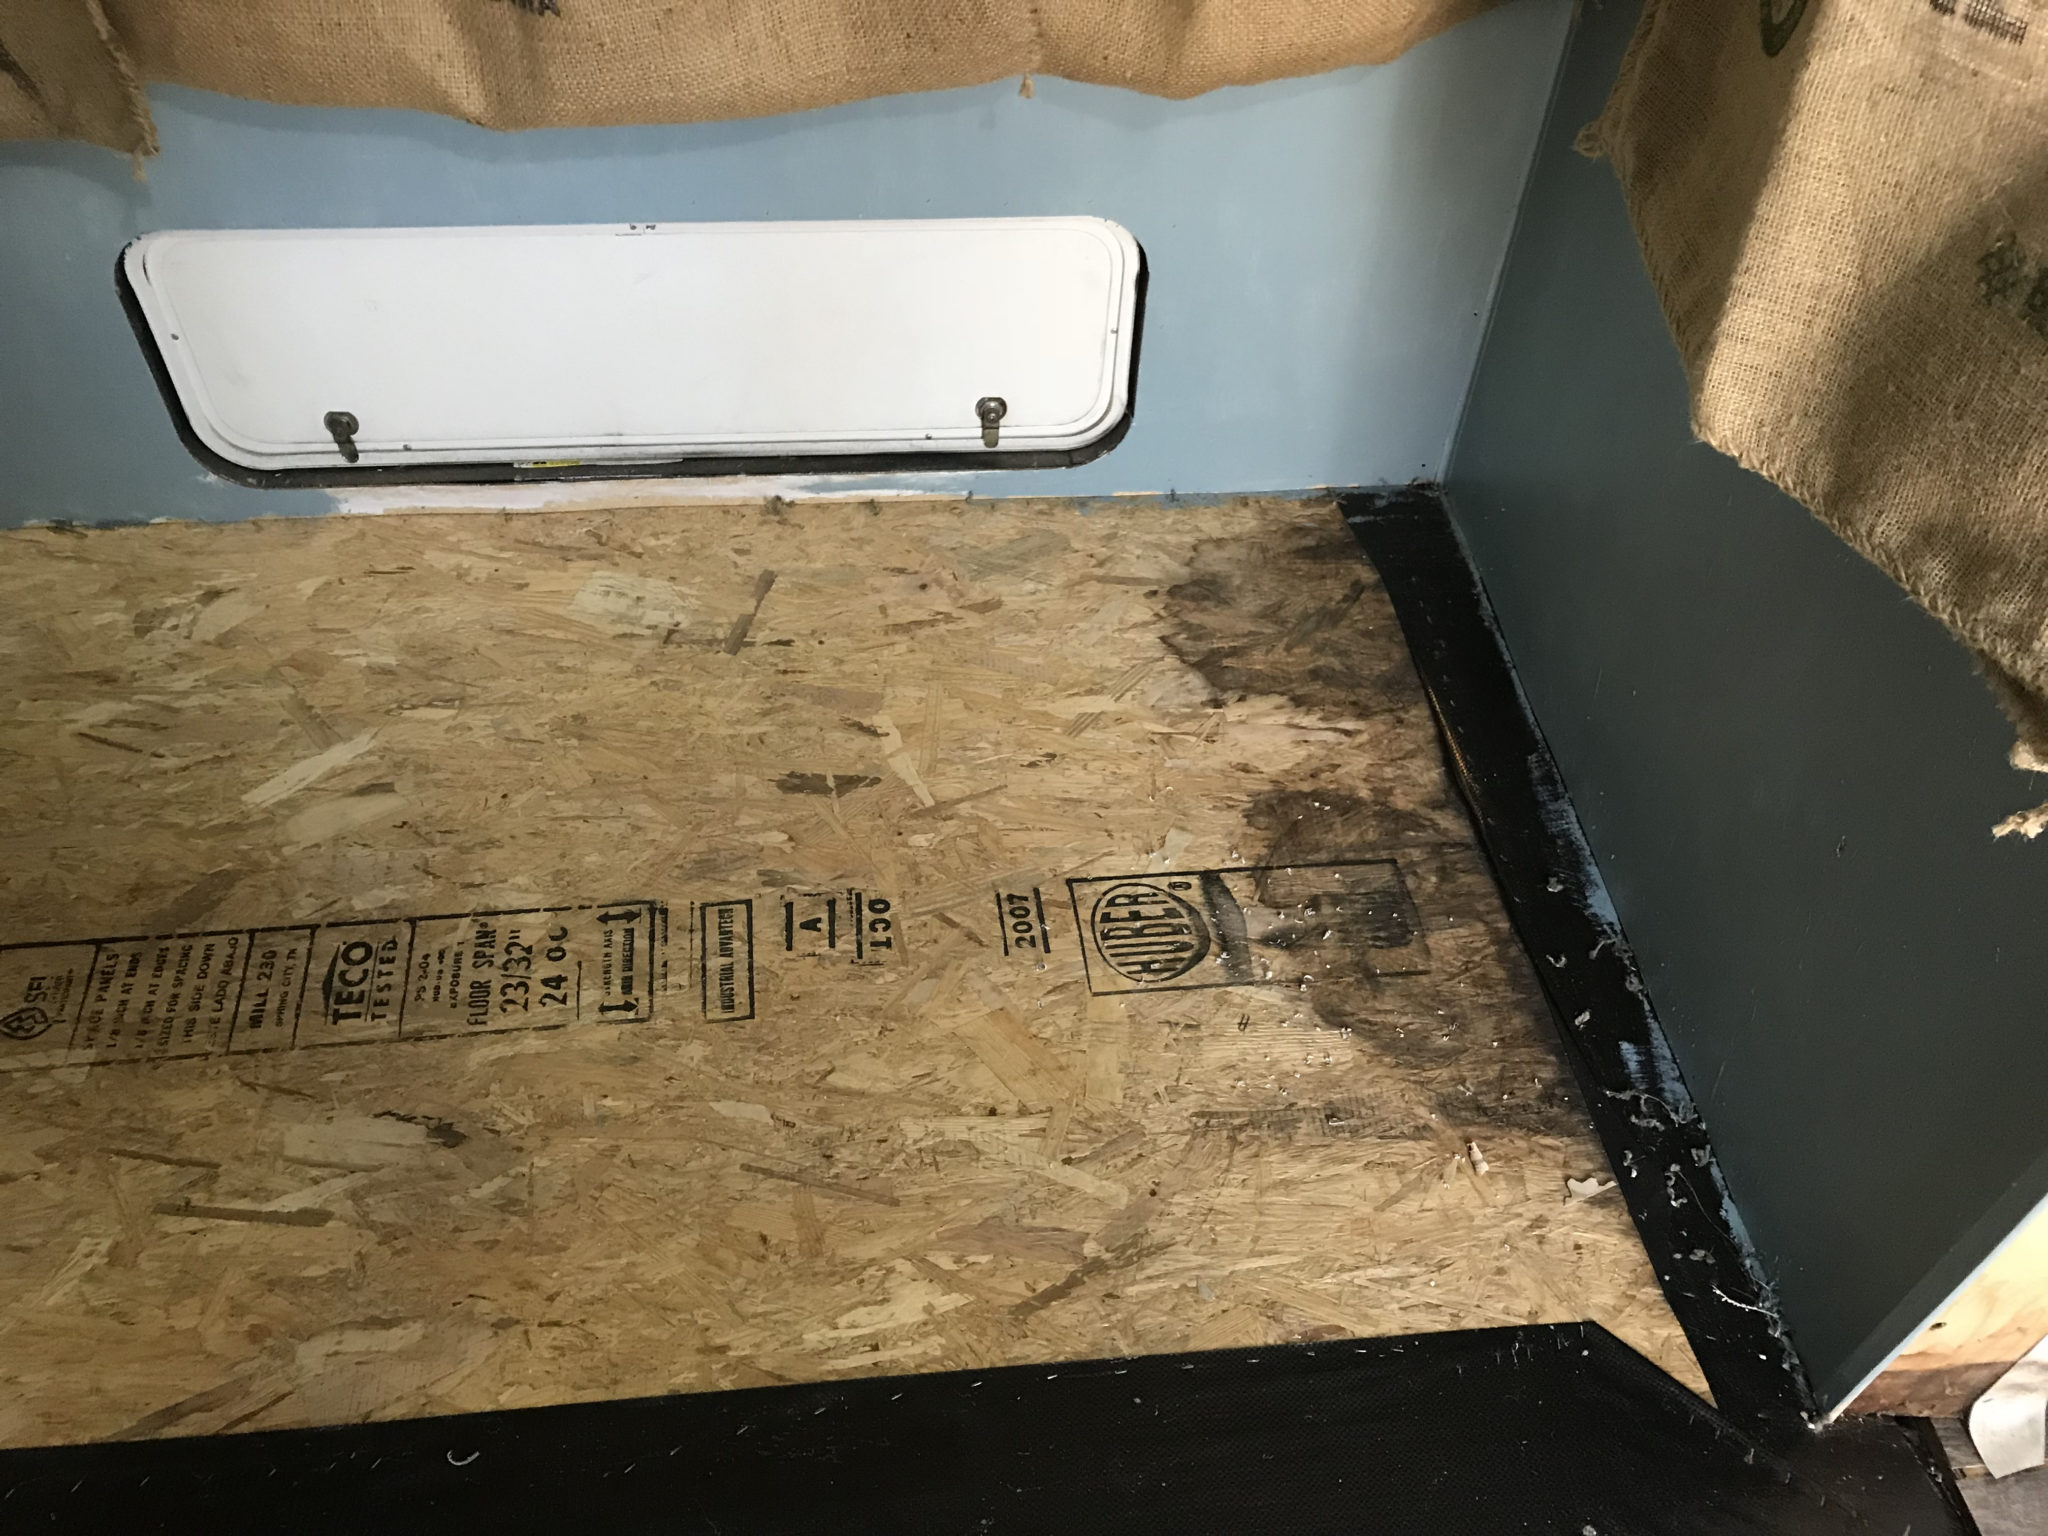
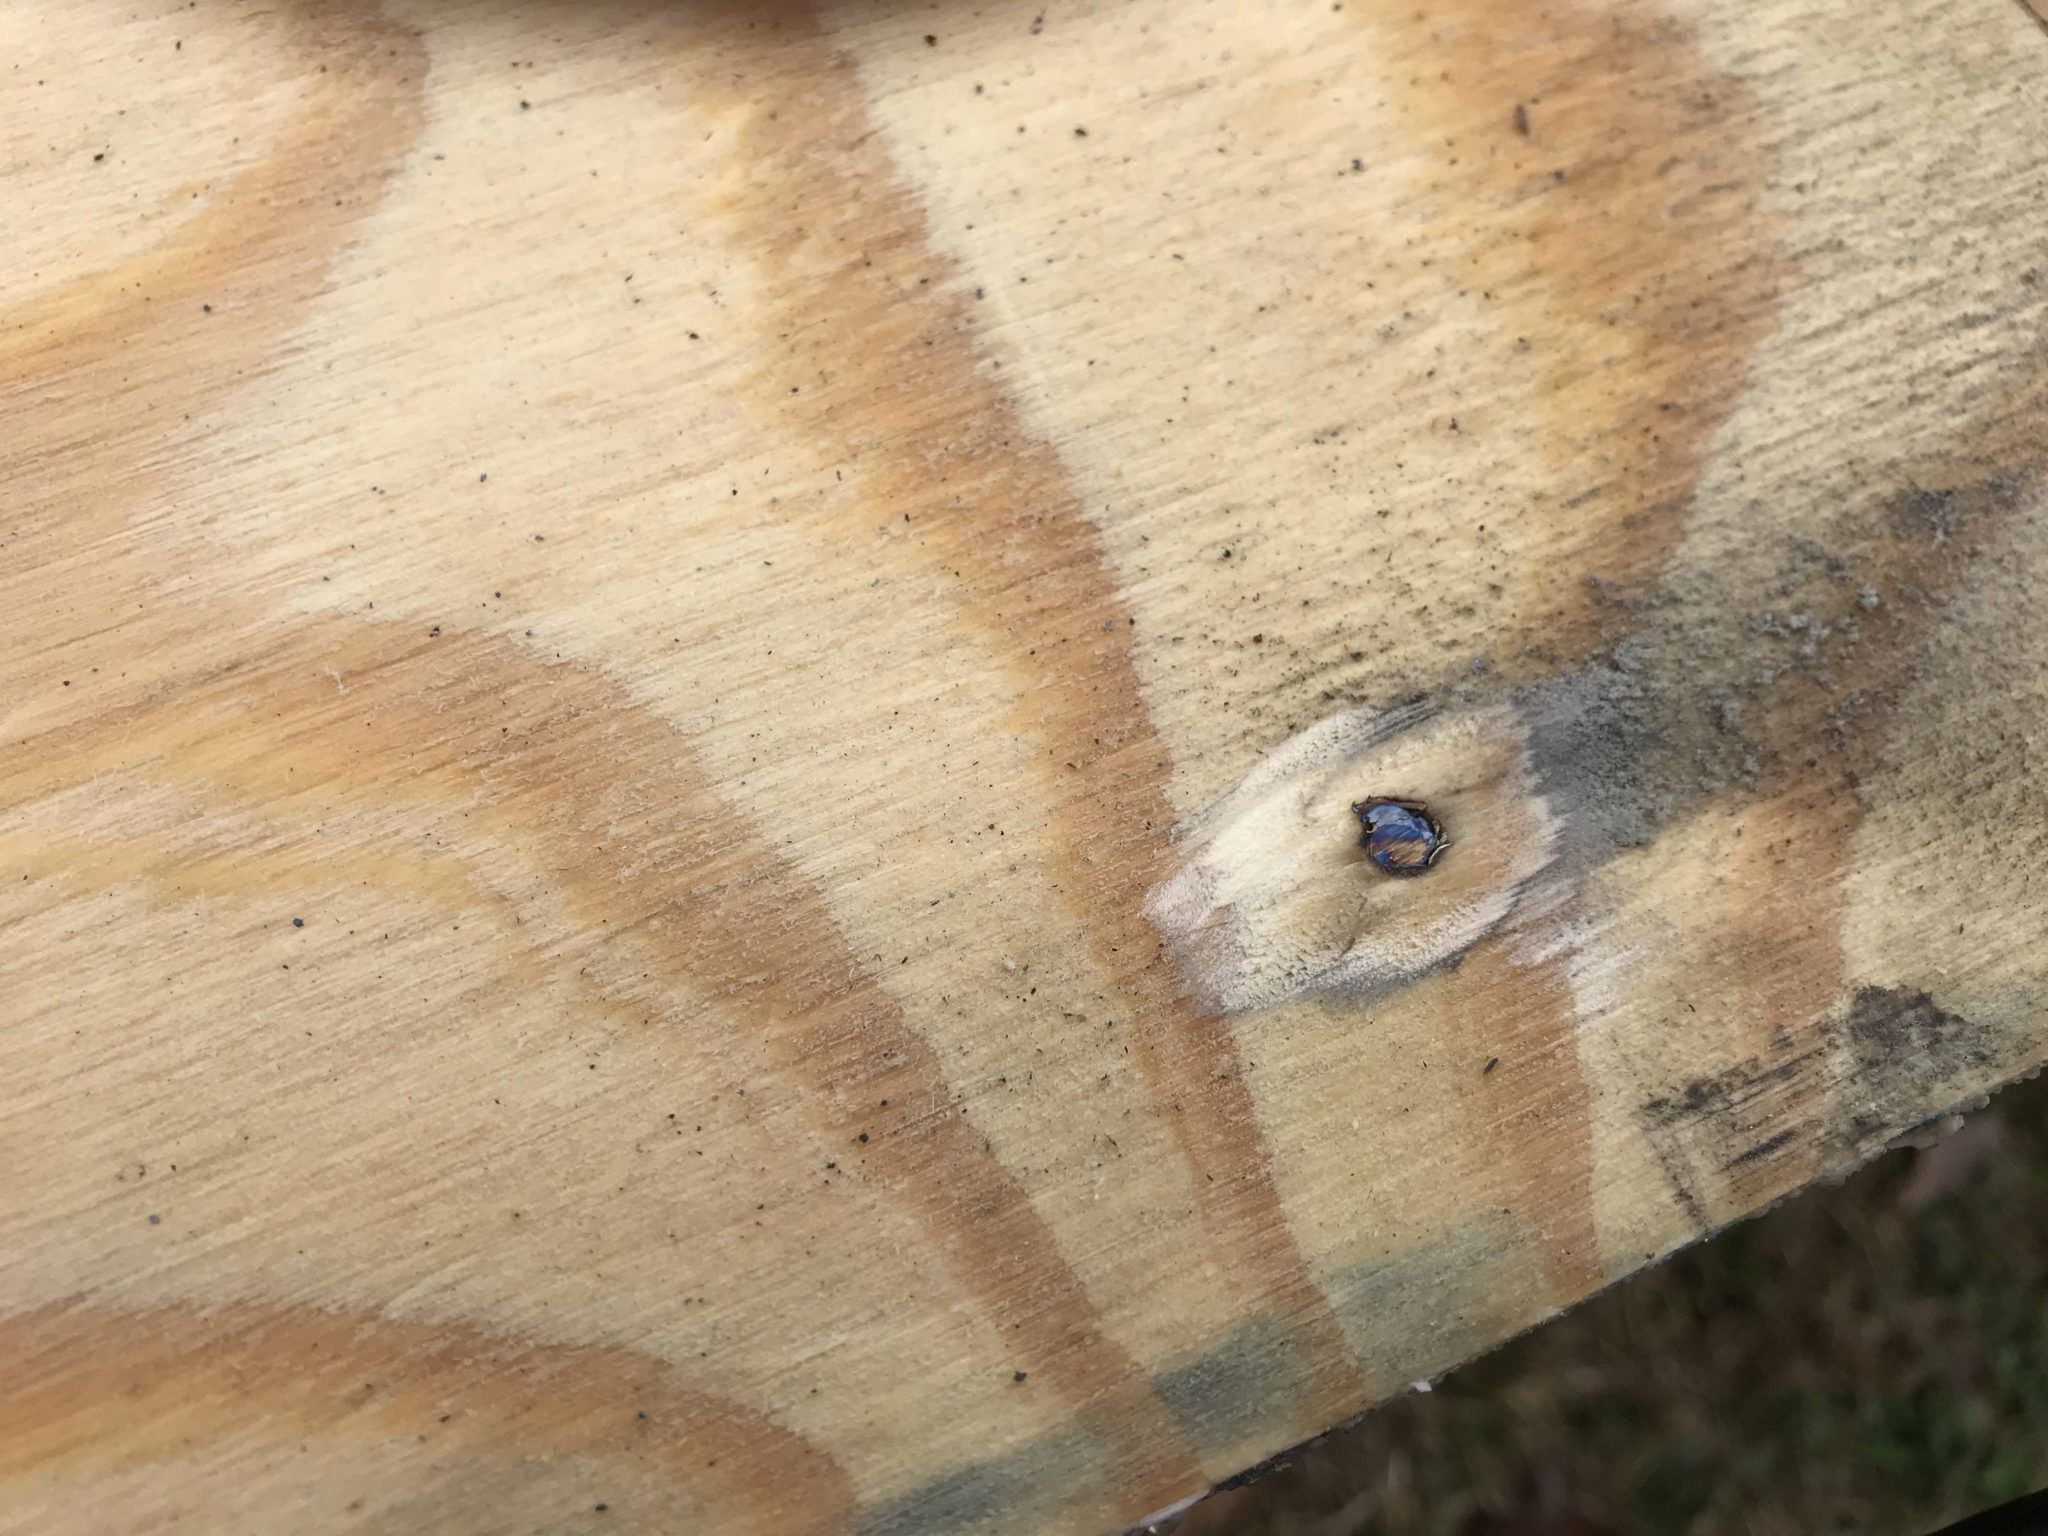
When I finally got around to ripping out the dinette and sofa. Everything came out fairly easily. I had gotten the dinette mostly out and found a soft spot in the floor. Ugh… my fear came true! We have a rotten slide floor. Not just one side of the slide floor, but both.
My daddy was raised during the Great Depression. Money was tight and you didn’t just hire someone to do work that you were capable of doing yourself. He instilled these values in me long before the days of YouTube. So I got to work and began researching how to fix it. I decided fairly quickly that the easiest thing to do was to replace the entire slide floor.

The left side of the rotten slide floor. The right side of the rotten slide floor.
We started our renovation in August. We began by concentrating on painting, replacing countertops and fixtures. Basically, we were designing as we went, so work was slow going. With my full-time job, I could only work on it a few days of the week. Thanksgiving and Christmas were coming quickly and it was getting colder. So just like the Procrastinators Anonymous meetings that I had been meaning to host, replacing the slide floor got postponed.
The Process Begins
February came around quickly and we were scheduled to attend the Fulltime Families “Under The Sea” rally in March. The trailer had to get finished and soon. In my research, I had read how someone had fixed their slide floor by attaching a piece of plywood to the existing floor. I decided to use the same method. You see, the slide floor is 3 foot 8 inches wide by 12 foot 3 inches long and 23/32 (3/4) inch thick. I couldn’t just buy one sheet of plywood and be done. Two pieces of plywood would have to be used and I would need to join them together somehow. Again, I read how someone had taken a router and milled down a lip to half the thickness on two pieces of plywood, then fastened and glued them together. So I purchased two pieces 23/32 inch BCX exterior grade plywood. I chose the BCX over the pressure treated because I read that in order to glue pressure treated wood, it needed to be dry. Which a lot of the time when you buy pressure treated, it is still pretty wet.
Milling The Plywood
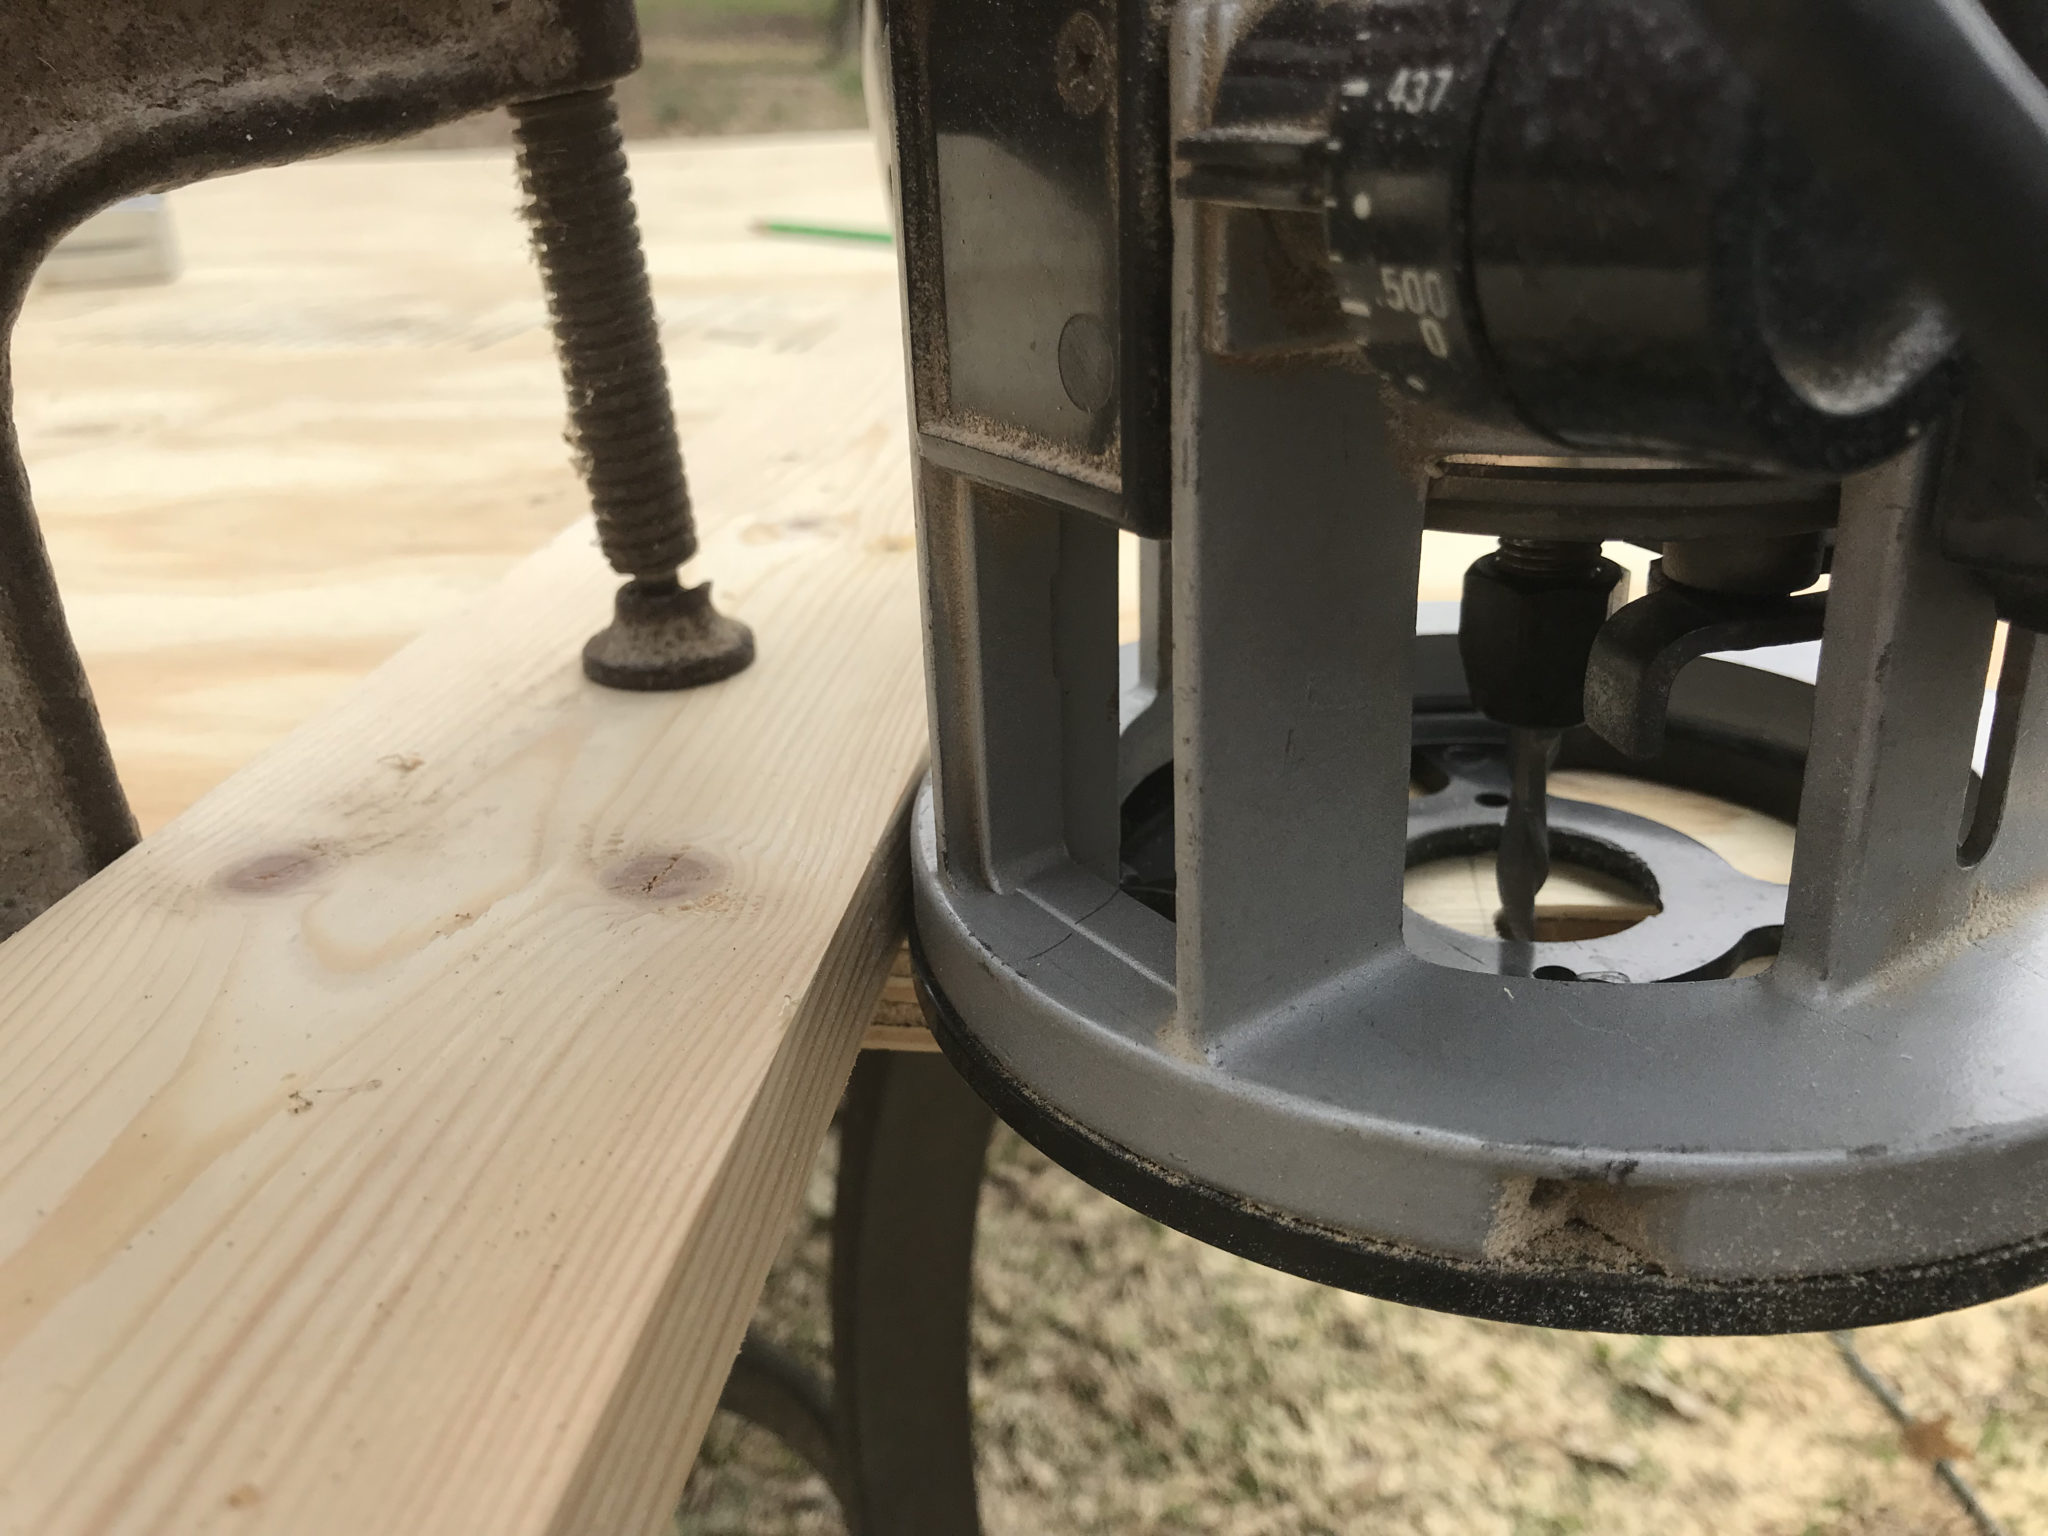
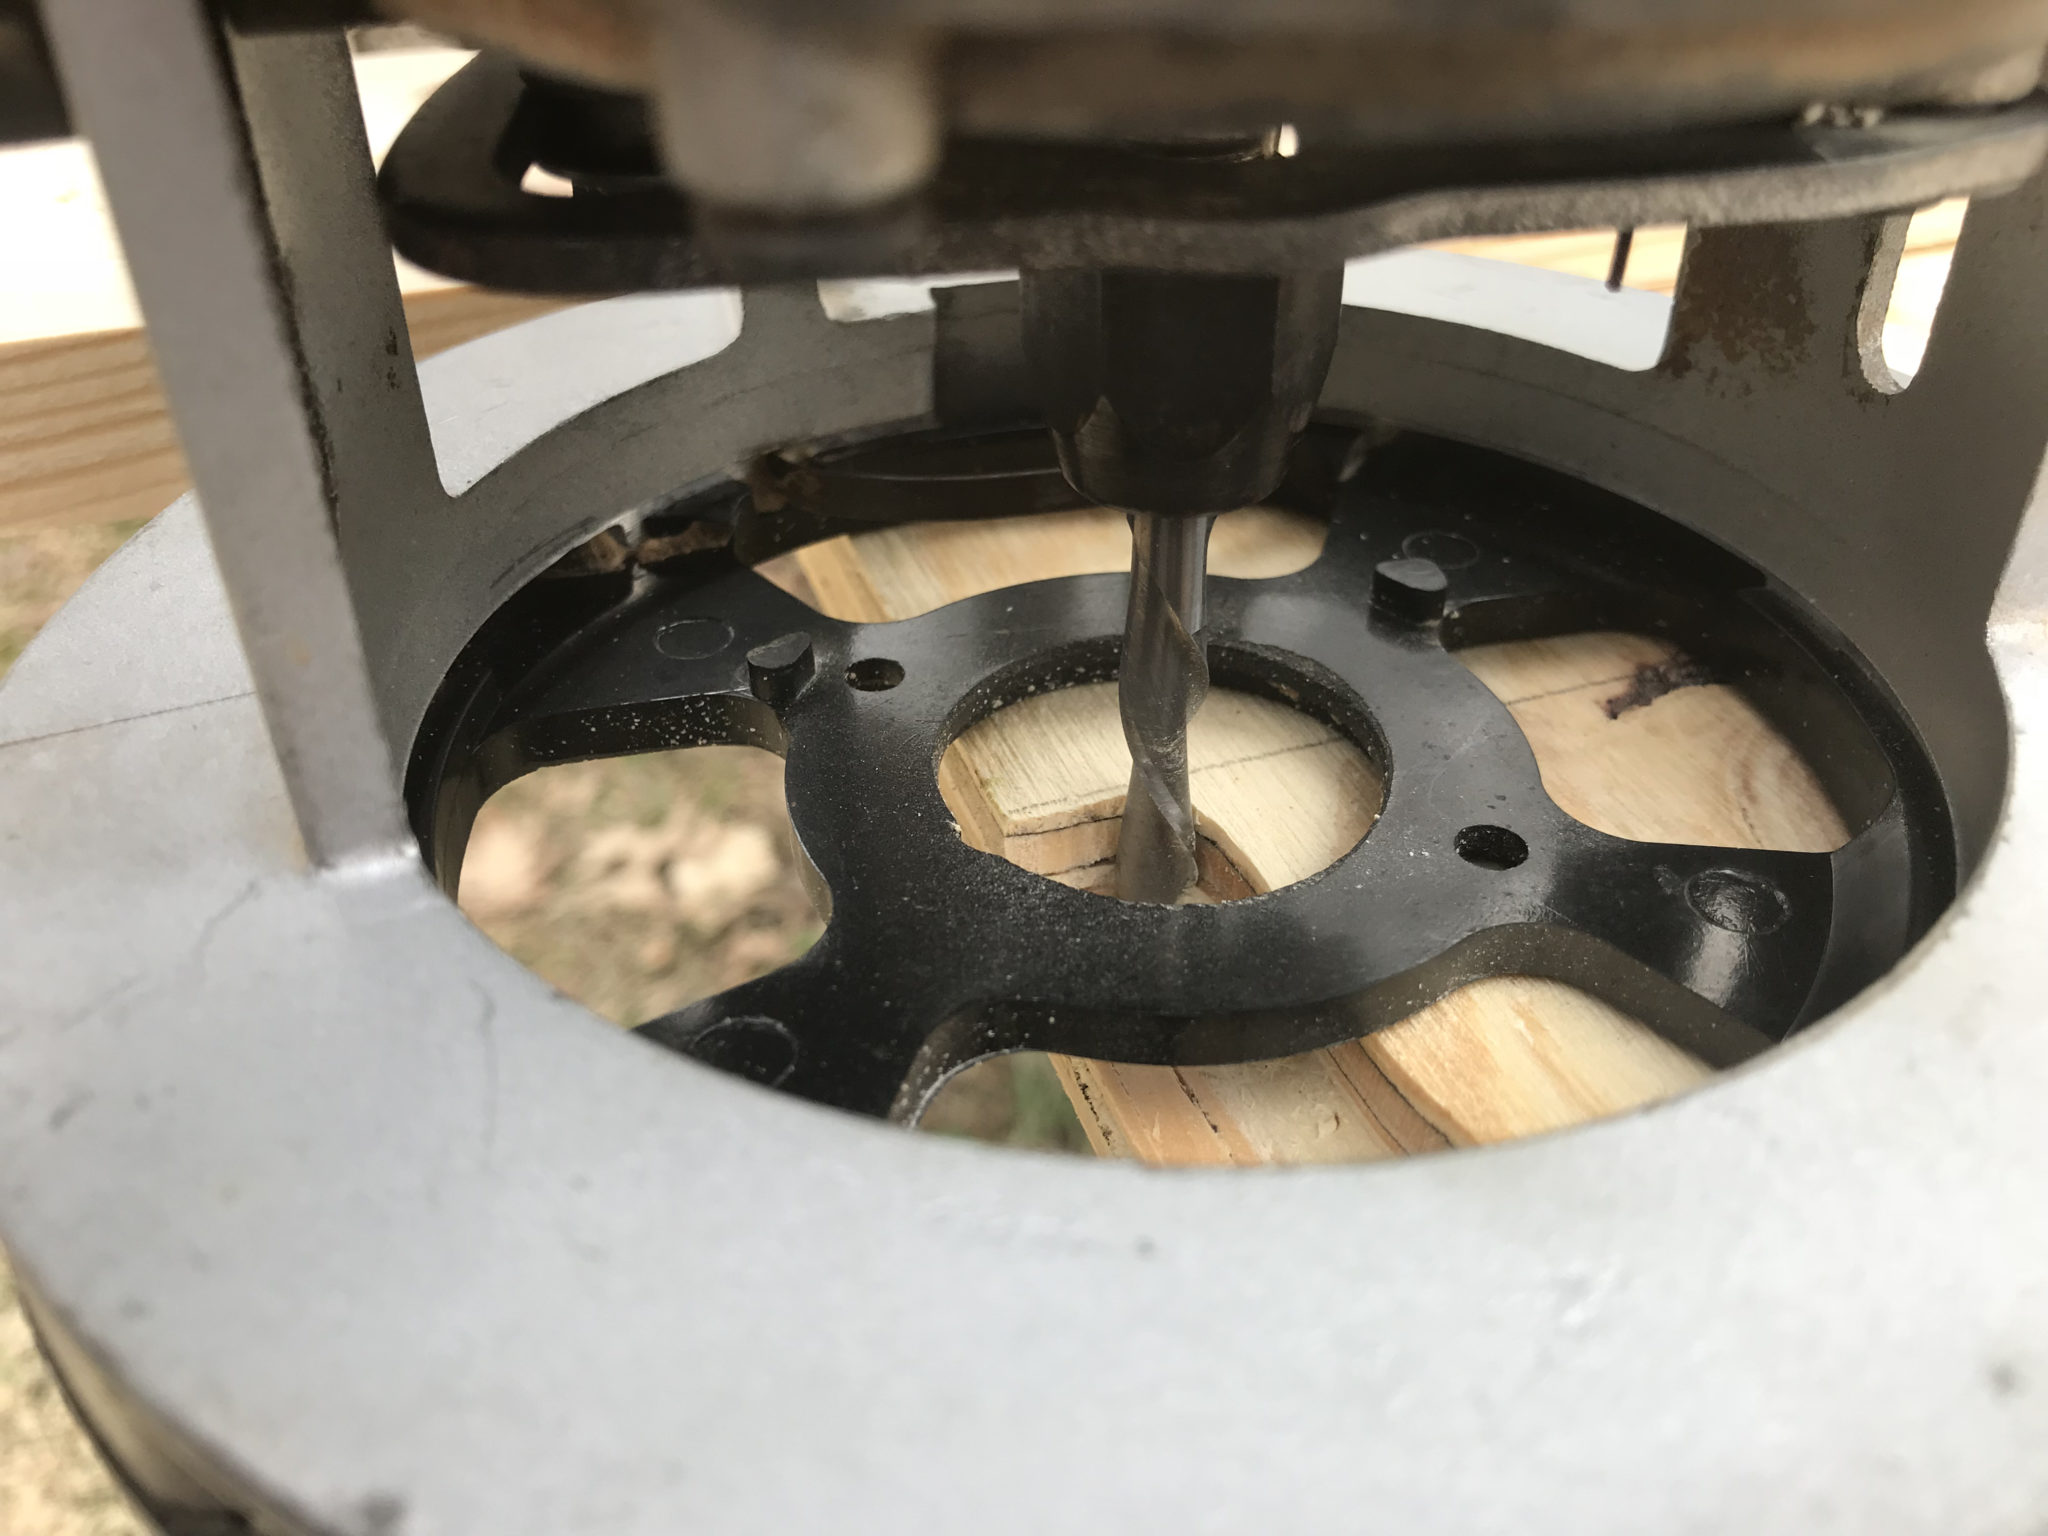
I started the morning by measured out a 6-inch lip plus the additional distance from the edge of the router bit to the edge of the router base. There I clamped a board across the piece of plywood to use as a stop for the router. Set the depth of the router bit, got a chair and my safety glasses and started milling. The width of my router bit is only about a ¼ inch so milling two 6
The stop in place. Router and bit. The lip milled down.
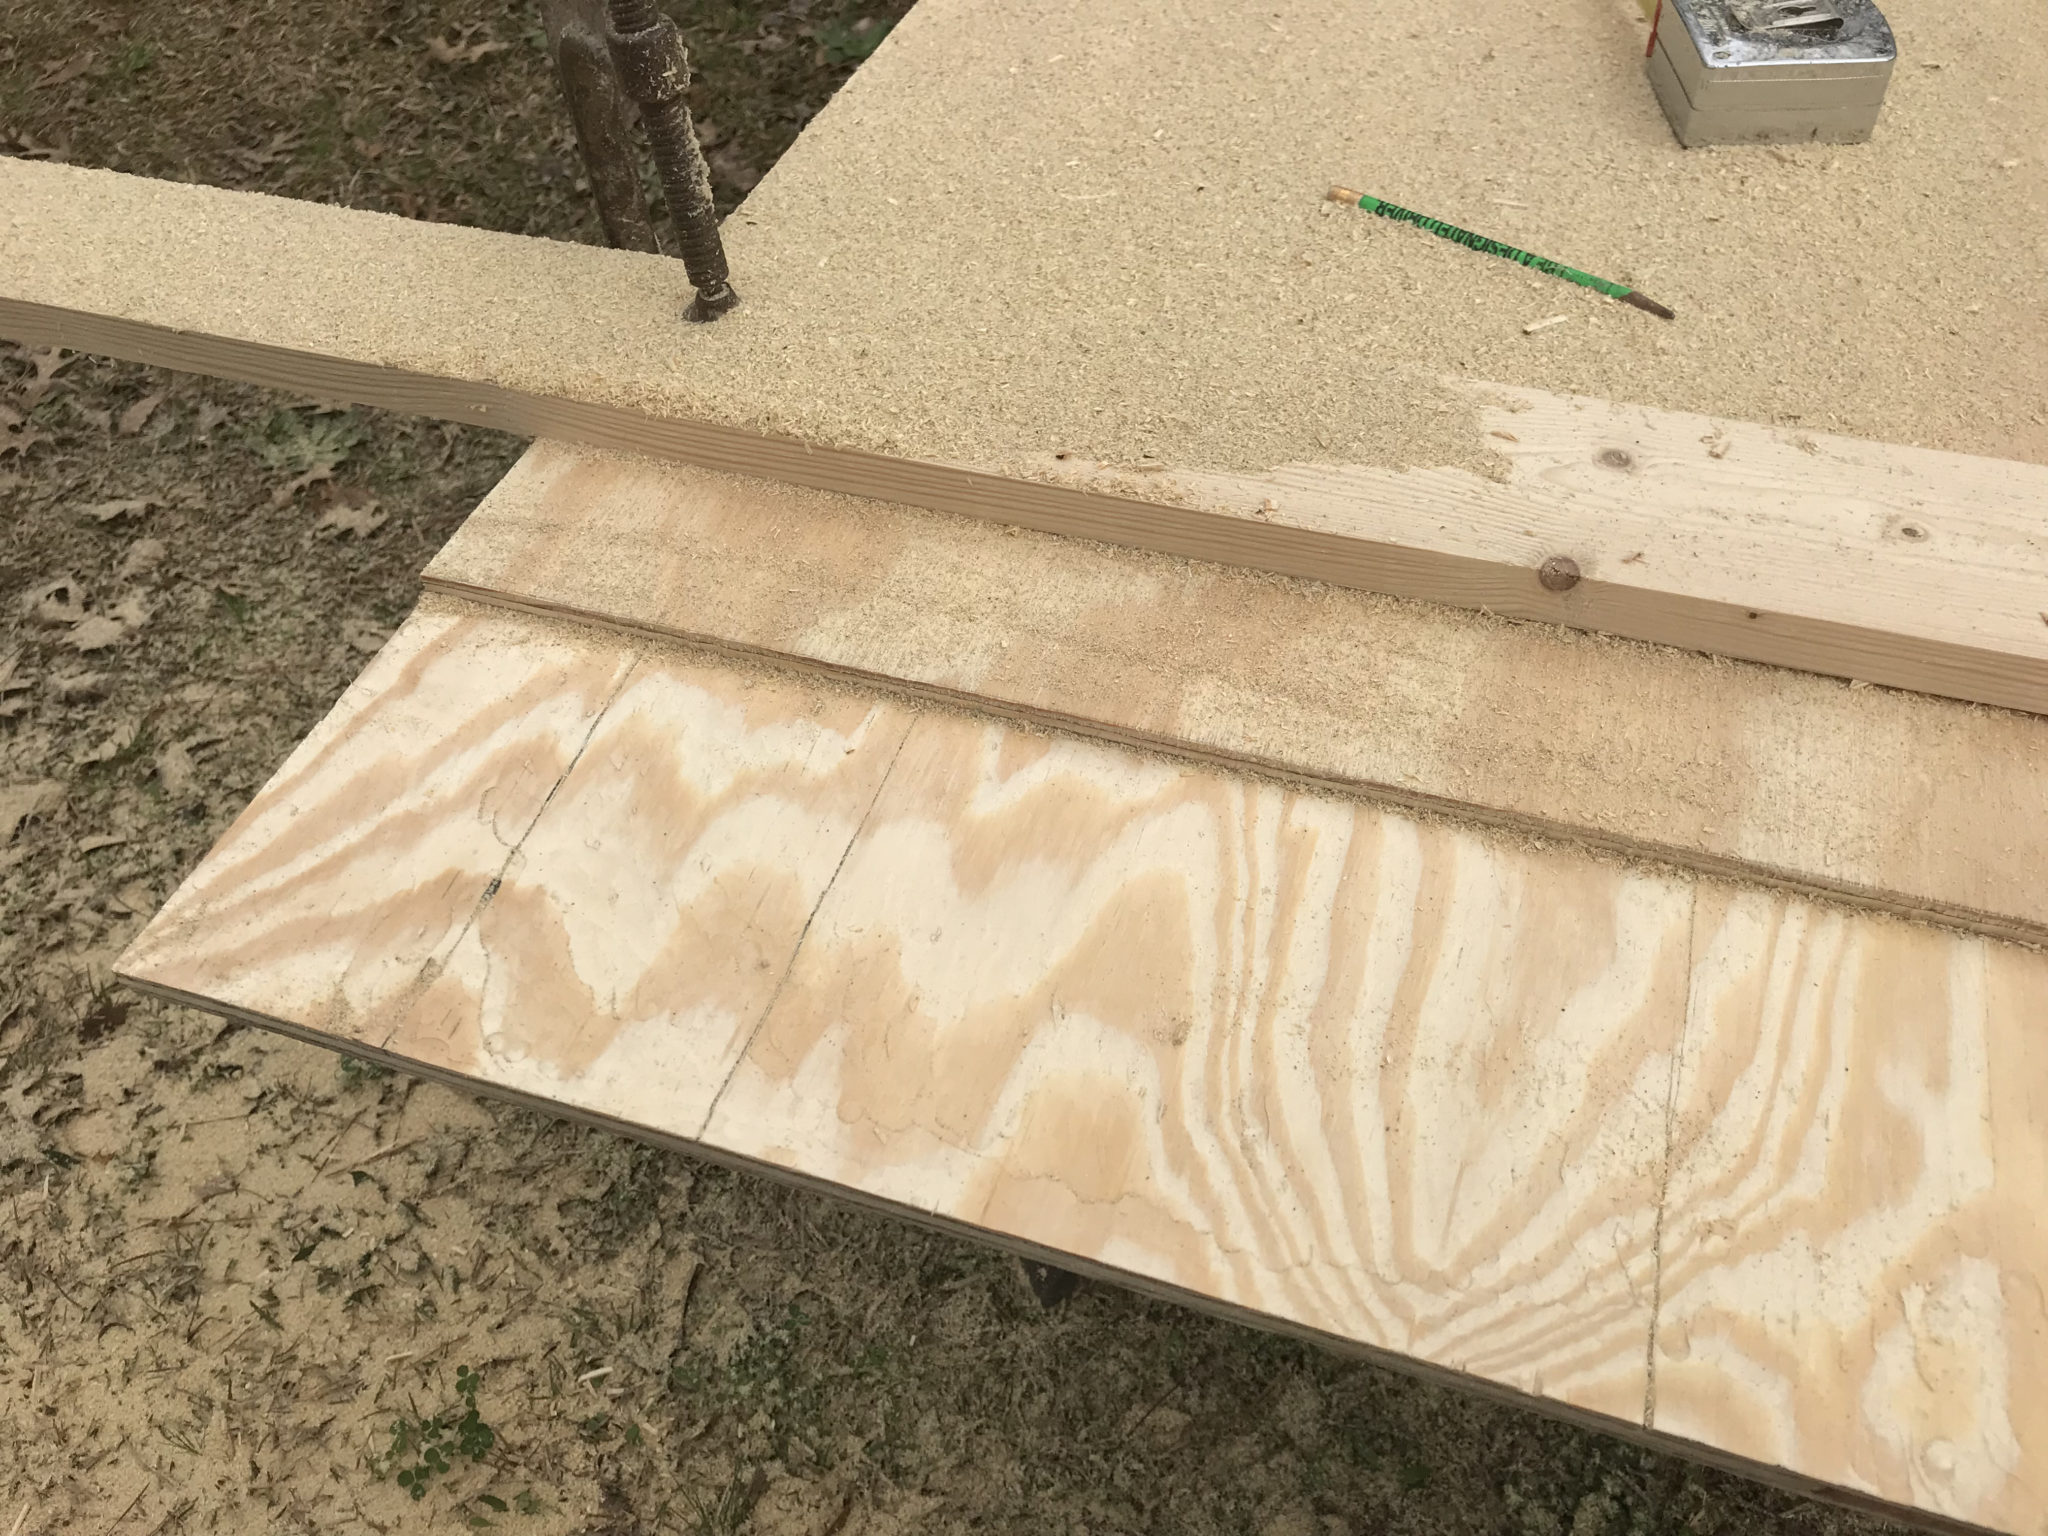
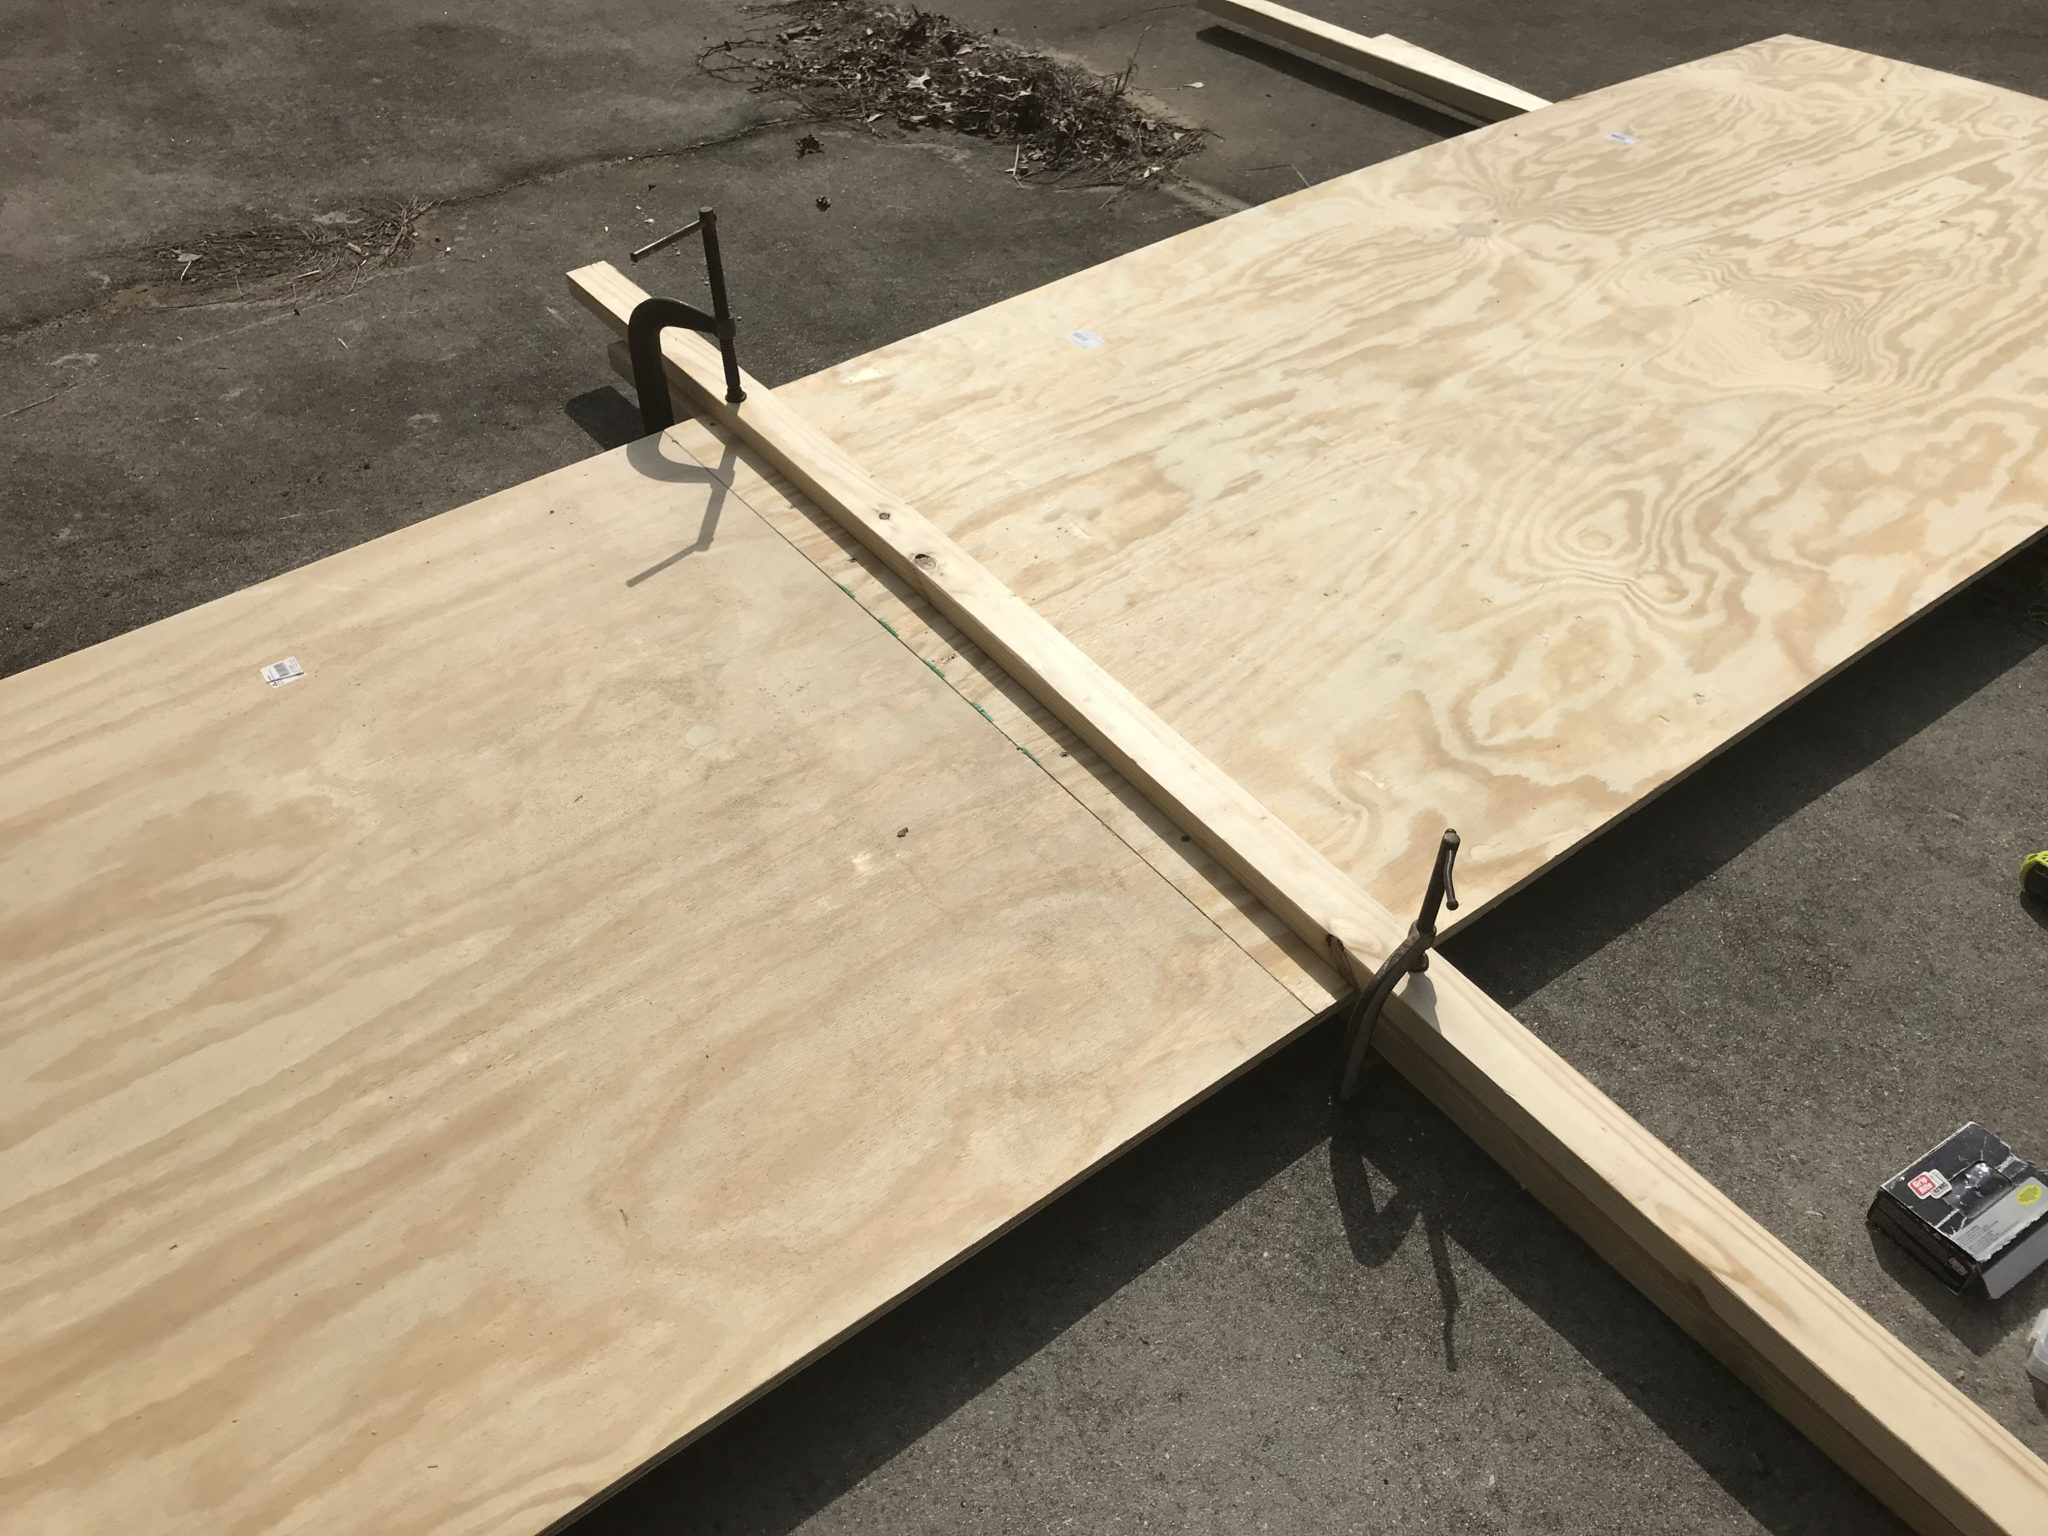
With the milling finally finished, I laid the two pieces down and made sure that they mated up properly. With everything looking good to go, I applied a good coat of Titebond III wood glue to each piece. Drilled some holes for wood screws to pass through the top lip and screwed the two pieces together. Clamped it the best I could and let it sit till later in the day. Then I came back and cut to a length of 12ft 3in and a width of 3ft 8in at a 45-degree
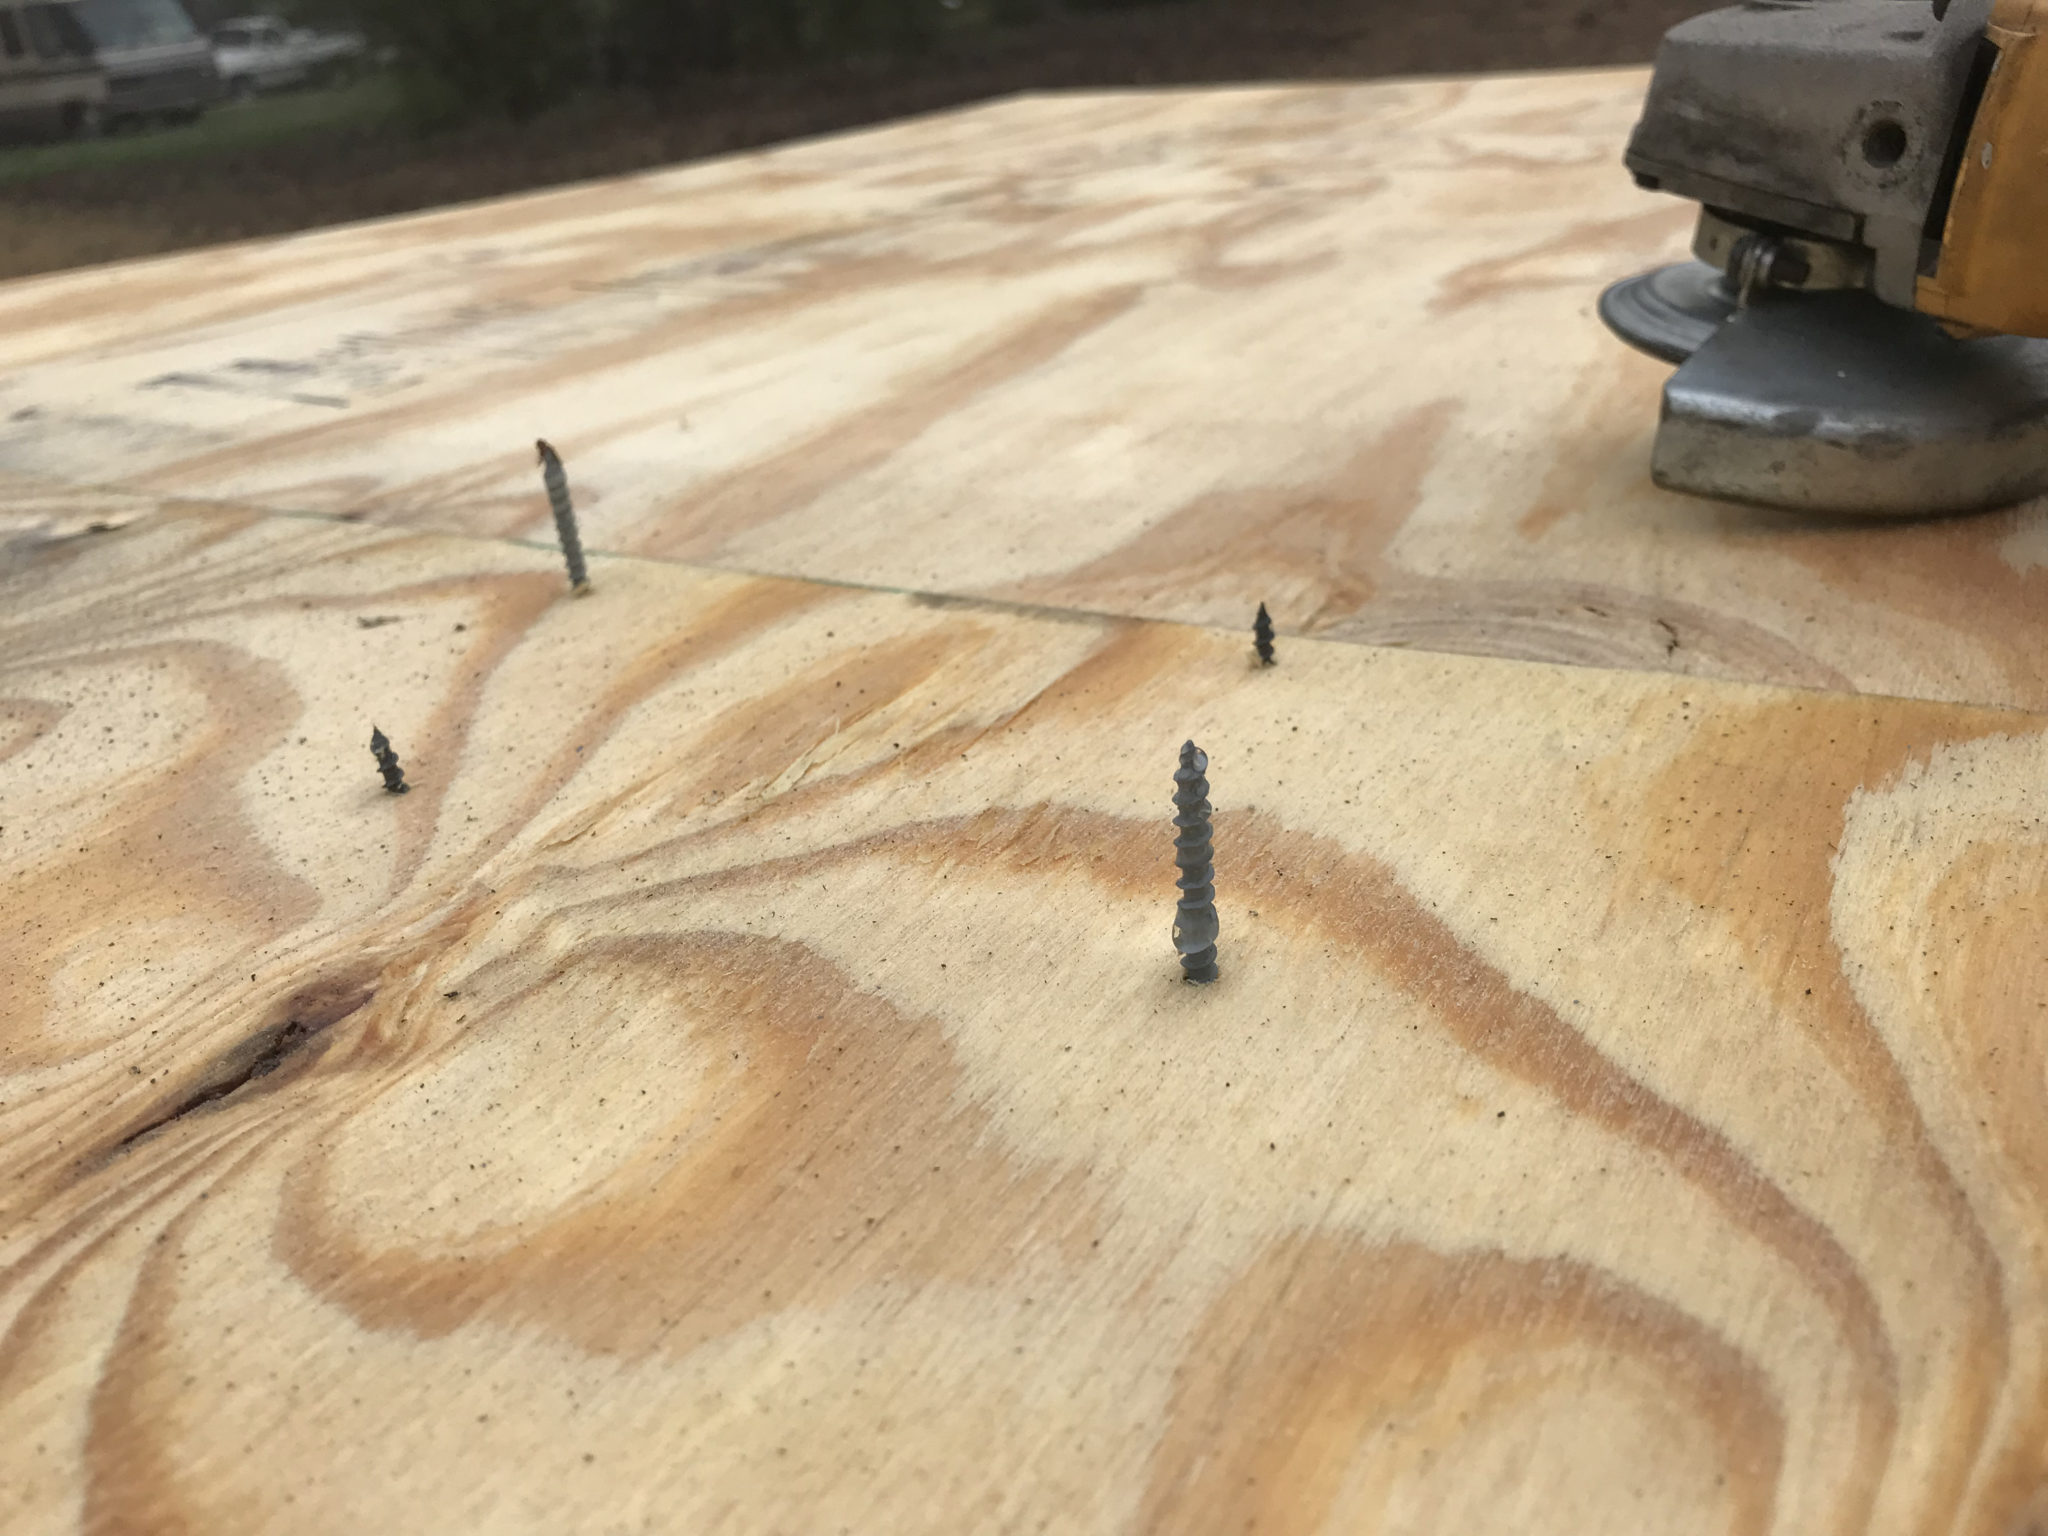
Testing the fit of the boards. The boards clamped together while to glue set. The screws sticking through bottom of the new floor. The screws needed to be ground off flush.

Removing The Old Slide Floor
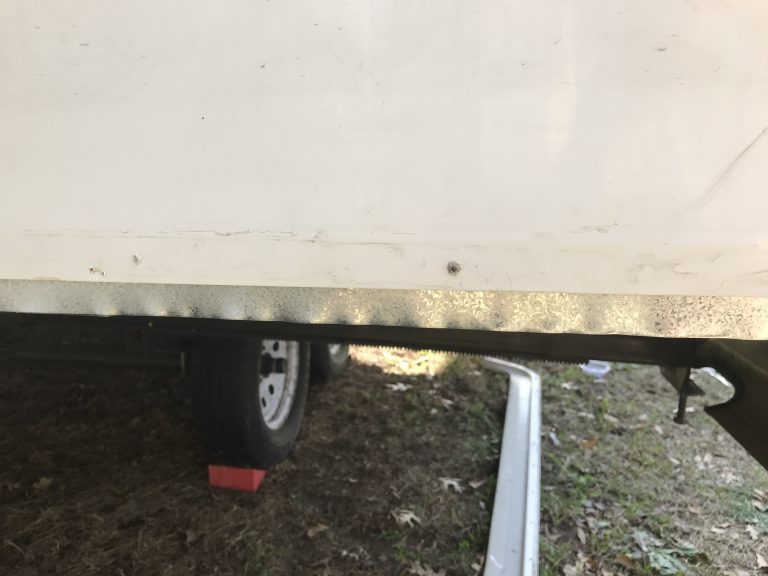
Day 2 started with the removal of the old slide floor. This was the part I was dreading the most. I knew the floor was bad, but now it was time to find out what else might need repair. With the slide run all the way out, I started removing screws. First, the corner pieces running up the walls. Actually removing these pieces was probably be the hardest part of the job. The Dicor lap sealant that had been applied, especially on the back wall, was holding stronger than the screws were. That along with the putty, had me thinking I was going to bend it trying to pull it off. But with some patience, I was able to remove it without damage. Then I removed the bottom molding holding the side wall covering in place. Which just barely allowed me access to the carriage bolt nuts and screws, without having to remove the whole panel. After that, I then took off the skirting and the bottom row of siding. Which consisted of removing several staples and more screws. The aluminum siding pieces just hook onto the piece above them. So it was more simple to remove than it looked. All this enabled me to access the bottom plate of the wall without having to remove any inside paneling. It was then that I noticed I needed to replace the bottom wall plate on both sides.
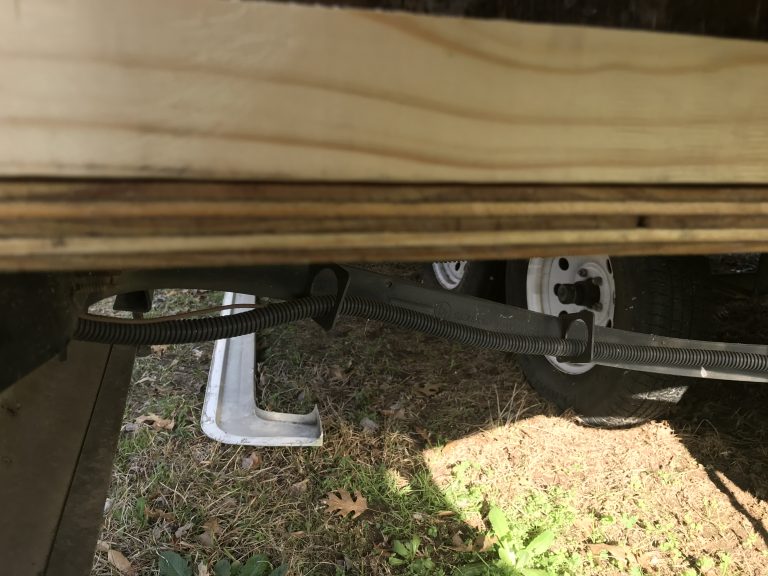
The floor was held in place by 4 carriage bolts, 2 on each side, 4 lag bolts attaching the slide mechanism to the back wall of the slide. There were also wood screws running through to bottom wall plate into the floor on all three sides. With all the screws and bolts removed, I went inside the trailer and lifting up the front of the slide, slid two ¾ inch thick boards under the front molding of the slide. This took the weight off the floor in front of the slide. Then back outside I fastened a 2×4 on both side wall that went all the way to the ground, to act as legs for the slide. After that a fastened a third 2×4 in the middle of the back wall that was long enough to put my floor jack under. I then jacked the slide up about an inch away from the floor, blocked up the side legs I had attached, and lowered the jack and removed the 2×4. This allowed me, with a little help from Tidbit, to slide the old floor out from under the back wall. Day 2 was complete!
Installing The New Floor
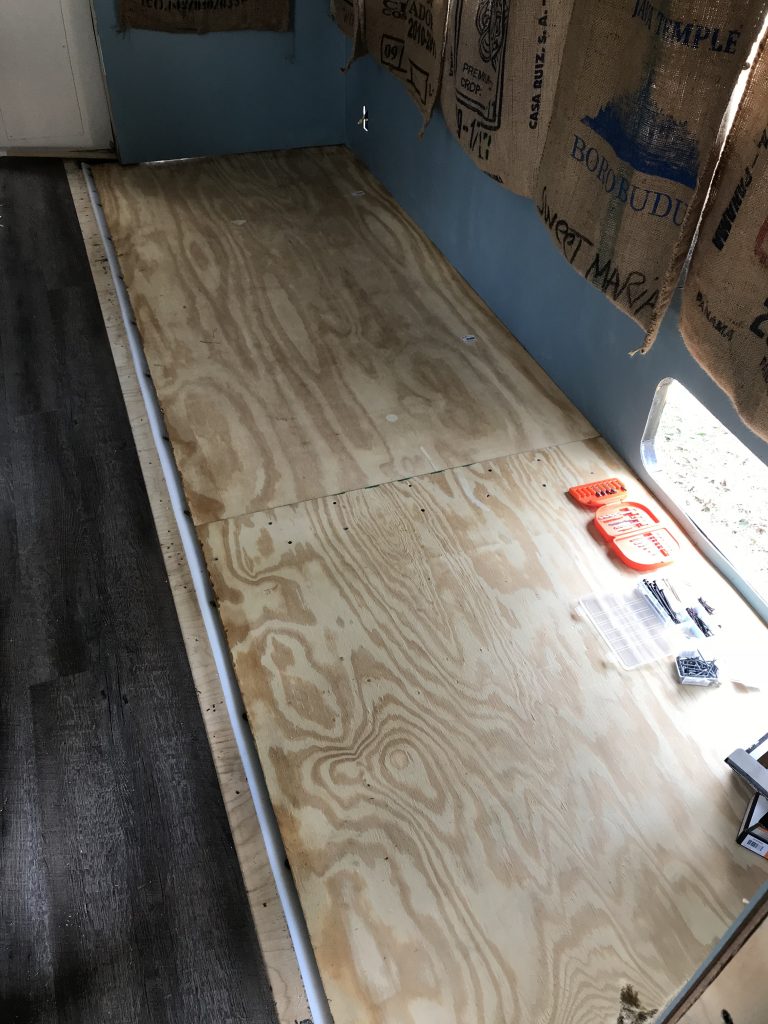
Day 3 of the slide floor replacement started with replacing the rotten side wall bottom plates. For those, I had to rip 2x4s to the correct width, cut them to length and ran screws up into the wall studs. Now I was ready to slide the new floor in place. With the help of Angelica and Tidbit, it slid in without too much trouble.
From then on it was pretty much reverse of the removal process. I had to drill new holes for the carriage bolts, I just guesstimated where the old ones were. Then just refasten all the screws and lag bolts. And remove the legs I had previously fastened in place. This all went pretty smoothly, even with having to work in some tight spaces.
On the side walls where the panels attached, allowed water to run down the wall then on top of the slide floor and under the wall. So to fix this flaw I found some scraps of tin roofing, from our bathroom shower project, laying around. I cut two pieces of flashing a few inches wide and about the same length as the side walls. Then slid them under the side wall panels positioning them down far enough to cover the side of the floor. This will force water to run down all the way to the bottom of the slide floor and not give it a path under the wall.
Finishing Up The Slide Floor Install
Then it was just re-installing the siding and skirting, puttying corner pieces and moldings and lap sealing everything. Angelica and Crush had spent several hours of Day 2 removing the old lap sealant and putty from the molding pieces for me. That was a huge help. I finished getting everything back together just before dark. Though most of the work wasn’t very hard, especially with the help of the whole family. Replacing the slide floor did take a little longer than I hoped it would take. It was definitely rewarding to see the new slide floor in place though! Even with it being a fairly big job I would definitely encourage most anyone to do it themselves.
That you for reading! Again, I encourage everyone to not be afraid to take on projects like this. The work can be a little tough and sometimes pretty
Please Like and Share us on social media! Also, subscribe to our email list to stay up to date on new posts! Please leave a comment telling us what you think.

Well done! I knew this would be fascinating and that I might learn a thing or three. So glad you guys are sharing!
Thank you, Debbie!
This is great information. I just removed my slide floor and found there was water pooled on one end, rotting the material on the underside of the metal frame. The material is paneling like material. Under that, it is wrapped in tarp like material. So, I have to replace it all. By chance do you have more pictures to show what it looked like before and after once you pulled up the floor? I can send my pictures as well. Your scenario seems very familiar to mine but I am a novice at this.
Thank you, Tracy, for the comment! Unfortunately, I don’t have really any more pictures. At least not any that show anything important, other than what I posted. I meant to take a bunch of pictures of the process of us replacing the floor, but I got caught up in working and forgot. I definitely considered myself a novice when I replaced our floor. I had to tell myself that I could do this and got out there and started taking it apart. Good luck! Let us know if you need any advice or a good pep talk.
https://pineapplevoyage.com/when-slide-floors-go-bad/
Removing The Old Slide Floor
.
.
.
Actually removing these pieces was probably be the hardest part of the job. The Dicor lap sealant that had been applied, especially on the back wall, was holding stronger than the >>>crews<<< were. [should read 'screws']
Oh wow! Thank you!
Hoping this never happens to our slide.